Section 07 ELECTRICAL SYSTEM
Subsection 02 (CHARGING SYSTEM)
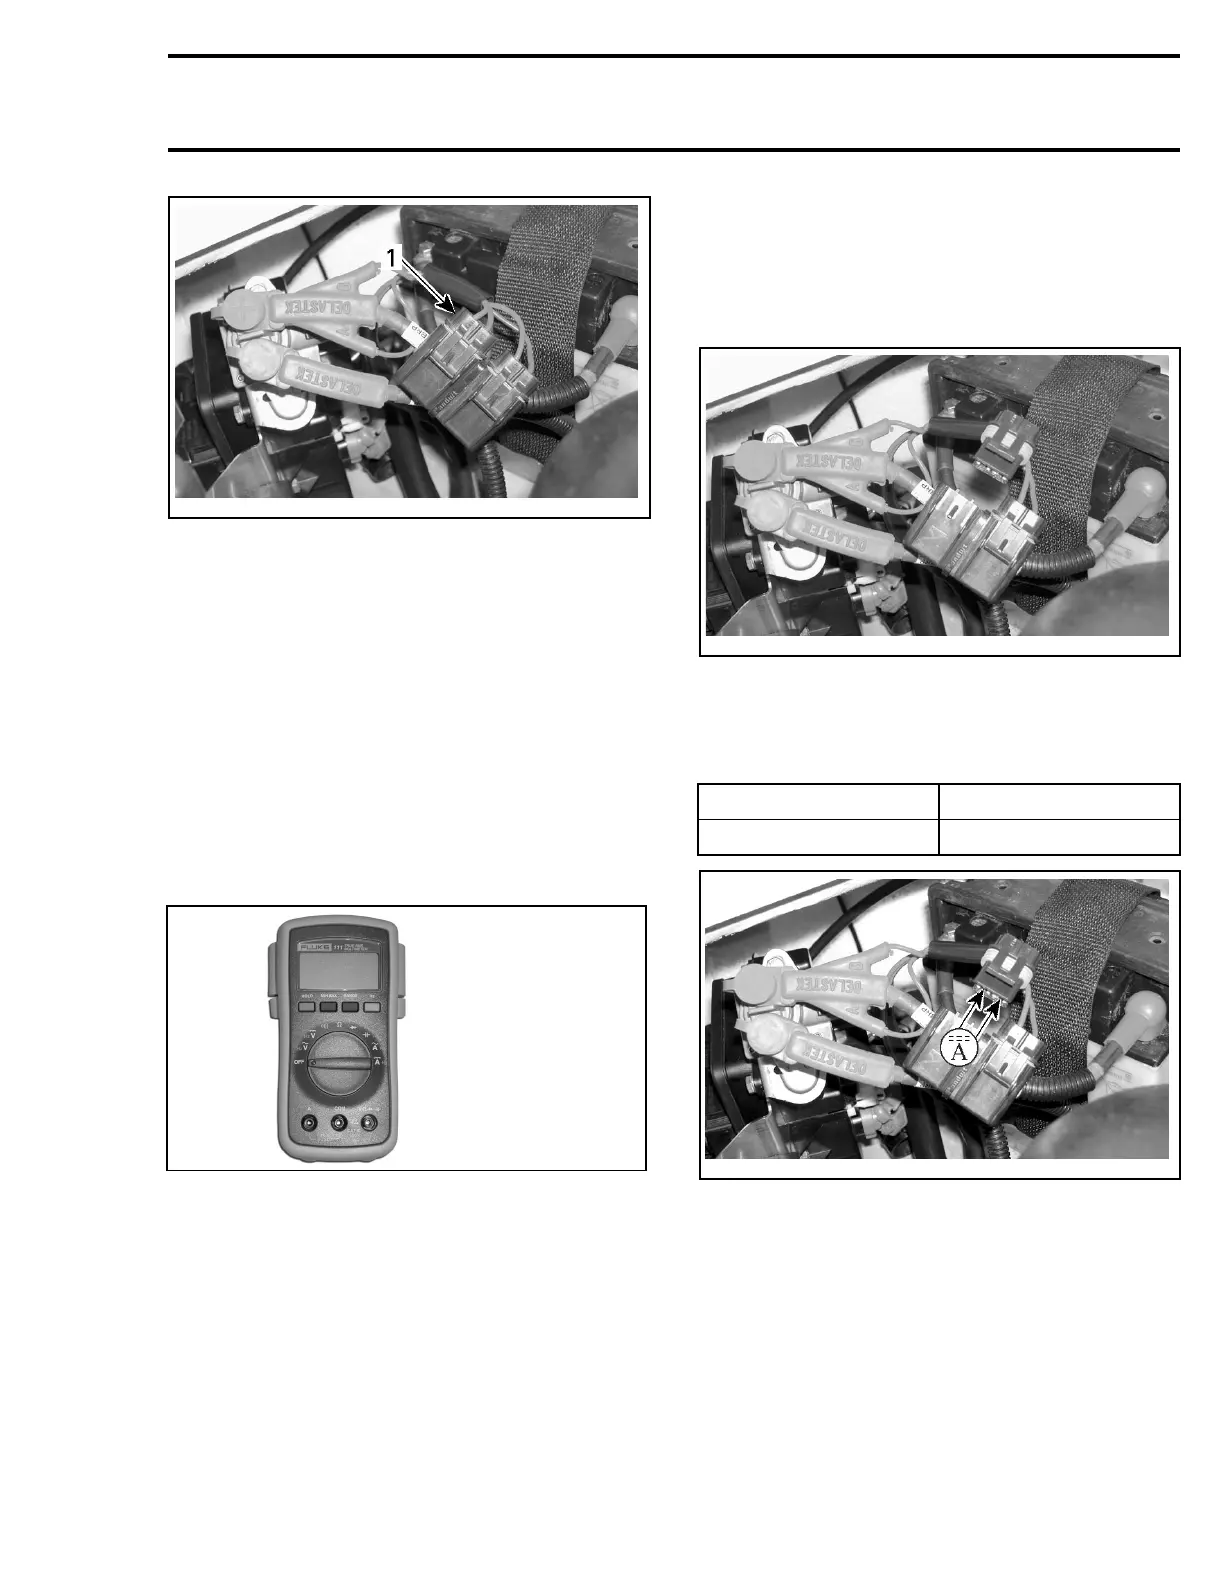
smr2005-058-003_a
1. Charging system fuse
The rectifier/regulator could be the culprit of a
blown fuse. To check, simply disconnect the
rectifier/regulator from the circuit.
If the fuse still burns, check for a defective wire.
CAUTION: Do not use a higher rated fuse as
this cause severe damage.
TESTING PROCEDURES
NOTE: First, ensure that battery is in good condi-
tion prior to performing the following tests.
For best results, use the multimeter Fluke 111
(P/N 529 035 868).
529 035 868
BATTERY
Refer to BATTERY at the end of this section for
the battery verifications.
RECTIFIER/REGULATOR
Static Test (Continuity)
Due to internal circuitry, there is no continuity test
available.
Dynamic Test
DC Current Test
Proceed as follows:
Remove charging system fuse.
smr2005-058-004
– Connect probes to fuse holder terminals.
– Set multimeter to Adc.
– Start engine.
– Read current.
TEST ENGINE SPEED CURRENT
6000 RPM 3-4 A
smr2005-058-004_a
– If current is below specification, check magneto
(stator) output prior to concluding that rectifier/
regulator is faulty.
– Reinstall fuse.
DC Voltage Test
Proceed as follows:
– Set multimeter to Vdc scale.
– Connect multimeter to battery posts.
– Start engine.
smr2005-058 171