Section09PROPULSION
Subsection 01 (JET PUMP)
Place housing horizontally with a tilt angle of 15°
with the filler plug located on top. Remove filler
plug no. 5 from cover. Pour jet pump synthetic oil
(P/N 293 600 011) in reservoir until oil comes level
with bottom of hole. Let oil drain into housing and
after a few minutes add more oil until it is level
with bottom of filler hole.
CAUTION: This is a synthetic oil. Do not mix
with mineral based oil. Do not mix oil brands.
NOTE: When filling reservoir, oil must be poured
into cover quite slowly to allow complete housing
fill.
F00J0JA
1
TYPICAL
1. Pour oil slowly until it is level with bottom of filler hole
Apply Loctite 567 (pipe sealant) (P/N 293 800 013)
on filler plug threads and reinstall it on cover.
Properly reinstall removed parts.
REMOVAL
Venturi/Nozzle
GTI Series
When the venturi is removed to check or replace
jet pump oil, the reverse gate removal is not nec-
essary. Remove steering and reverse cables, re-
verse spring and screw retaining “U” lever on noz-
zle.
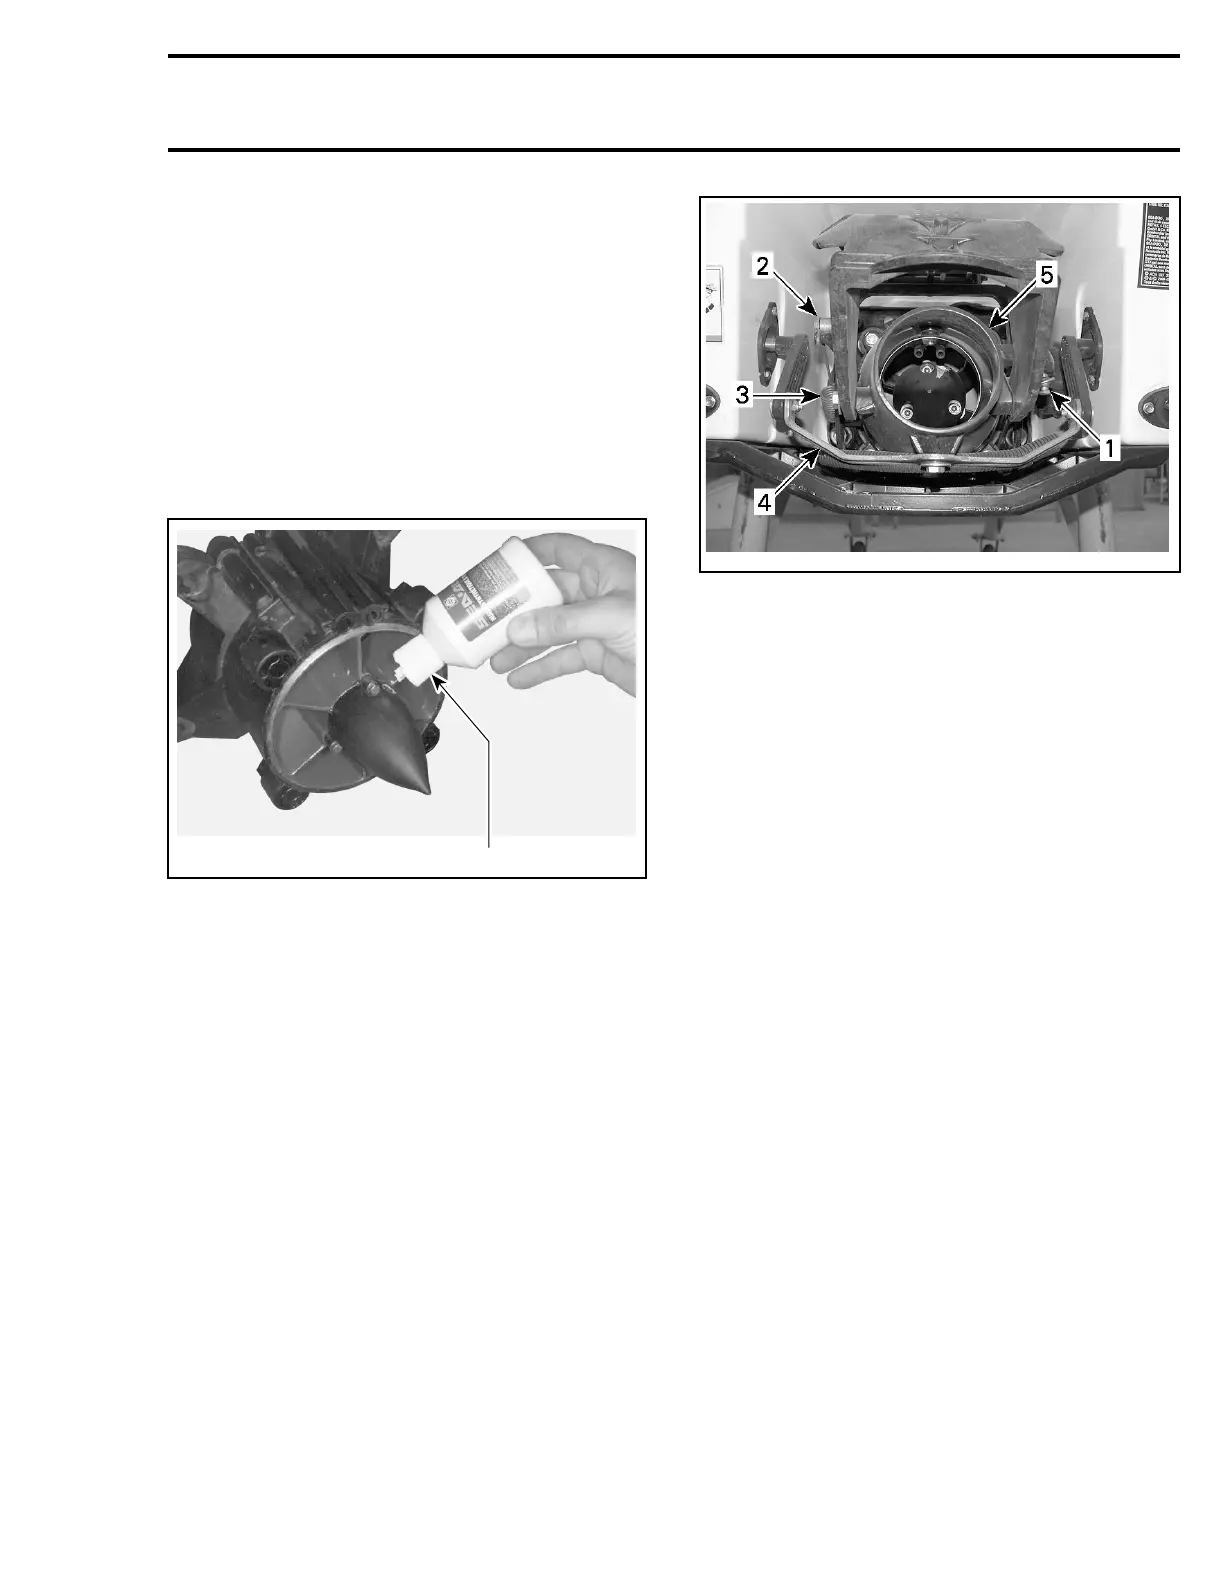
smr2005-062-005_A
1. Steering cable
2. Reverse cable
3. Reverse spring
4. U lever
5. Nozzle
All Models
In all other situations, use the following procedure.
Remove reverse gate (GTI Series), refer to RE-
VERSE SYSTEM.
Remove retaining screws no. 10 and withdraw
venturi no. 4 with nozzle.
Jet Pump Housing
Remove venturi with nozzle.
Loosen 4 hexagonal bolts and remove flat wash-
ers from jet pump housing no. 11.
Removejetpumpwithawigglemovement.
NOTE: If jet pump can not be removed easily,
drive shaft may be sized in impeller. If so, remove
drive shaft with jet pump. Refer to DRIVE SYS-
TEM for drive shaft removal procedure.
DISASSEMBLY
NOTE: Whenever removing a part, visually check
for damage such as: corrosion, crack, split, break,
porosity, cavitation, deformation, distortion, heat-
ing discoloration, wear pattern, missing plating,
missing or broken needles in needle bearing, wa-
ter damage diagnosed by black-colored spots on
metal parts, etc. Renew any damaged part. As a
quick check, manually feel clearance and end play,
where applicable, to detect excessive wear.
smr2005-062 237