Section 09 PROPULSION
Subsection 02 (DRIVE SYSTEM)
INSTALLATION
Installation is essentially the reverse of removal
procedure. However, pay particular attention to
the following.
Seal Carrier of Mid Bearing
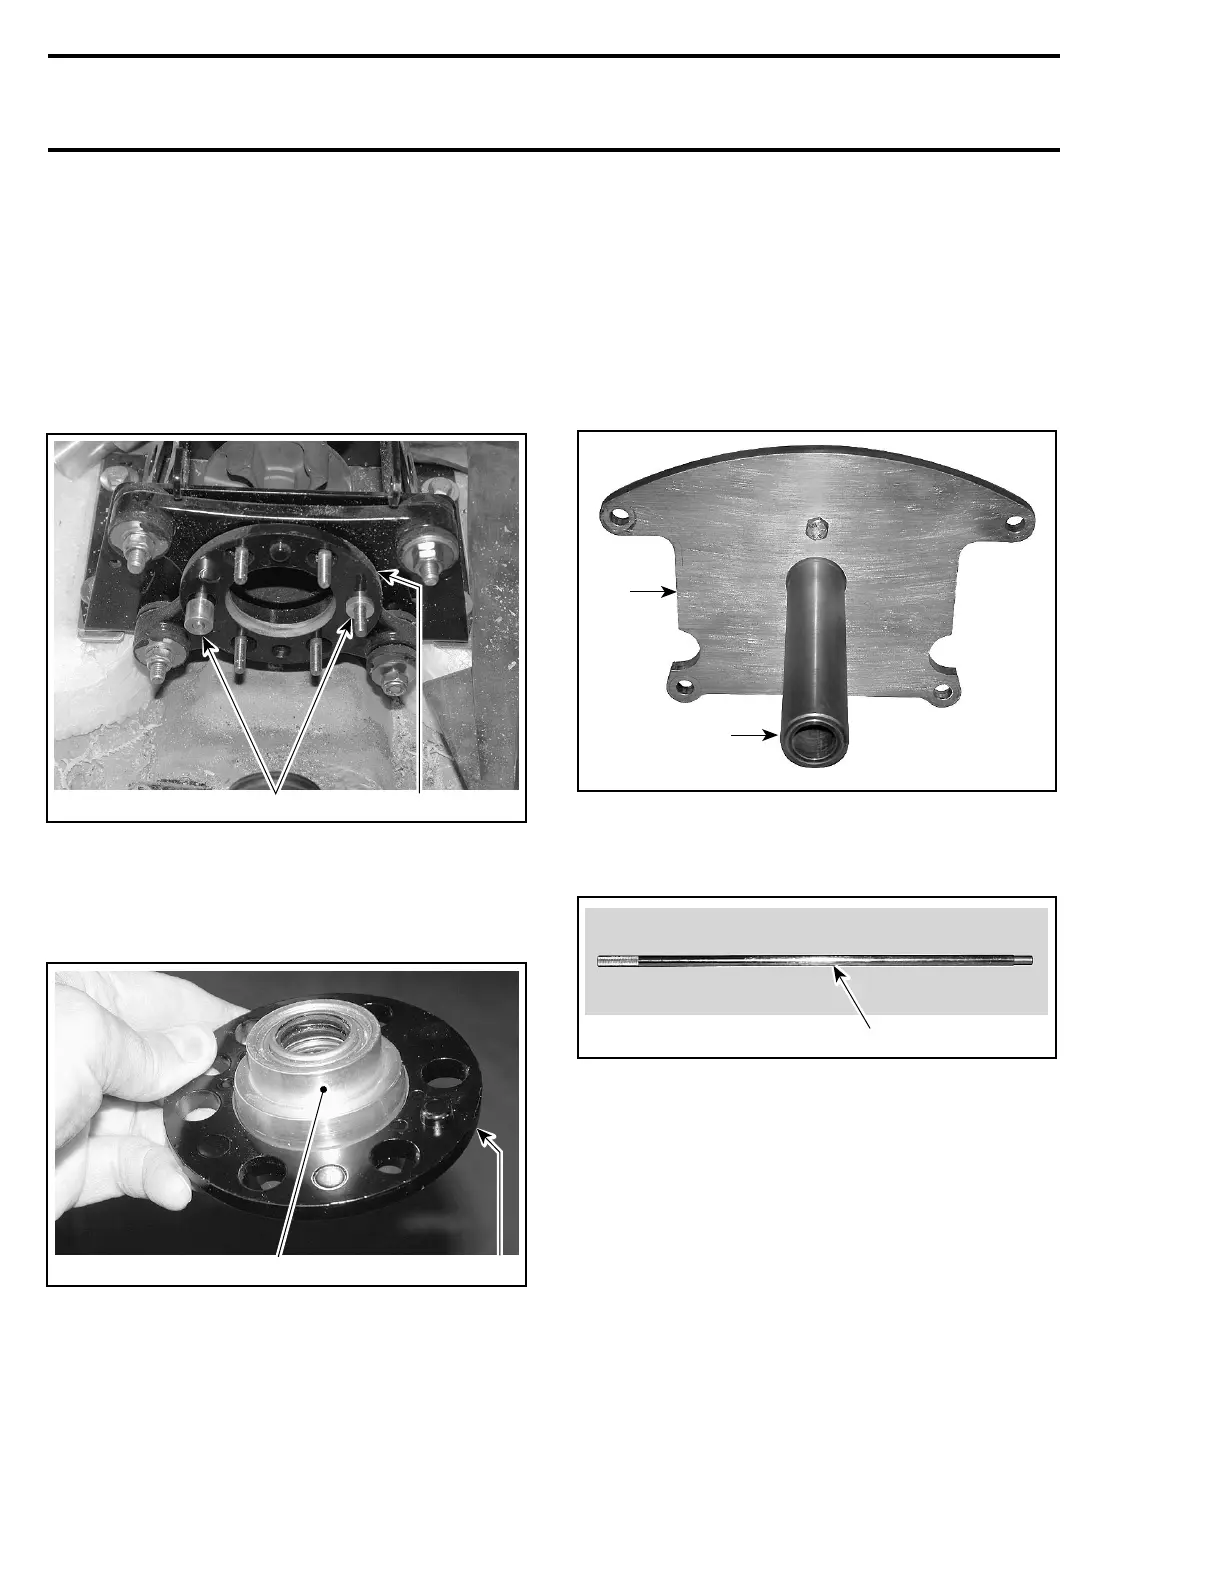
Install any of the alignment washers no. 20 as
shown. Insert bushings no. 19 in washer.
2
F00B22A
1
TYPICAL
1. Alignment washer
2. Bushings
Insert seal carrier housing no. 14 in remaining
alignment washer.
2
F00B23A
1
TYPICAL
1. Alignment washer
2. Seal carrier housing
Install alignment washer/seal carrier housing and
properly index alignment washers no. 20 together.
Install the large washer no. 26 and nuts no. 16.
Slightly tighten nuts but keep loose so that the as-
sembly still can move and self adjust when insert-
ing the alignment shaft further in this procedure.
NOTE: Completely tightening nuts would make
the alignment more difficult.
Align the seal carrier using the following tools:
– support plate kit (P/N 529 035 570)
F19J09A
1
2
1. Plate (P/N 529 035 507)
2. Support (P/N 529 035 511)
– alignment shaft (P/N 295 000 141).
F00B0GA
1
1. Alignment shaft
Install support plate at rear of watercraft.
Carefully slide shaft through seal carrier and shaft
support. Ensure that shaft goes farther than shaft
support.
264 smr2005-063