Section 11 HULL/BODY
Subsection 01 (GTI SERIES)
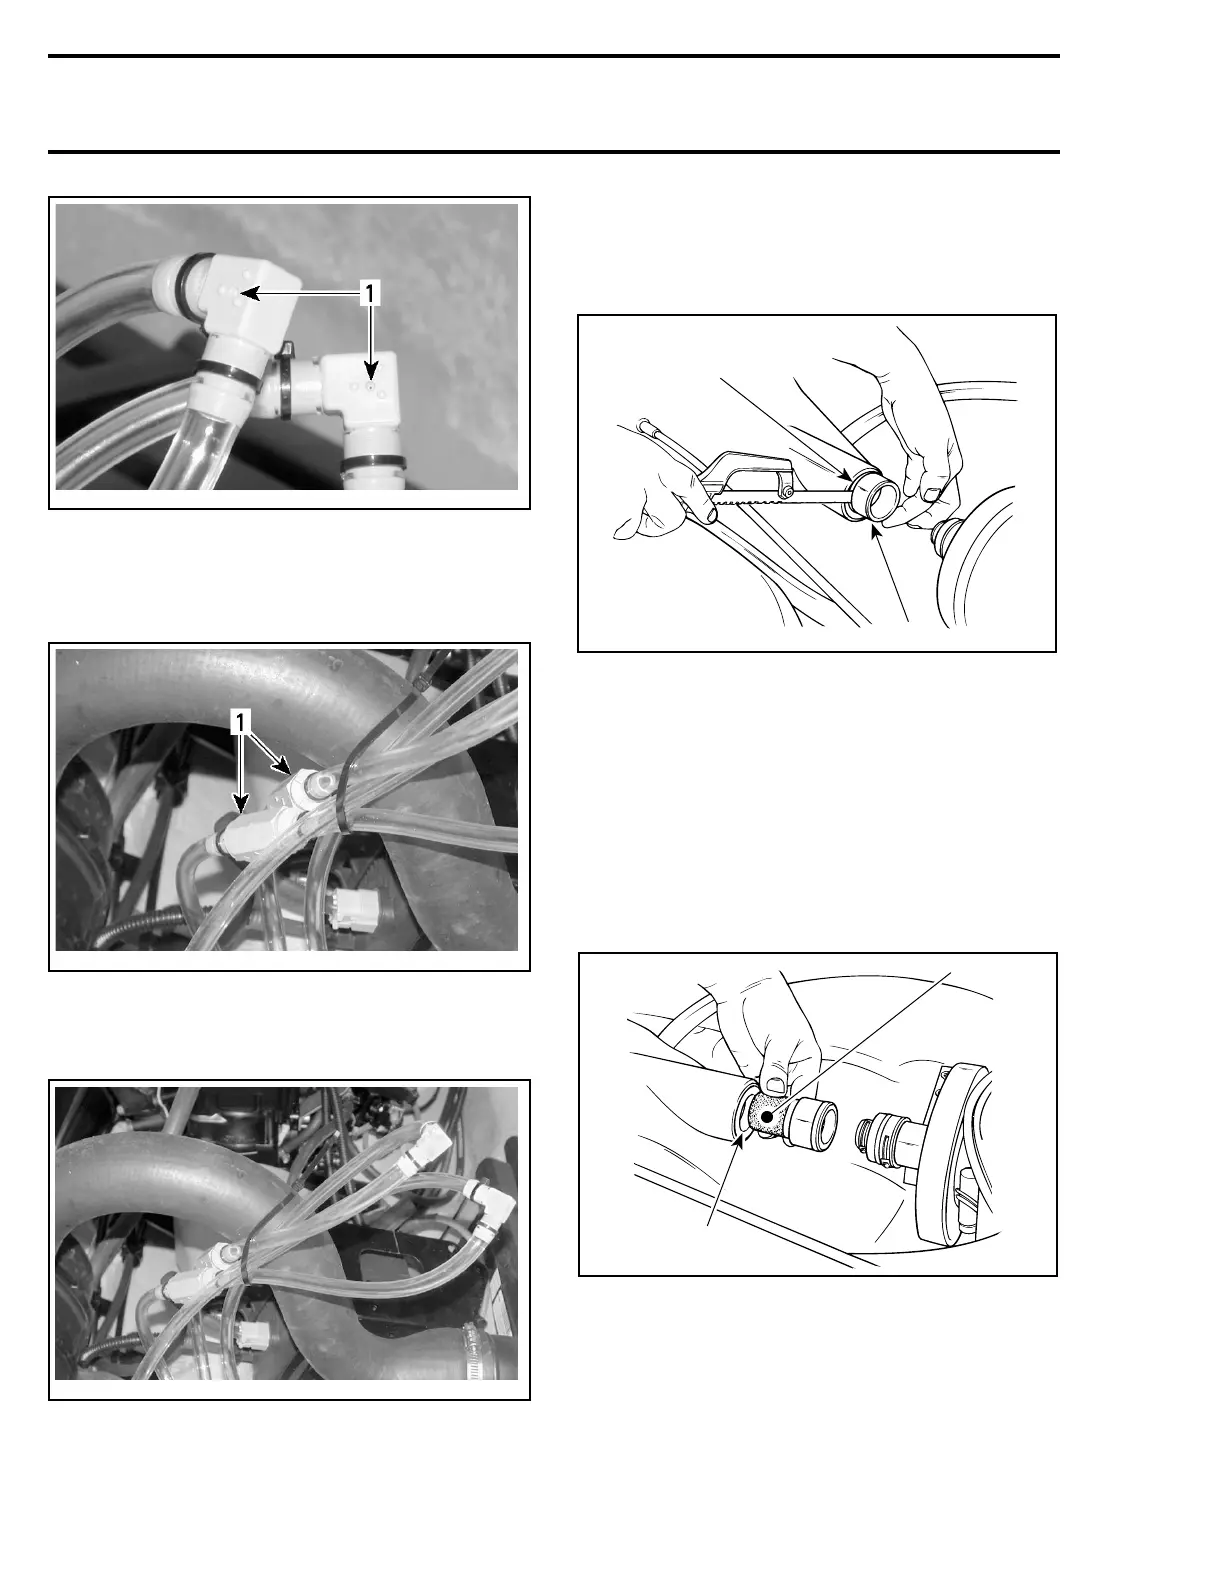
smr2005-045-001_A
1. Elbow fitting holes
Remove check valves and shake them. If the in-
ner parts move freely, the check valve is in good
condition. If not, replace by a new one.
smr2005-045-002_A
1. Check valves near elbow fittings
Attach elbow fittings at the highest position that
you can on the inlet hose.
smr2005-045-003
THRU-HULL FITTING
For hull insert repair proceed as follows:
Cut plastic hull insert flush with hull using a saw.
F01L2UA
1
2
1. Hull
2. Plastic hull insert
Mix epoxy glue (3M-05895), follow manufacturer
instructions.
Apply epoxy glue on aluminum insert (P/N 292 000
075) knurled surface and on plastic insert inner
bore.
CAUTION: If you notice any clearance between
plastic insert and aluminum insert, fill gap
with epoxy glue to obtain good adhesion of
aluminum insert.
F01L2VA
1
2
1. Knurled surface
2. Inner bore
Install aluminum insert into plastic hull insert.
328 smr2005-069