Section05FUELSYSTEM
Subsection 02 (FUEL TANK AND FUEL PUMP)
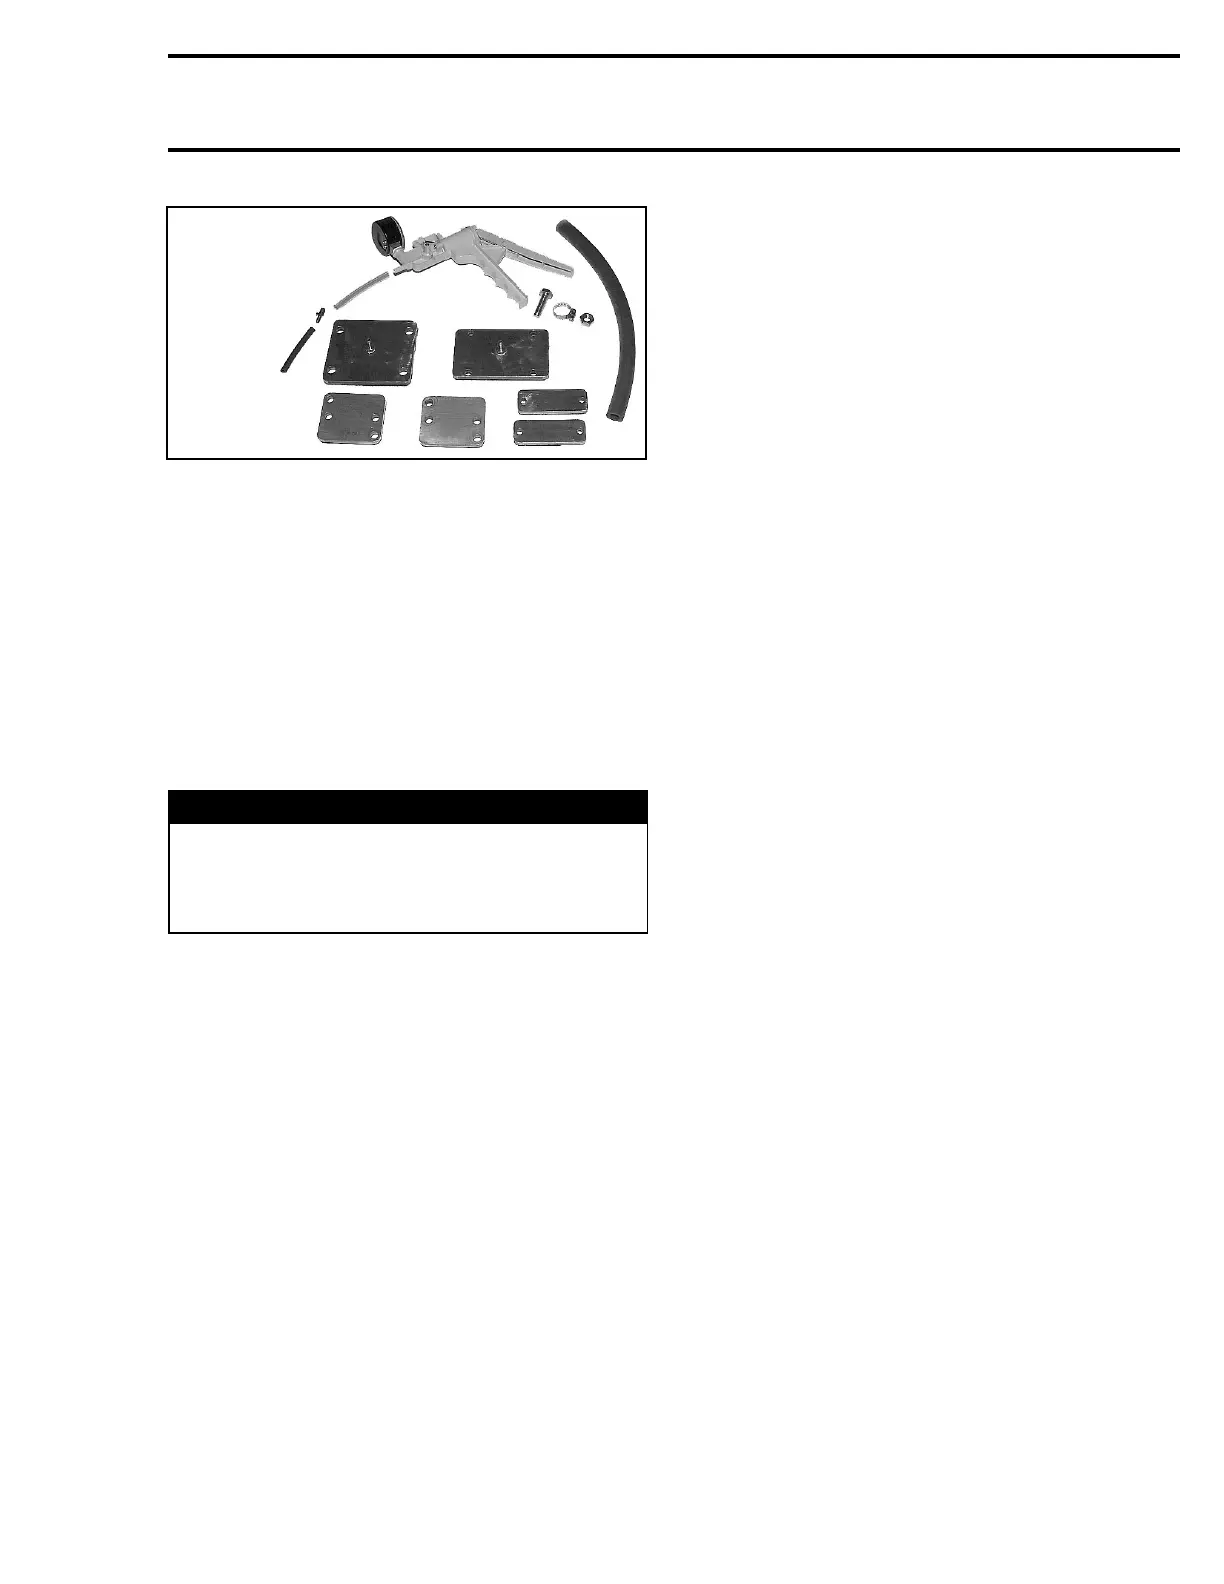
295 500 352
– Turn fuel valve to OFF position (carburetor-
equipped models).
– Pressurize fuel system to 34 kPa (5 PSI).
– If no leaks are found, turn fuel valve to ON po-
sition and pressurize once more.
– If pressure is not maintained locate leak and re-
pair/replace component leaking. To ease leak
search spray a solution of soapy water on com-
ponents, bubbles will indicate leak location.
NOTE: The system must maintain a pressure of
34 kPa (5 PSI) during 10 minutes. Never pressur-
izeover34kPa(5PSI).
WARNING
If any leak is found, do not start the engine
and wipe off any fuel leakage. Do not use
electric powered tools on watercraft unless
system has passed pressure test.
Remove hose pincher from fuel tank vent hose.
Make sure pressure is dropping on pump.
NOTE: Pressure drop indicates that relief valve
and the outlet fitting are not blocked.
Remove the pump from the air inlet hose fitting.
High Pressure Test (fuel pump circuit)
RFI Models
Refer to FUEL PUMP PRESSURE TEST.
INSTALLATION
Assembly is essentially the reverse of disassem-
bly procedures. However pay particular attention
to the following.
Fuel Tank
Ensure rubber carpets no. 18 are in place.
Insert fuel tank in the vehicle and place straps in
bottomclips. Usetapetoholdstrapsonthetop
of fuel tank.
Insert strap ends in hoops.
Properly secure harnesses.
Reinstall all other removed parts. Refer to the ap-
propriate section.
Baffle Pick-Up
Carburetor-Equipped Models
Slide adapter no. 10 onto baffle pick-up no. 7 until
it stops on rib. Install clamp no. 9.
Install baffle pick-up no. 7 into fuel tank and push
it until it sits on fuel tank neck. Install clamp no. 8
and torque both clamps to 3 N•m(27lbf•in).
smr2005-053 107