Section 11 HULL/BODY
Subsection 01 (GTI SERIES)
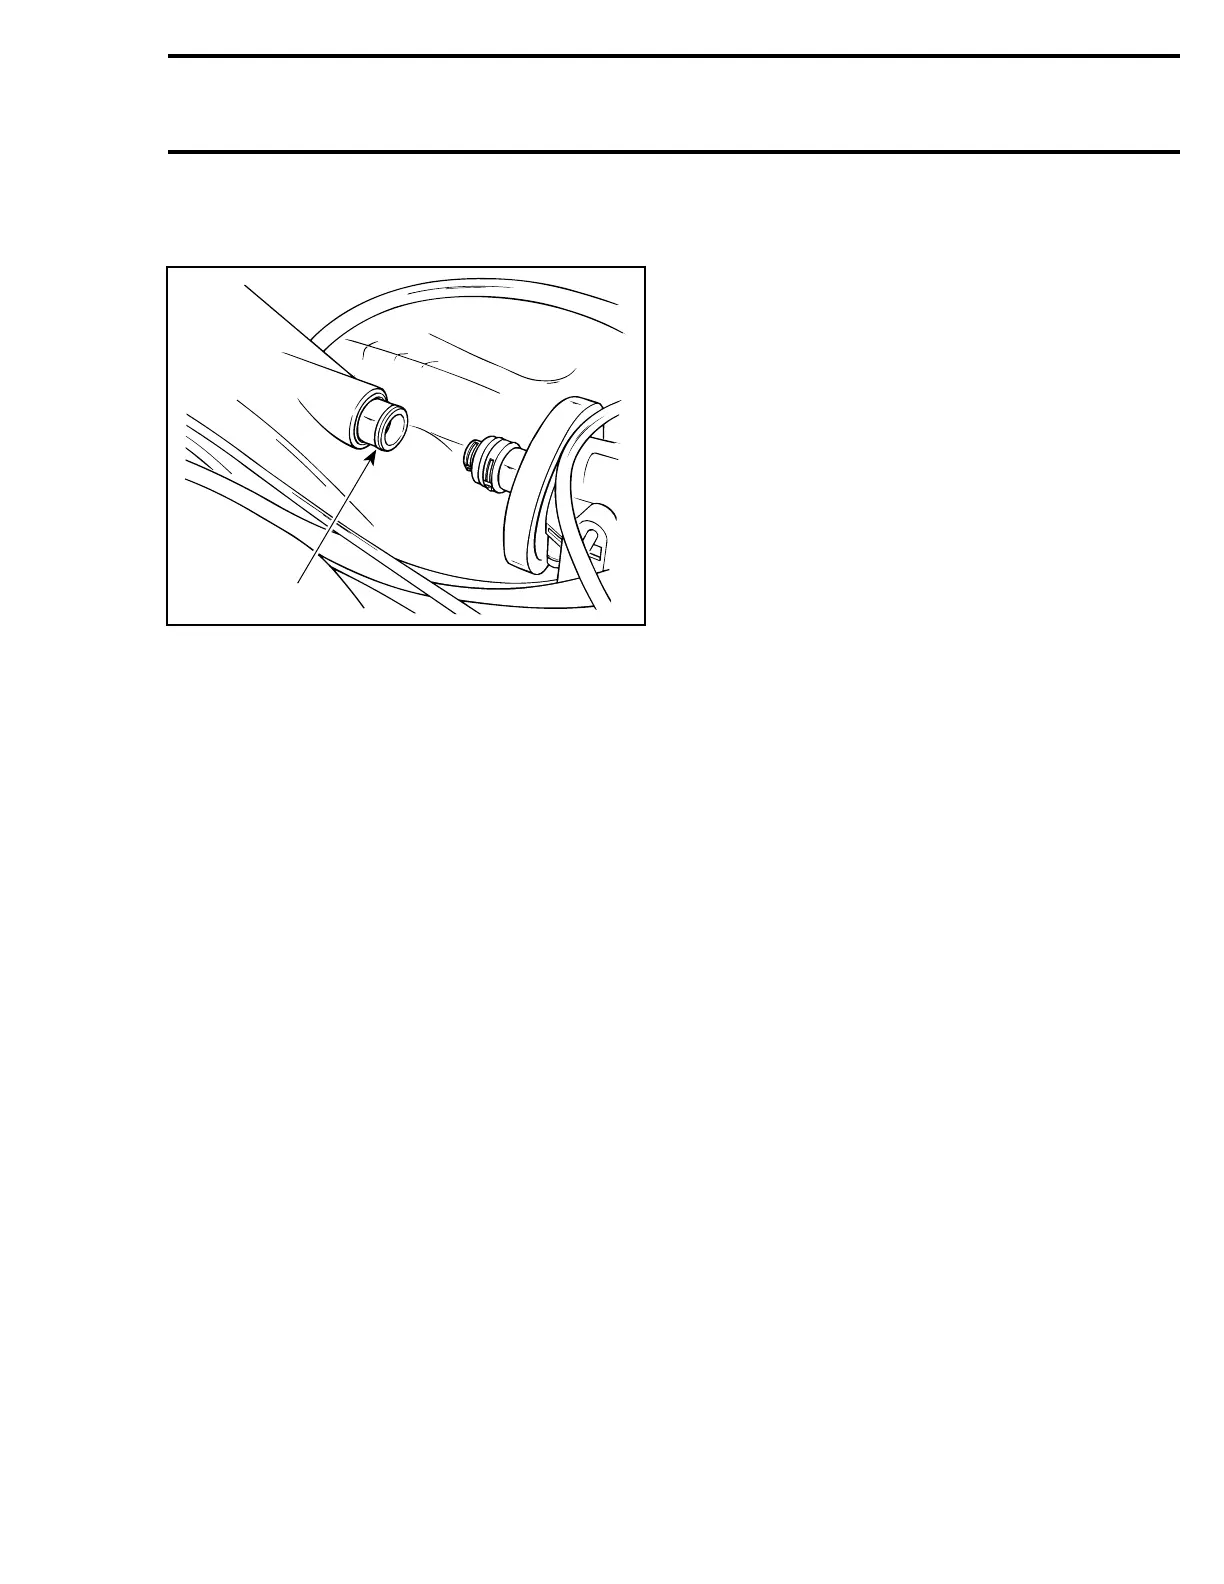
NOTE: Align aluminum insert as much as possible
with PTO flywheel.
F01L2WA
1
1. Aluminum insert
NOTE: The epoxy glue curing time is 30 minutes.
DECALS REPLACEMENT
Removal
Using a heat gun warm up one end of decal for a
few seconds until decal can roll off when rubbing
with your finger.
NOTE: When heating near light surfaces, duct
tape should be applied to protect the surface.
Otherwise the light color could become a yellow-
ish color.
Pull decal slowly and when necessary apply more
heat to ease removal on the area that has to be
peeled off.
If decal tears while pulling off, it has to be heated
for a few seconds longer. If decal tends to stretch
while pulling off, stop heating and wait a few sec-
onds to let it cool, then peel it off.
Installation
There are 2 types of decals used on watercraft.
Onehasaprotectivefilmonbacksideandthe
other has a protective film on both sides. They
are used on 3 types of materials; plastic, gelcoat
and metal.
DECALS HAVING A PROTECTIVE FILM
ON BACK SIDE ONLY
These decals usually contain written information
(e.g.: warning) and are used on gelcoat or metal.
Clean surface with a good solvent such as
ACRYLICLEAN DX 330 from PPG or equiva-
lent (refer to manufacturer instructions).
Using a pencil and the decal as a template, mark
the area where decal will be located.
Remove half of the decal back protective film and
align decal with marks. Start sticking it from cen-
ter and remove the other half of the film to stick it
completely. Carefully squeegee decal beginning
at center and working outward using, firm, short,
overlapping strokes.
DECALS HAVING A PROTECTIVE FILM
ON BOTH SIDES
These decals usually contain graphics and are
used on gelcoat or plastic.
INSTALLATION ON GELCOAT
Using isopropyl alcohol, clean the surface and dry
thoroughly.
Using a pencil and the decal as a template mark
the area where decal will be located.
For better adhesion a dry application is recom-
mended, however, to ease decal installation a mild
solution of soapy water can be sprayed over sur-
face where decal will be installed.
Remove back protective film from decal and align
decal with marks. When well aligned squeegee
decal beginning at center and working outward us-
ing firm, short, overlapping strokes.
Remove front protective film once decal has ad-
heredtohull.
INSTALLATION ON PLASTIC (storage cover)
Clean surface with isopropyl alcohol and dry thor-
oughly.
Using a pencil and the decal as a template, mark
the area where decal will be located.
CAUTION: Do not use soapy water to locate de-
cal on plastic parts.
Remove back protective film from decal and care-
fully align decal with marks. When well aligned
squeegee decal beginning at center and working
outward using firm, short, overlapping strokes.
Remove front protective film once decal has ad-
hered.
smr2005-069 329