Section 03 ENGINE SYSTEM
Subsection 02 (EXHAUST SYSTEM)
GENERAL
During assembly/installation, use the torque val-
ues and service products as in the exploded
views.
Clean threads before applying a threadlocker. Re-
fer to SELF-LOCKING FASTENERS and LOCTITE
APPLICATION at the beginning of this manual for
complete procedure.
WARNING
Torque wrench tightening specifications
must be strictly adhered to. Locking de-
vices (e.g.: locking tabs, elastic stop nuts,
self-locking fasteners, etc.) must be installed
or replaced with new ones where specified. If
the efficiency of a locking device is impaired,
it must be renewed.
REMOVAL
Remove seat(s).
Remove rear vent hose support from body open-
ing.
Remove seat support.
F07L1KA
2
2 1
TYPICAL
1. Seat support
2. Remove screws
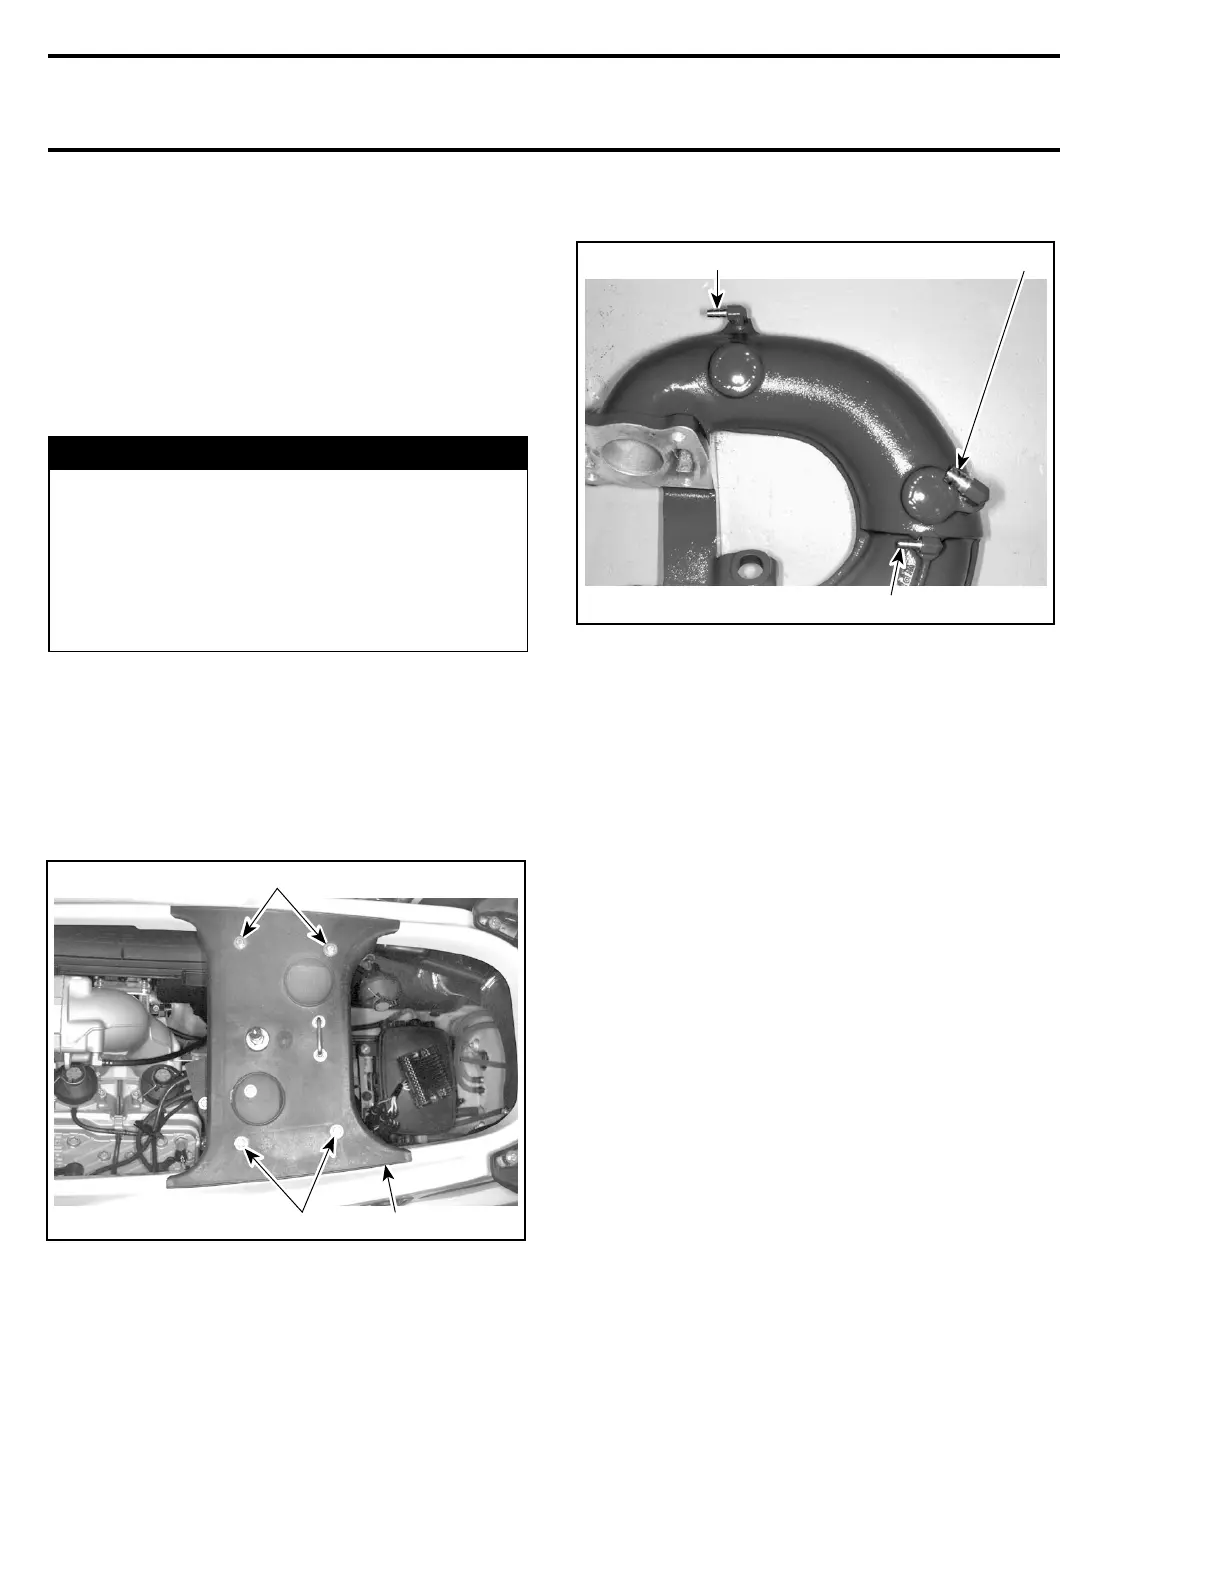
Tuned Pipe
717 Engine
Disconnect water supply hose and water injection
hose.
Disconnect tuned pipe bleed hose.
F01D8NA
1
2
3
TYPICAL
1. Bleed hose removed
2. Injection hose removed
3. Supply hose removed
Loosen exhaust hose collar no. 1 at tuned pipe
outlet.
Disconnect strap no. 2 retaining muffler no. 11.
Remove exhaust hose no. 3 from tuned pipe by
pulling muffler.
Remove clamp no. 4 from tuned pipe.
Remove tuned pipe cone no. 5.
Remove tuned pipe retaining screw no. 6.
Remove screws no. 12,nutno. 8 and flat washers
no. 9 from tuned pipe flange.
NOTE: Slightly lift tuned pipe to release nut as
necessary. Be careful not to drop nut and flat
washer.
Withdraw tuned pipe head no. 10 in a forward and
rotating movement.
787 RFI Engine
Remove air intake silencer.
Disconnect water supply hose and water injection
hose at tuned pipe.
Loosen hose clamp no. 1 retaining exhaust hose
no. 3 to tuned pipe cone.
46 smr2005-048