To draw a limit
1 Activate the trace you want to create a limit for.
2 Press [
Analys
][
LIMIT TEST
], then press [
DEFINE UPPER LIM
]or[
DEFINE LOWER LIM
].
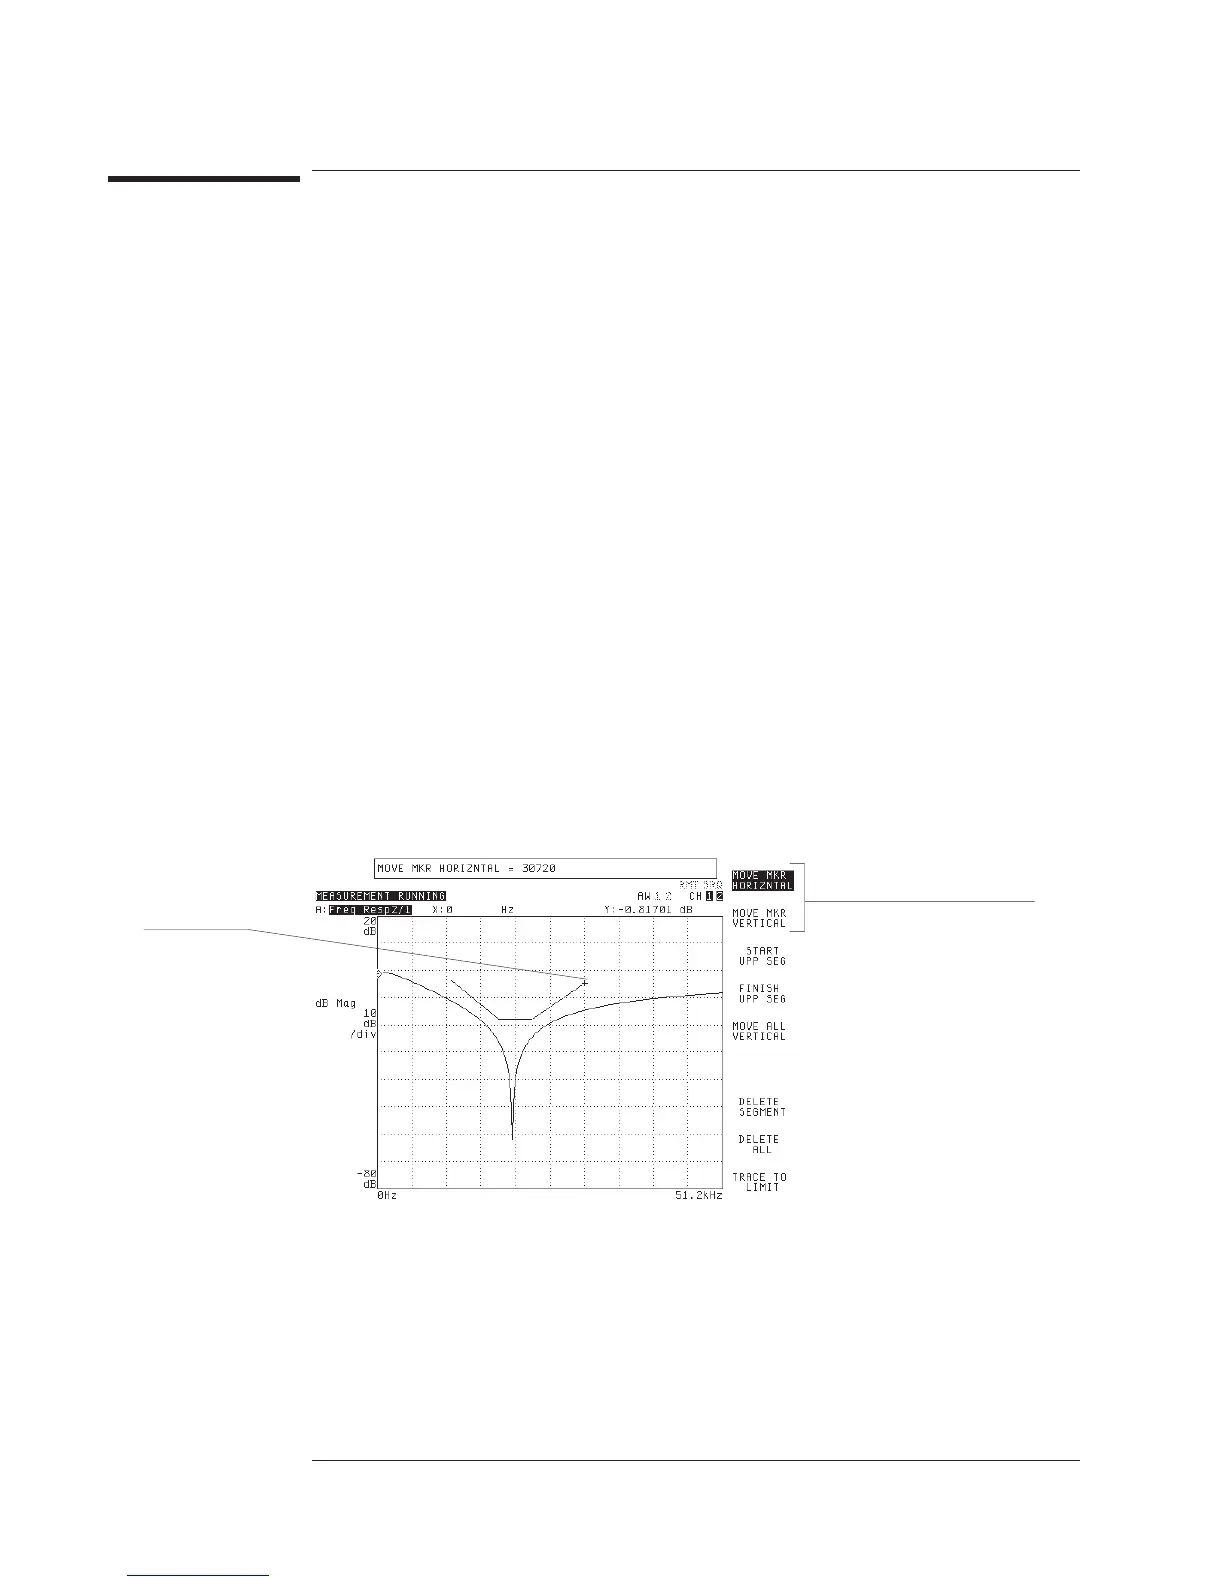
3 Turn the knob to place the limit marker at the beginning of your limit line. (Press
[
MOVE MKR HORIZNTAL
] and [
MOVE MKR VERTICAL
] to control the knob’s effect on
the marker.)
4 Press [
START xxx SEG
].
5 Turn the knob to place the limit marker at the end of your limit line.
6 Press [
FINISH xxx SEG
].
7 Press [
Rtn
] or some other hardkey to exit the Define Limit menu.
This task, as written, shows you how to create a single-segment limit line. However, you can modify
the task to create a multi-segment line. Just repeat steps 5 and 6 several times before completing
step 7.
The limit you create is stored in the upper or lower limit register of the active
trace—depending on which key you pressed in step 2. You can evaluate a trace
against the limit by enabling limit testing, as shown in “To enable limit testing,” later
in this chapter.
Limit marker.
These keys control the
knob’s effect on the limit
marker.
Agilent 35670A
Limit Testing Operator's Guide
17-2