3 Connect the transducer’s output cable to the analyzer as described at the beginning of
this chapter, then secure the transducer to the calibrator.
4 Specify the measurement parameters.
Press [
Freq
][
SPAN
], then press the down-arrow key if you want to reduce the
frequency span.
Press [
Window
][
FLAT TOP
] to maximize amplitude accuracy.
5 Press [
Scale
], then press [
AUTOSCALE ON OFF
] to highlight ON.
6 Turn on the calibrator, then press [
Start
].
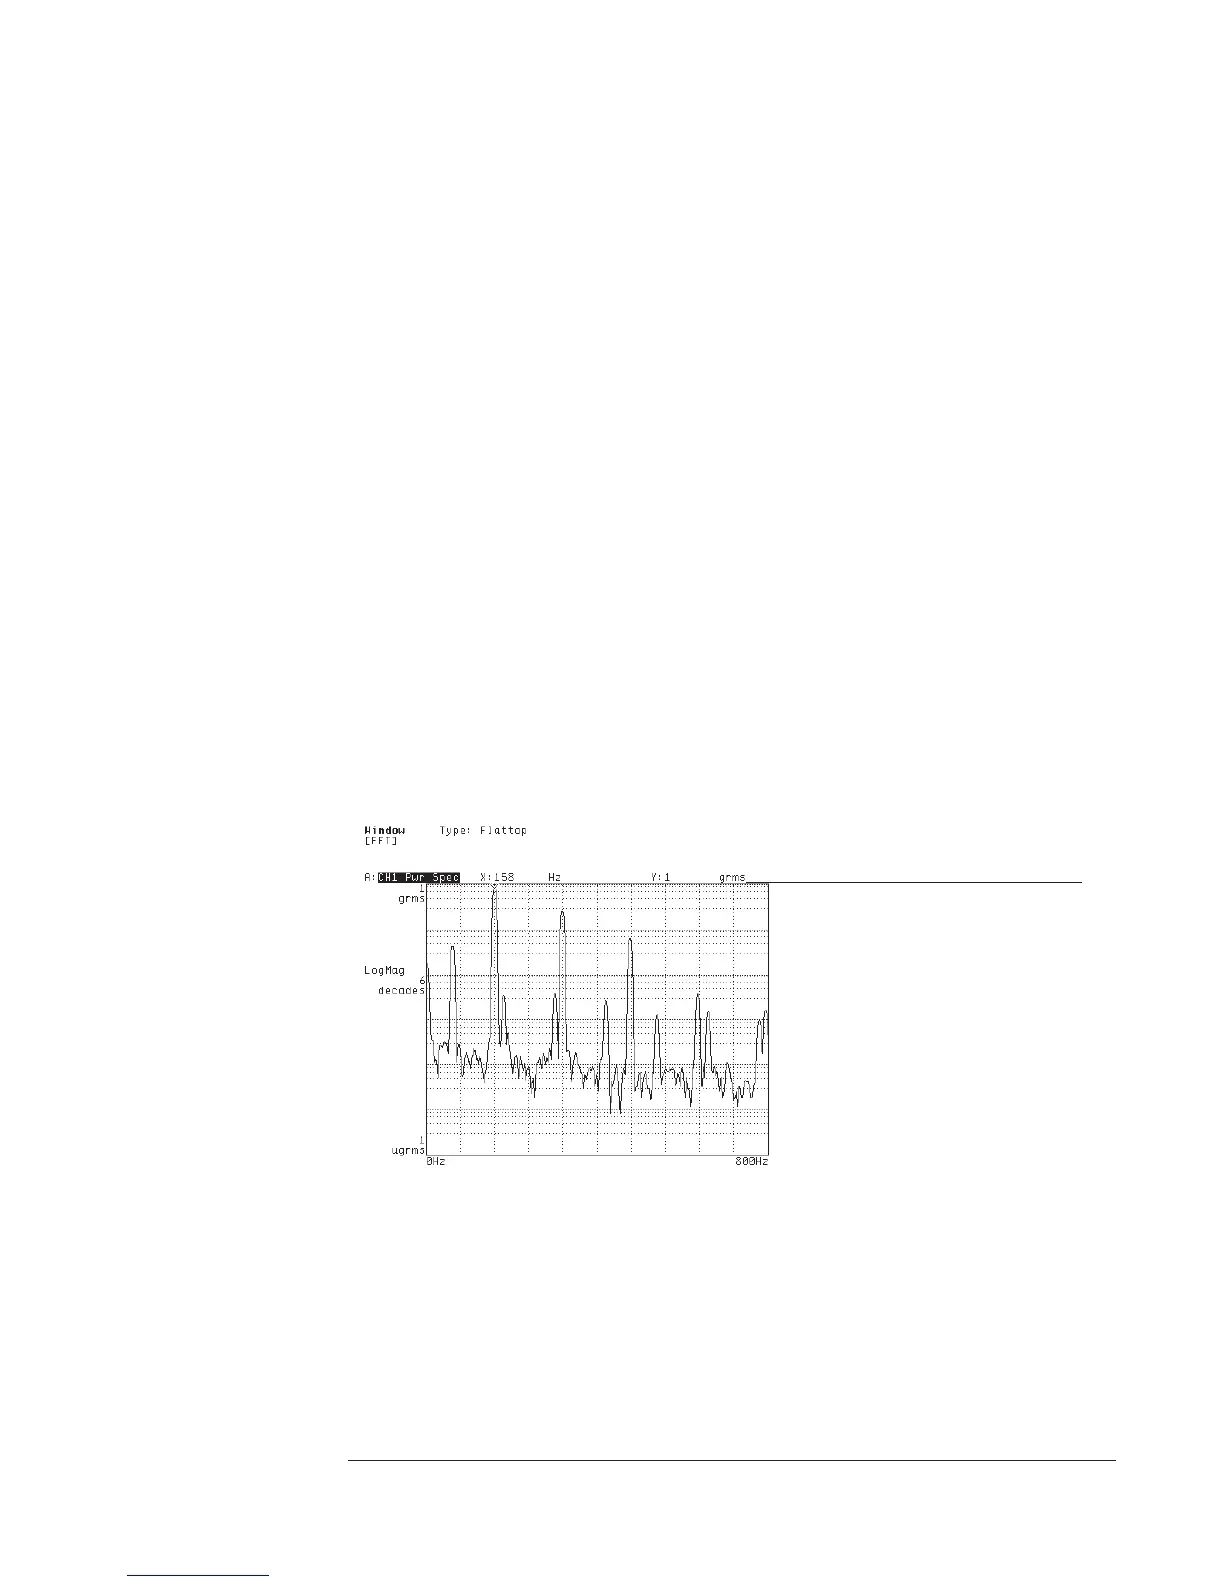
7 After the display has been updated at least once, move the marker to the calibrator’s
output frequency and enter calibrator’s output amplitude.
Press [
Marker
][
MARKER TO PEAK
].
Press [
Input
][
XDCR UNIT CHx SETUP
][
CAL VALUE AT MARKER
], then type the
calibrator’s specified output amplitude and press [
ENTER
].
The analyzer uses the number you enter in [
CAL VALUE AT MKR
] to calculate a new
value for [
XDCR SENSITVTY
]. This new value is the calibration factor that ensures the
accuracy of your transducer measurements. The analyzer automatically stores this
value and the [
XDCR UNIT LABEL
] value in nonvolatile memory, so they will not be
lost at preset or power-down. However, the values will be used only when
[
XDCR UNIT ON OFF
] is set to ON.
Y-axis readout matches
calibration amplitude after you
complete this task.
Agilent 35670A
Operator's Guide Measuring Rotating Machinery
1-5