If you are trying to align the top, left, or right sides of this heart with another shape or shapes. Because
of the gaps, you wouldn’t be able to use the alignment functions from Section 3.15, with the exception of
the bottom alignment.
If you needed the heart to be a specific size, for example, exactly 1” in height. The bounding box for this
heart is 1” tall, but clearly the heart is significantly shorter than that.
To refit a bounding box, select the shape and then the Flatten Paths function can be applied in any of the
following ways:
Click on the Advance icon on the Magic Toolbar and select Flatten Paths
Press Ctrl+Shift+F
Right click on the screen and choose Shape Magic>Advanced>Flatten Paths from the menu
Go to Edit>Shape Magic> Advanced>Flatten Paths.
The heart now appears with the bounding box aligned:
Because the Flatten Path command adds a substantial number of nodes, it is advisable to follow up this
function with the Auto Simplify Path function presented in Section 7.02.
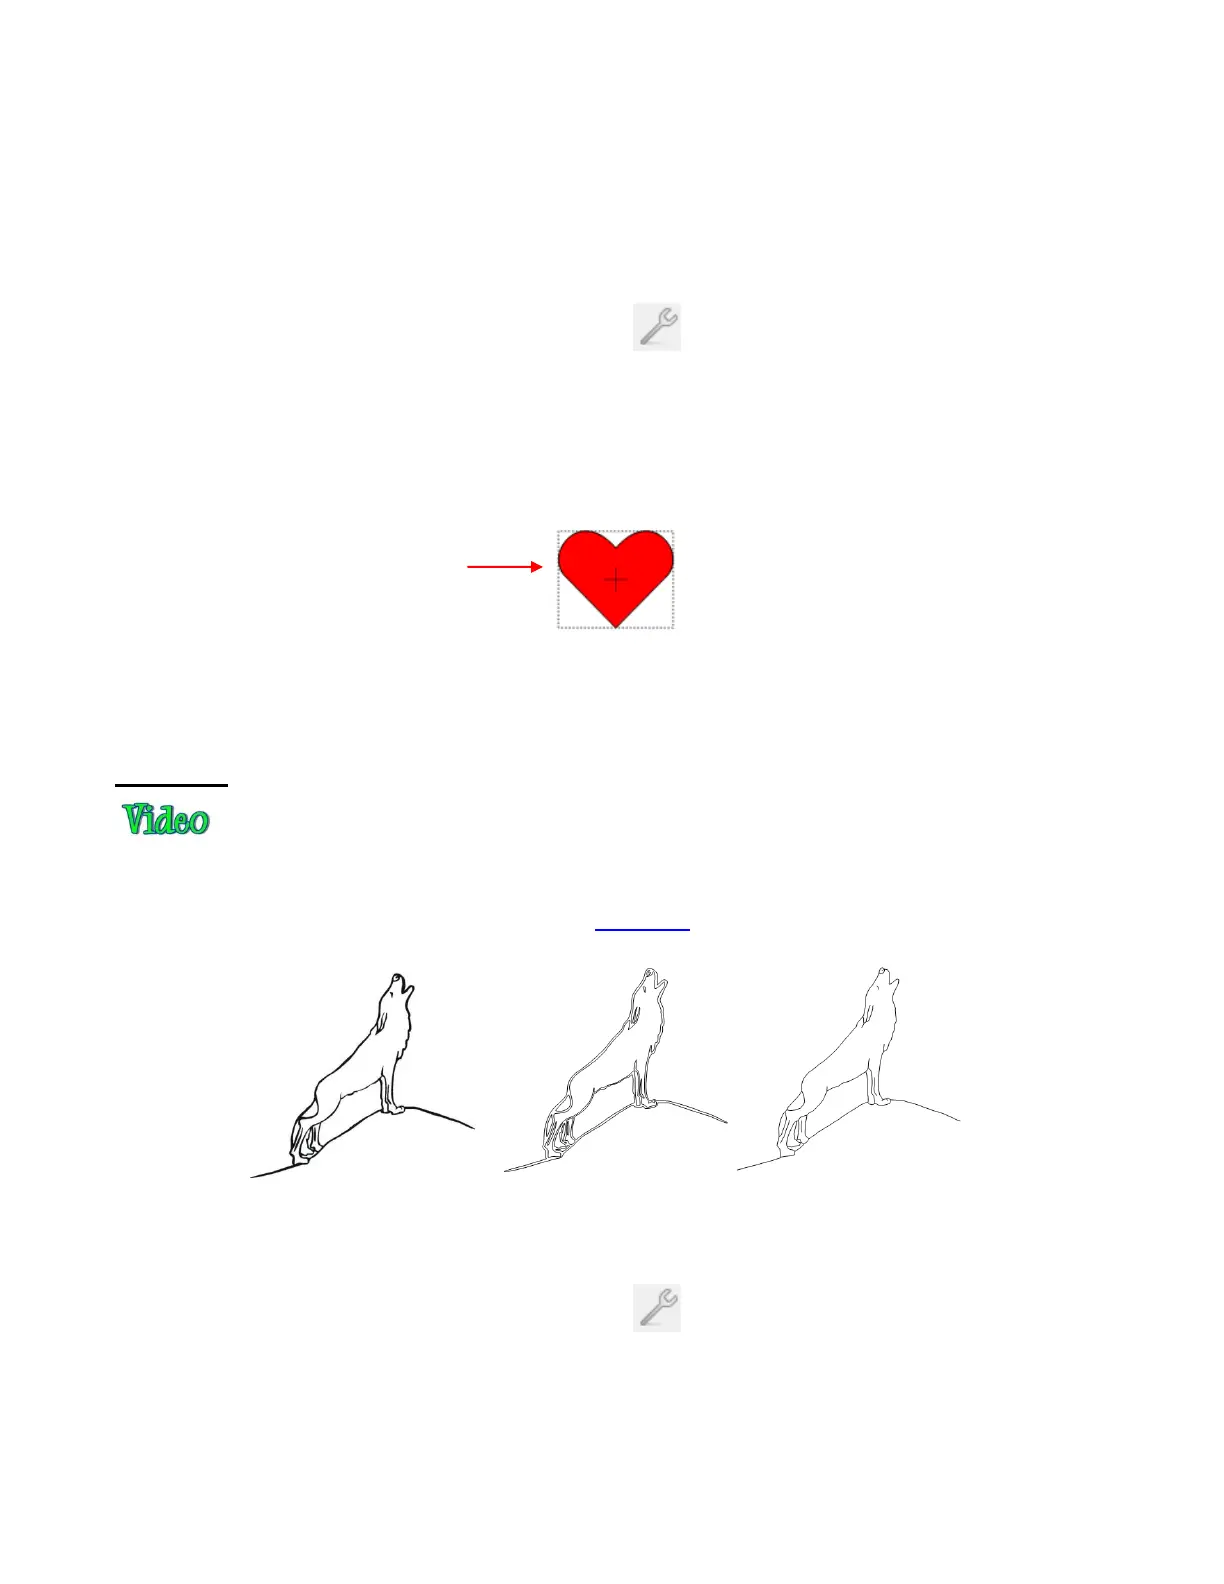
Thin Paths
The Thin Paths function is used to convert a shape into a single line or curve. This is useful in rhinestone
designing for converting thin fonts into single line fonts. It can also be used after tracing a black and white
line image (aka coloring book image) such as this wolf image:
After selecting the shape, Thin Paths can be applied in any of the following ways:
Click on the Advance icon on the Magic Toolbar and select Thin Paths
Press Ctrl+Shift+K
Right click on the screen and choose Shape Magic>Advanced>Thin Paths from the menu
Go to Edit>Shape Magic> Advanced>Thin Paths.