Split by Spaces: Spaces created using the space bar will divide text into separate shapes:
Split by Glyphs: Each typed character will be its own individual shape:
The different options are useful depending on what the next planned step will be with the text. For example,
if you plan to overlap the characters to weld together, then you want the text to be Split by Glyphs. But as
you explore other designing functions, you will learn how the other options will be better choices.
If you inadvertently select the wrong option for your intended design, not to worry! You can use the Split
function (Ctrl+P) on the text after you close the Add Text Group window to Split by Glyphs. Then, if you
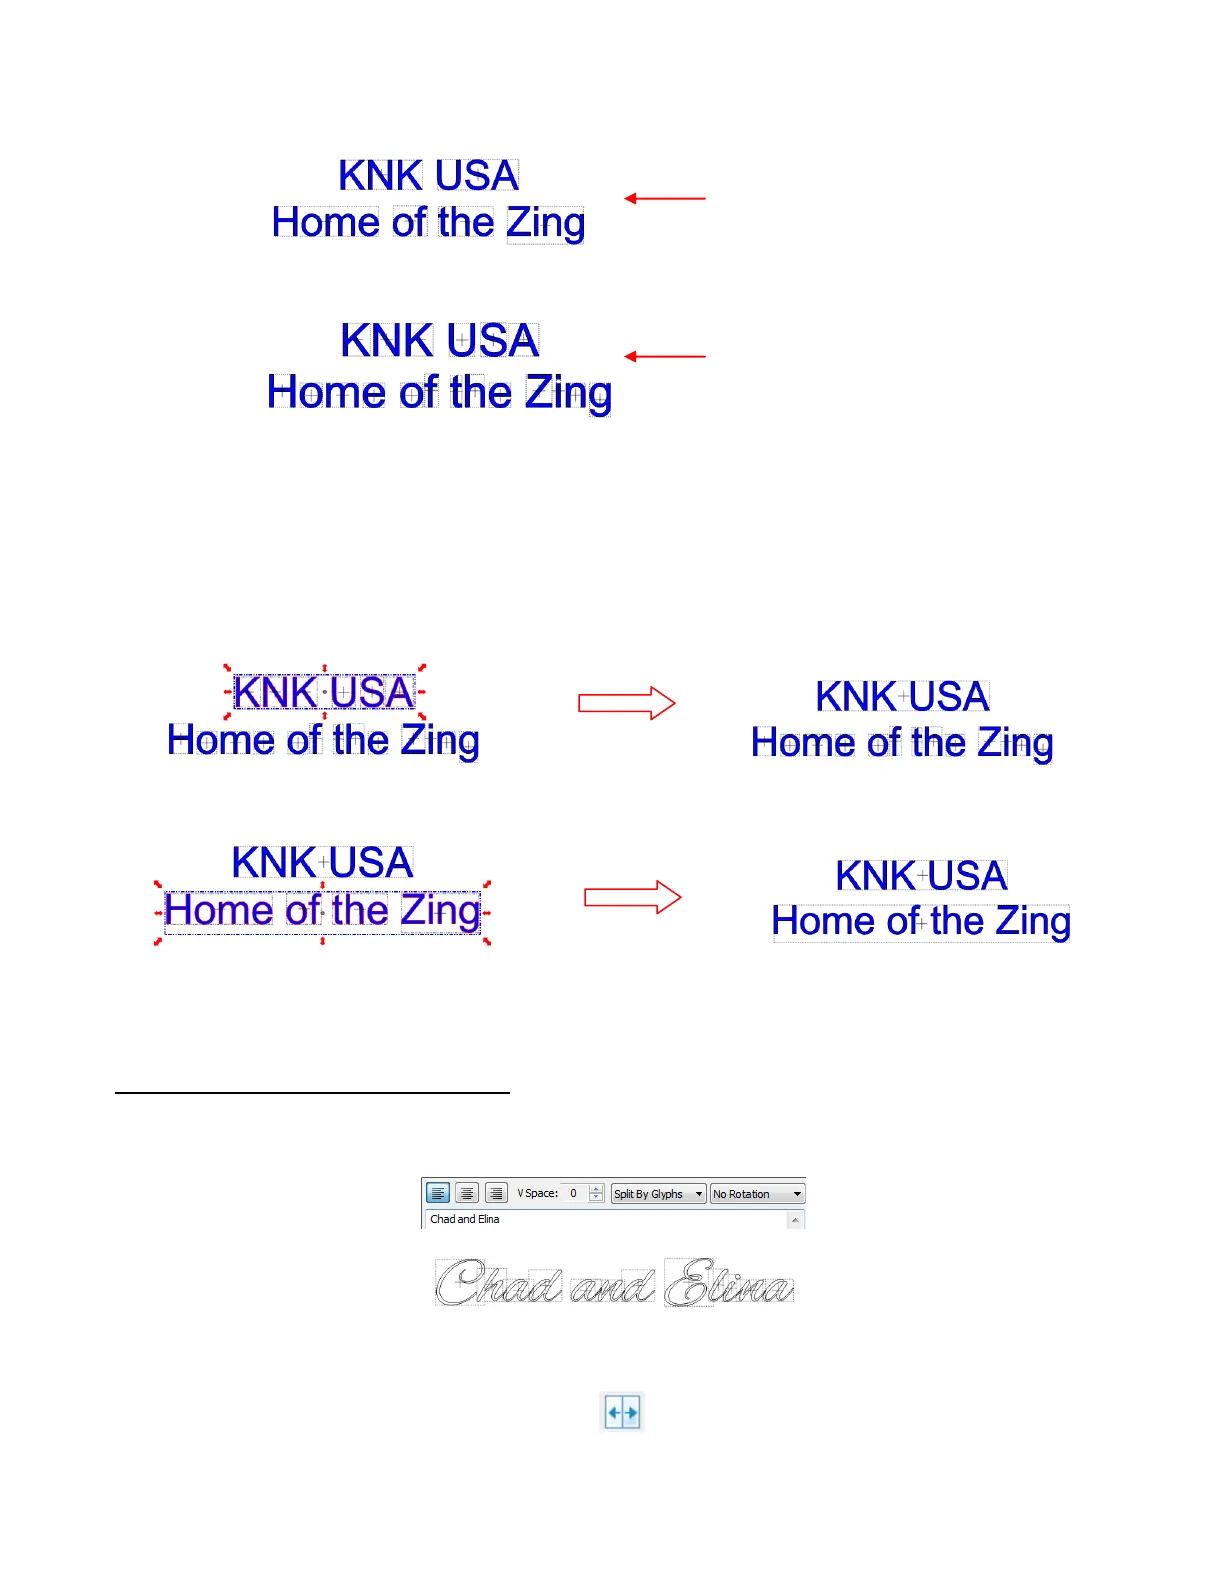
want Split by Lines or Split by Spaces, then just marquee-select the characters groupings, one at a time,
and apply the Join function (Ctrl+J) to recreate the splitting you wish to have. For example, marquee-
select the entire top line of the title that was Split by Glyphs and apply the Join tool:
5.04 Creating a Connected Letter Title
Using the instructions from Section 5.03, type the letters of your title. In this example, you will want to
choose Split by Glyphs so that individual letters can be moved to overlap one another, as desired:
If you forget to select Split by Glyphs, then select your title and use the Split function in any of the
following ways:
Click on the Split icon on the Magic Toolbar
Press Ctrl+P
Right click on the screen and choose Shape Magic>Split from the menu
6 shapes, one for
each word
19 shapes, one for each
character- characters can be
individually moved, as desired
Marquee-select top line of characters
Top line is now all one shape
Marquee-select bottom line of characters
Bottom line is now all one shape