Go to Edit>Shape Magic>Split.
With the letters split, you can select one or more and use the left and right arrow keys to change the spacing
between letters, overlapping as desired. It is advisable to zoom in on the text to get a more accurate view of
the actual positioning of the letters. You may also want to check the text both with and without the Fill
turned on (which can be changed on the Virtual Mat tab).
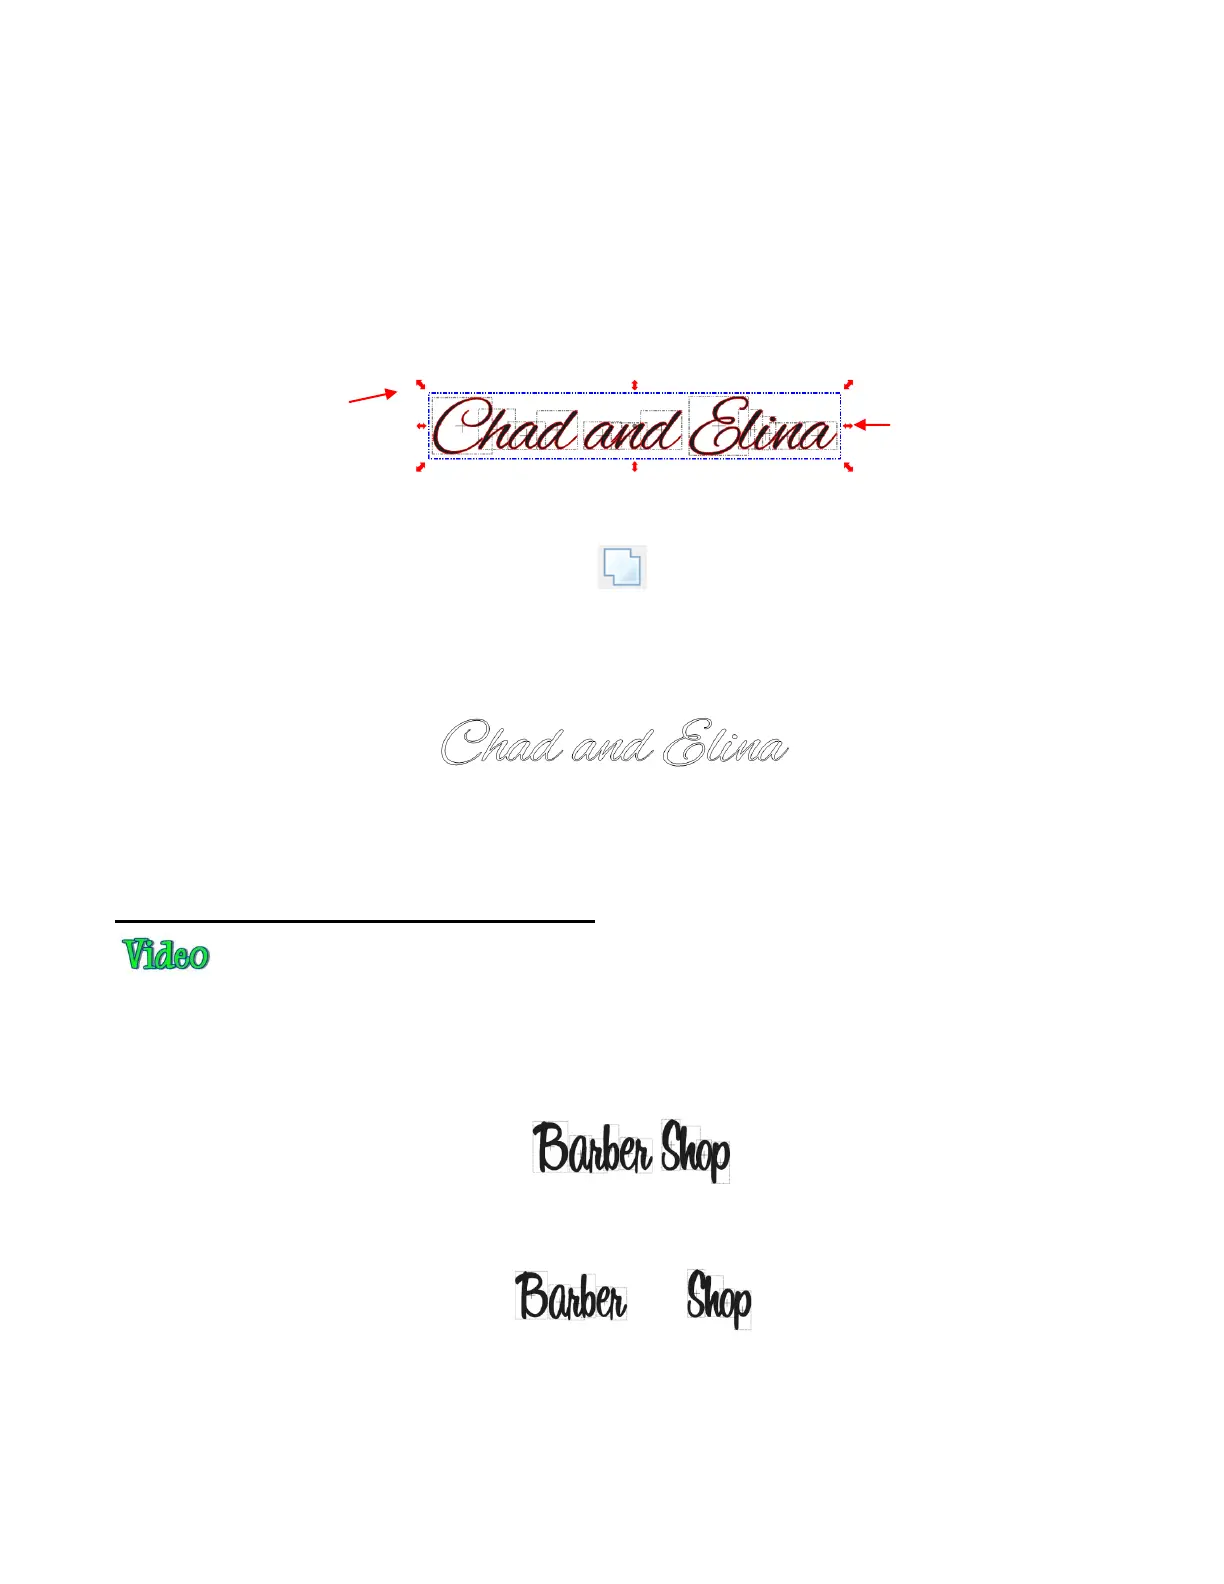
You can also quickly overlap letters by selecting them all, holding the Ctrl key, and then dragging the middle
right of the bounding area towards the left. Note that you must be in Resizing mode for this to work (refer to
Section 4.13) :
When you are satisfied with the overlap, select all of the letters and then apply the Weld function using one
of the following:
Click on the Weld icon on the Magic Toolbar
Press Ctrl+W
Right click on the screen and choose Shape Magic>Weld from the menu
Go to Edit>Shape Magic>Weld.
To create an outline/shadow for titles and other shapes or if you need to thicken a font that turns out to be
too thin for cutting, refer to Section 8.02.
5.05 Incorporating Dingbat Shapes into a Title
A quick way to incorporate a shape into a welded title is to use any of thousands of dingbat fonts available
from the Internet for free. In this example, a free font called 1 Bean Sprout DNA is being used for the title
and the dingbat font, Wingdings, will be used for the shape.
Using the steps in Section 5.03, create the title, with the Split by Glyphs option selected:
Marquee-select the left side and drag away from the right to create a gap for a shape:
On the Text and Fonts tab, select the font, Wingdings, from the dropdown menu. Scroll to locate the
scissors image. Rather than entering the Add Text Group window, you can double click on the image you
want to use and it will added at the location of the Caret (refer to Section 4.01):
Hold Ctrl key and drag this
middle double arrow icon to
the left to decrease spacing
Make sure text is in
Resizing mode.