The Cut Speed is the speed of the blade (or other installed tool) while it is in the “down” or cutting position.
The Zing has 20 speed settings, with 8 of them being below 100mm/sec. This cutter was designed to handle
a wide range of thicker, more difficult materials that will cut far more successfully with a slower cut.
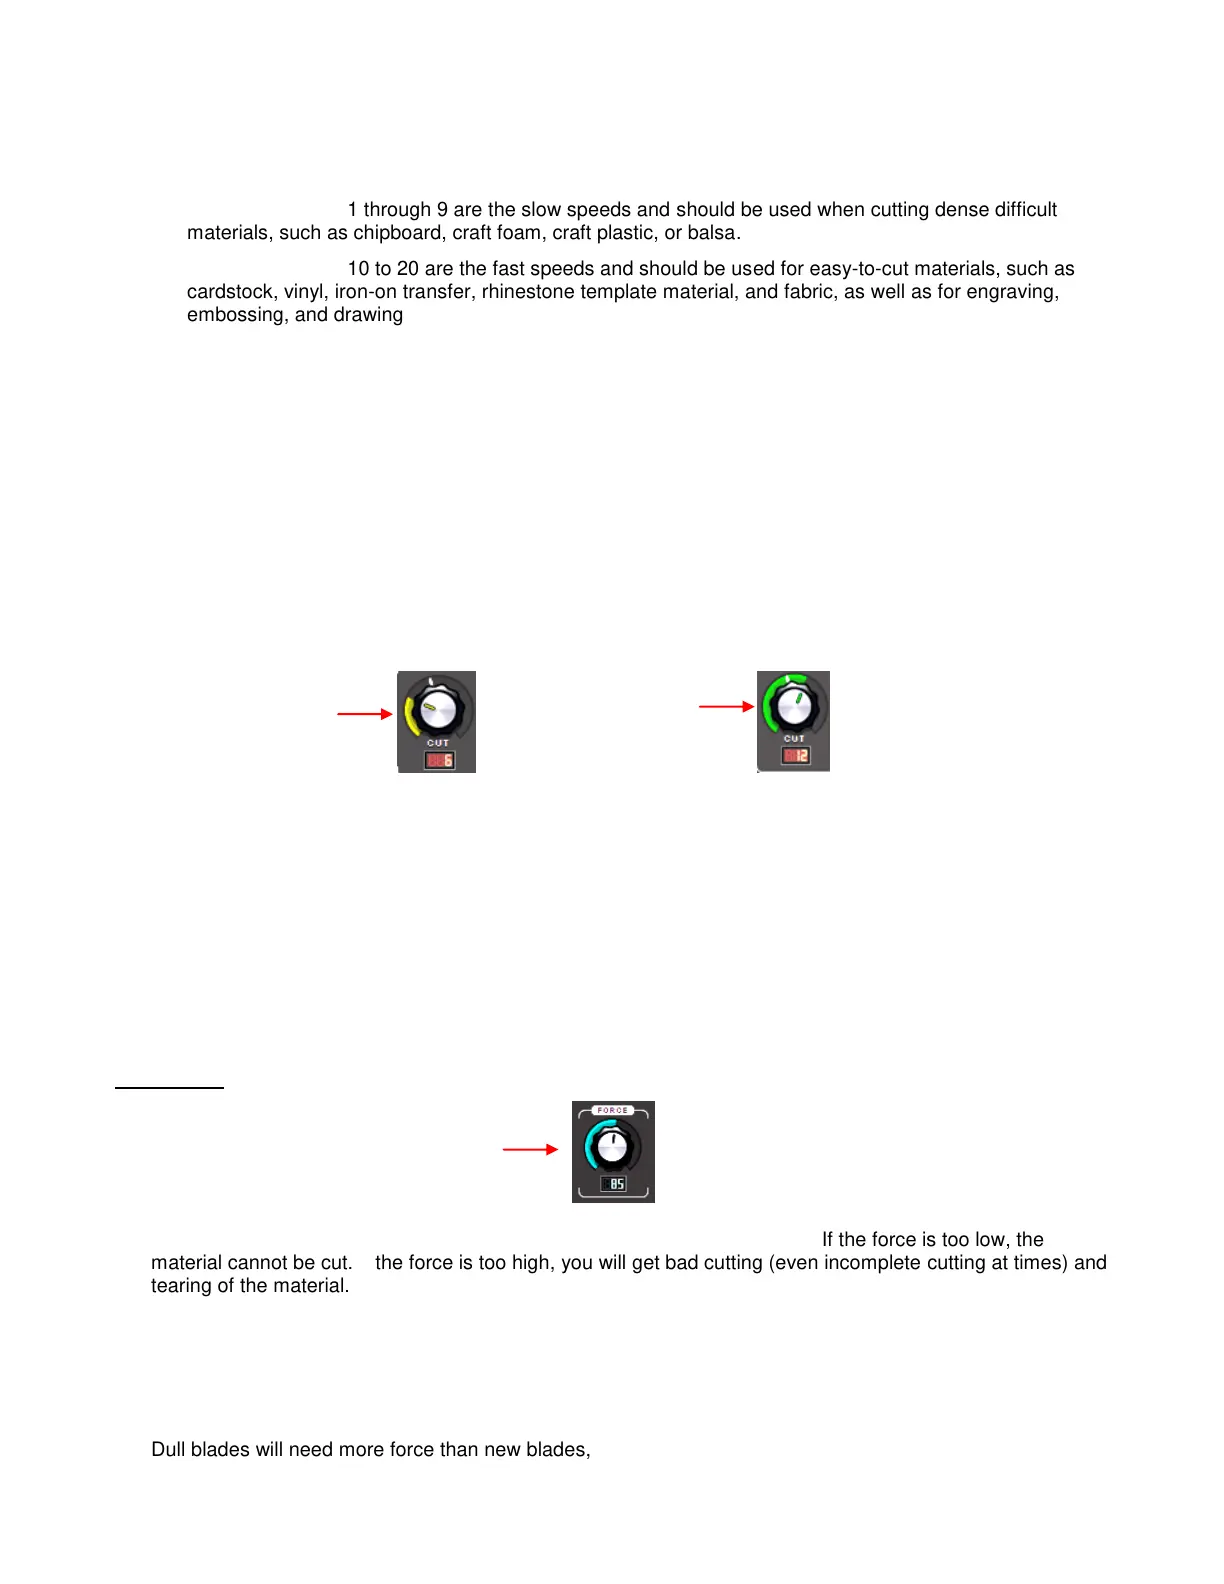
The settings from 1 through 9 are the slow speeds and should be used when cutting dense difficult
materials, such as chipboard, craft foam, craft plastic, or balsa.
The settings from 10 to 20 are the fast speeds and should be used for easy-to-cut materials, such as
cardstock, vinyl, iron-on transfer, rhinestone template material, and fabric, as well as for engraving,
embossing, and drawing.
The Up Speed is the speed of the blade (or other installed tool) while it is in the “up” or non-cutting position.
It has the same number and range of speeds as the Cut Speed. An Up Speed is in effect when:
The blade is travelling from the origin to the point where the cutting of a shape begins
The blade raises and moves to the next path or shape to cut
The blade is travelling back to the origin after the cut is completed.
There is a small white line in the upper left corner of each dial indicating the transition between the slow
speeds and the fast speeds. Also, the color of the bar outside the two dials is yellow when in a slow speed
range and green when set in a high speed range:
Between the Cut and Up dials is a light you can click to turn off and on. You’ll note that there is a little lock
symbol which is a label for the light, reminding you that when the light is on, the Cut Speed and the Up
Speed will match. If you have the two speeds set at different levels, turning the light back on will
automatically change the Up Speed to the same setting as the Cut Speed.
Why would the Cut Speed and Up Speed ever need to be different? When cutting extremely dense
materials at one of the slowest speeds, you will want to leave the Up Speed at a normal level, say 10, so
that you aren’t waiting unnecessarily for the blade to travel from the origin to the location to begin the cut. If
the first shape is across the mat from the origin, the wait can seem endlessly long!
2.04 Force
The cutting force (also called pressure) greatly affects the quality of the cut. If the force is too low, the
material cannot be cut. If the force is too high, you will get bad cutting (even incomplete cutting at times) and
tearing of the material. Use recommended starting forces for the material you are cutting and perform test
cuts before cutting. Make adjustments in order to get a clean test cut before proceeding with your larger cut.
The cutting force ranges from 1 to 160 on the force scale. The maximum of 160 represents the 750g of
cutting force on a Zing. Refer to Chapter 10 for recommended starting forces for various materials. Again,
remember that a lot of factors can affect the force to use, so use the test cut as a guide and adjust, as
needed.
Dull blades will need more force than new blades, thus anticipate increasing the force over the life of the
blade.
Yellow indicates
a slow setting
Green indicates
a fast setting
Force (settings from
1 to 160)