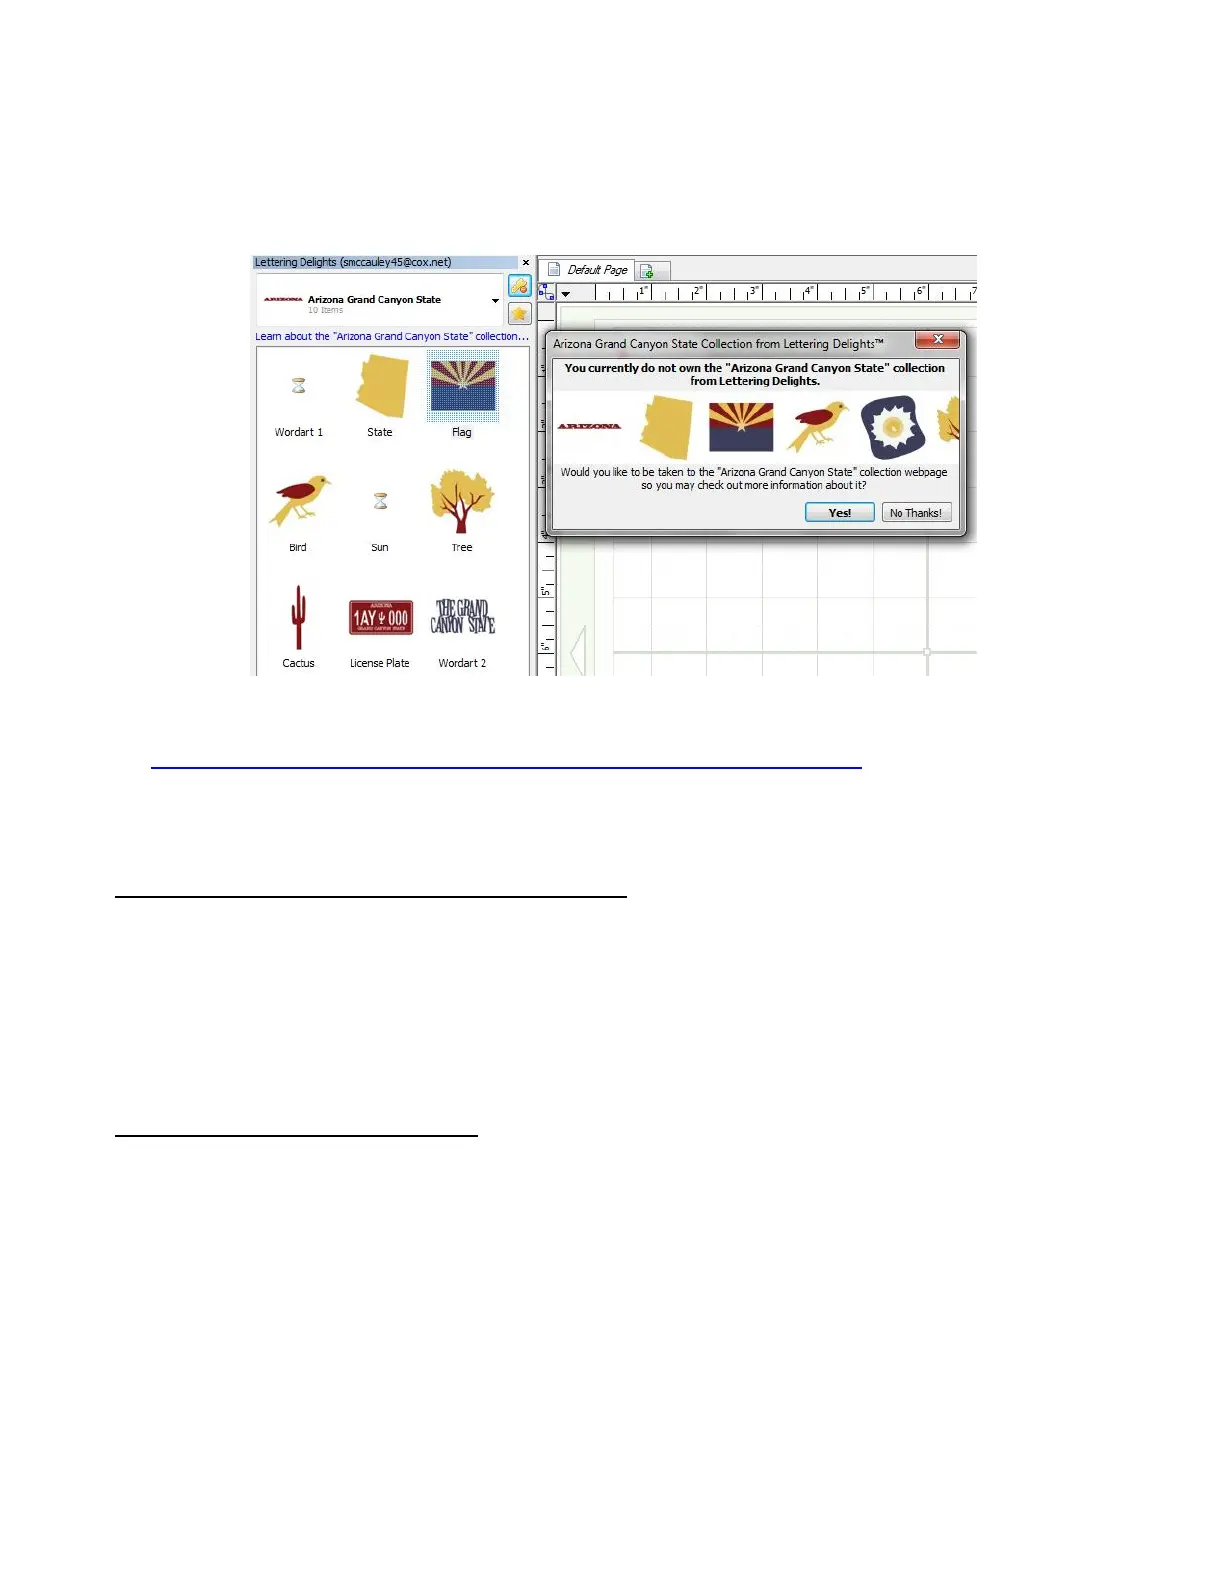
The following example shows a collection of clipart called “Arizona Grand Canyon State” that has been
found at the Lettering Delights site, but has not yet been purchased. You can see the images contained in
this collection and, upon double clicking any of the images, a window will open:
If you answer Yes, your Internet browser will open and you will be taken to this link:
http://www.letteringdelights.com/clipart:arizona_grand_canyon_state-10057.html where you can again view
the images in this collection, browse projects made with this collection, link to related collections, and, of
course, purchase this collection.
4.08 Importing Raster Files (JPG, BMP, PNG, etc)
If the selected file format is a raster (e.g., JPG, BMP, TIF, PNG, or GIF), then the Pixel Trace option is used
to import the graphic and vectorize selected portions or all of the shape. Refer to Chapter 6 Tracing.
Raster images may also be copied and pasted into the Pixel Trace window directly from Windows Explorer.
If the raster file is only going to be used to fill a shape with the image (also referred to as adding a Texture),
then refer to Section 3.14.
4.09 Accessing the Export Options
One can export a selected shape or group of shapes in any of the following ways:
Go to File>Export and select from one of the available export options
Right click on the screen and select Export
Right click on the project tab on the Tab Bar and select Export from the menu. This is the same as
going to File>Export.
Use any one of three shortcut keys to bring up the available Export choices. Refer to the following
screenshot.