To add some splashes, start with additional tear shapes, resize to make thinner, and apply Warping or
other method of distorting the shape. Rotate and arrange under the whale to complete the design:
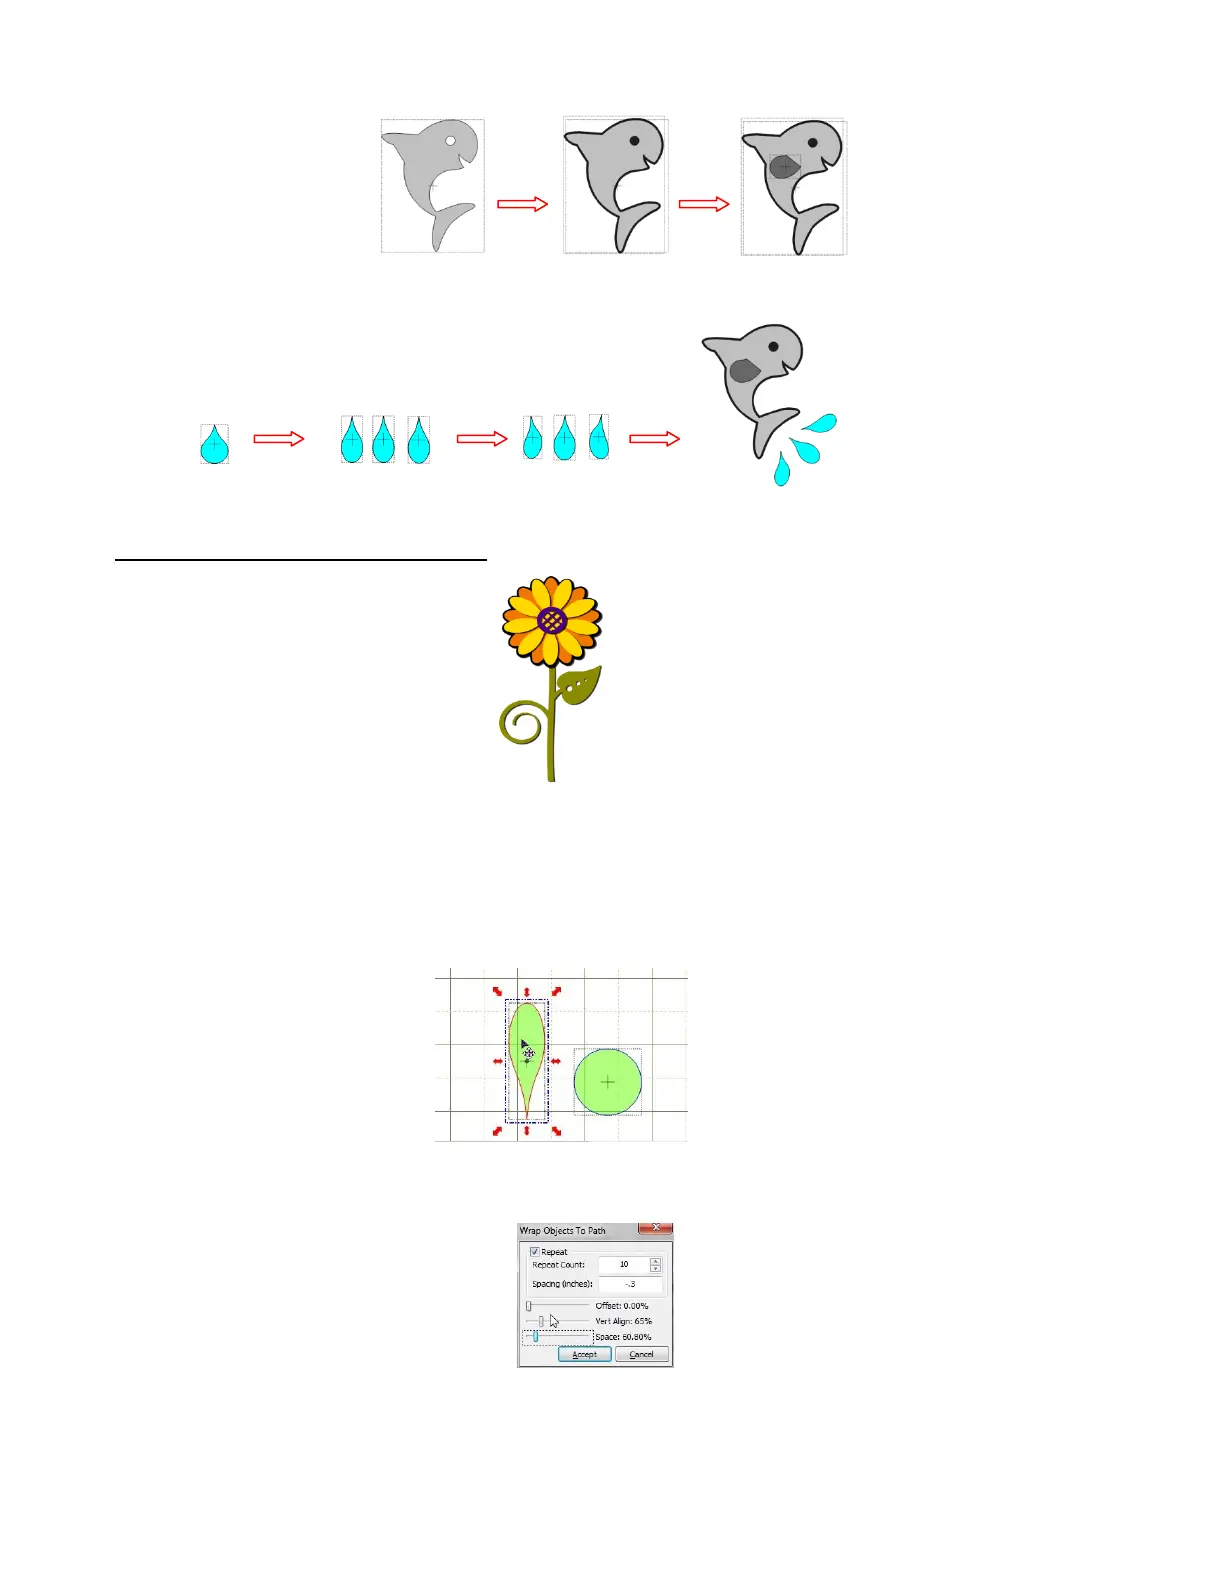
Designing a Flower by Laury Vaden
This colorful flower is made from just a few Basic Shapes: Circle, Swirl, Heart2, Tear, and Wavy 2.
Set Snap Position to No Snapping. Choose one of the non contrast mats such as the standard green mat.
Select the Circle and move it down and away from the other shapes. Then select the Tear and move it
down. Click on the Tear until red icons change to the mode shown below. This is the Scale mode. Elongate
the Tear and thin it as shown:
Holding the Ctrl key, move the Tear over the Circle and release. This will open the Wrap Objects to Path
window. (Refer to Section 8.05 for details on activating this function):
First, check the Repeat box. Then increase the Repeat Count. Use a negative value for the Spacing so
that the Tears overlap slightly. Spacing is controlled by both the Spacing setting that you type in and the
Space slider setting just above the Accept button. This might be a little confusing especially when you use
negative numbers versus positive numbers. Practice a bit to see how it works with both. The Vertical Align