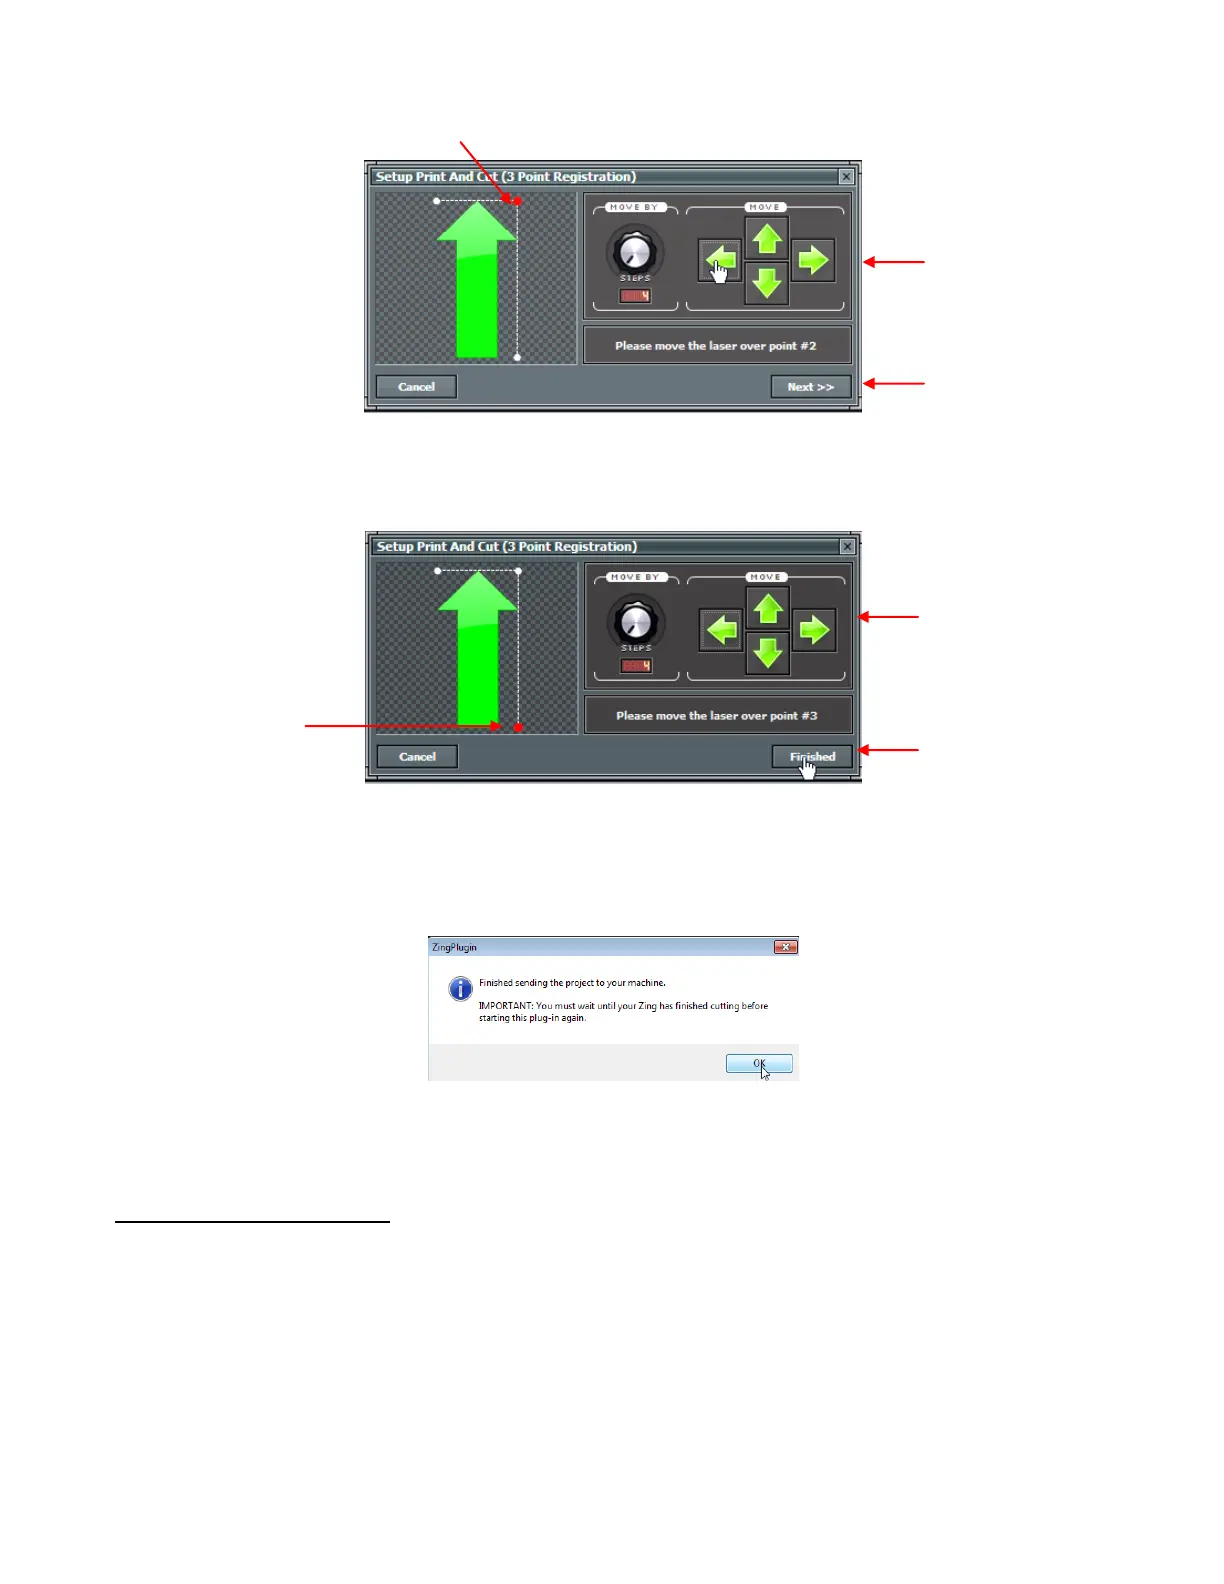
Repeat the process with the final reg mark:
After clicking Finished, the following window will open and remind you to wait until the cutting has
completed before going back to the Cut with Klic-N-Kut Zing window:
Once you click on OK, the arrow shape will be cut out.
Adjusting the Laser Offset
After the print and cut is completed, examine how the cut lines were made relative to the printed lines. If the
offset is large enough, use a mm ruler to measure. If the offset is very small, then just estimating will be fine
as you refine your calibration.
In the following diagram, the red lines represent the cut lines and the black lines represent the printed lines.
Use this diagram to determine whether your Offset values need to raised or lowered for your laser:
This dot will now be flashing red
Again, click on these
arrows or your keyboard
arrows until laser dot is
on the reg mark corner.
Once the light is
centered on the reg
mark dot, click on Next
or press the Enter key.
This dot will now
be flashing red
Again, click on these
arrows or your keyboard
arrows until laser dot is
on the reg mark corner.
Once the light is centered
on the reg mark dot, click
on Finished or press the
Enter key.