The original can now be deleted and the scalloped version duplicated (if desired) and the PNC process
conducted, as normal.
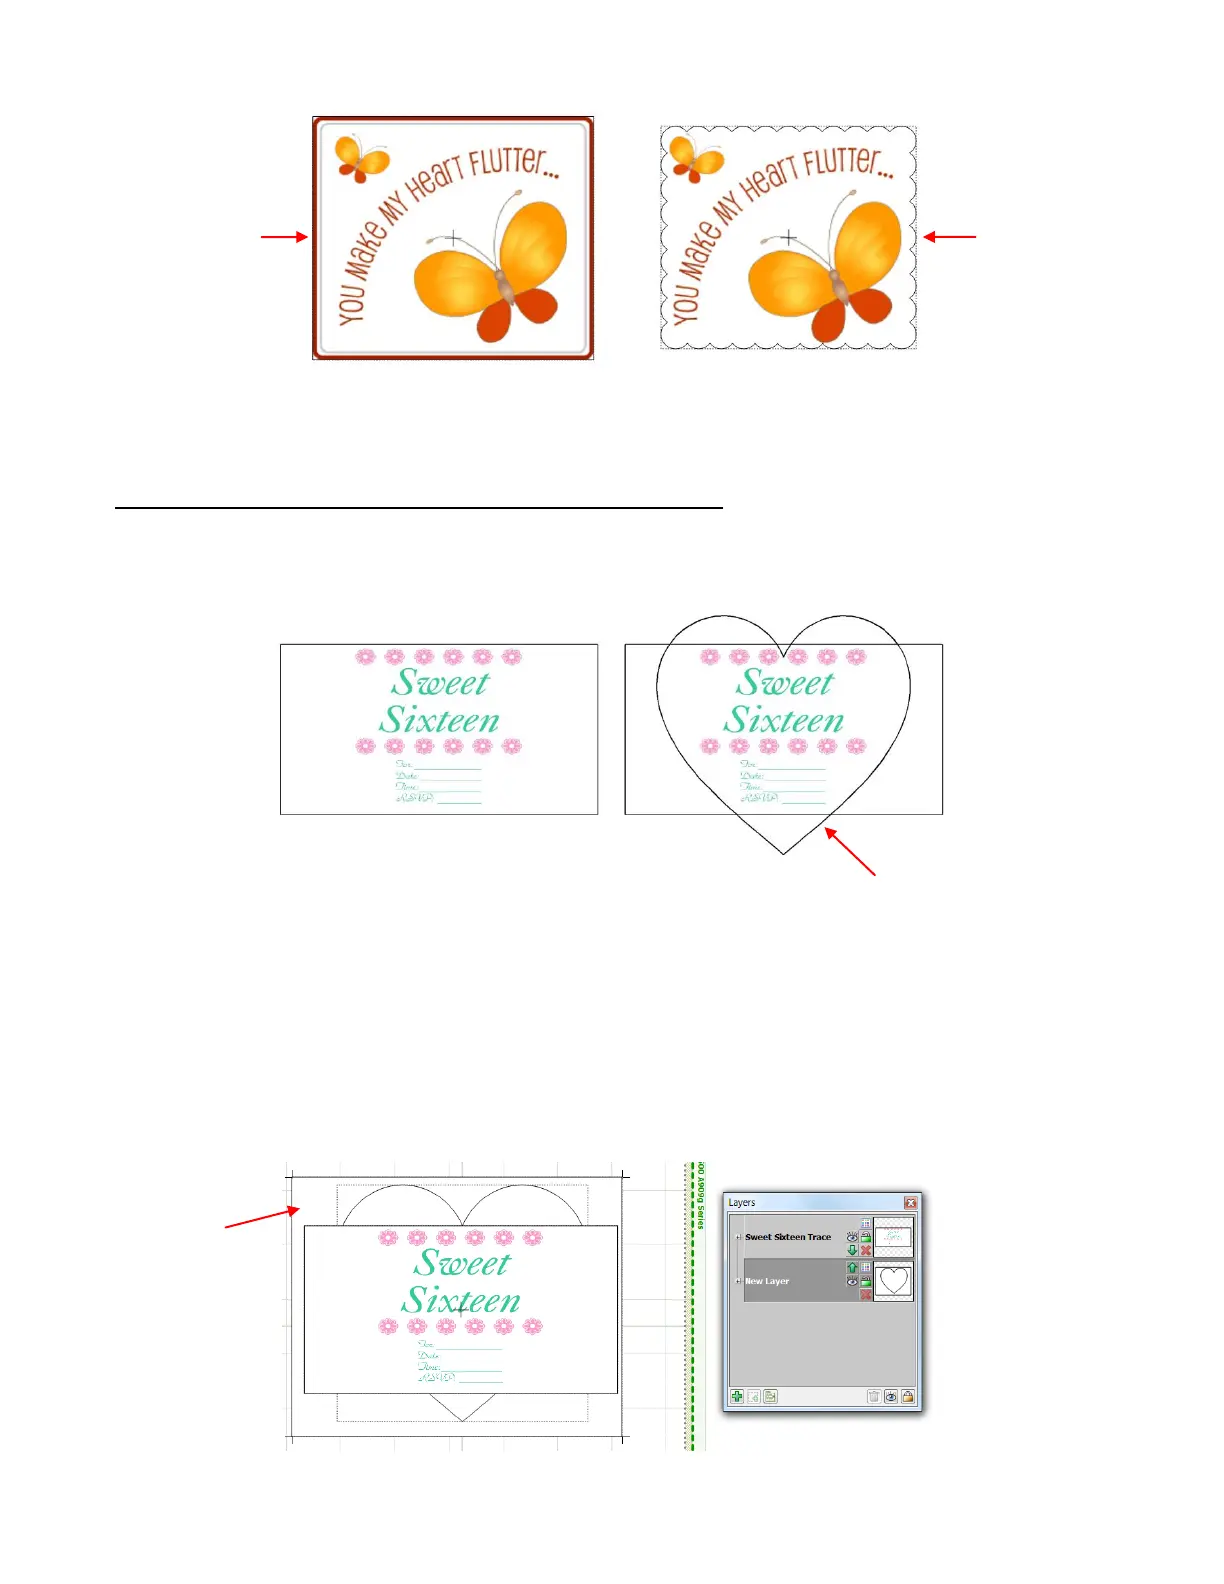
PNC With a Contour Shape Overlapping the Printed Image
This situation is similar to the prior one, however in this case the scallop overlaps the borders of the printed
image in such as way that it is smaller in one direction but larger in the other:
In this case, the Join and Break method, shown in the previous example, does not work because the heart
extends outside of the imported graphic. But the solution is still easy.
Using the Basic Shapes, a white rectangle is added to the file. This rectangle should be large enough to
fully enclose the other images and is placed on a layer lower than the imported graphic. Note that the heart
layer doesn’t actually need to be sent to the printer. But since you might forget to turn this layer back on
after printing, it is recommended that it be set to white, along with the rectangle. In fact, the heart and
rectangle can be placed on the same layer and moved to the bottom:
A heart shape is to be added and cut.
A large white
rectangle is added
to encompass both
the original image
and the heart
This original can
now be deleted.
Rectangle and heart
are both white and
located on bottom
layer.
All layers are sent to
the print window.