Press Ctrl-Z
Go to Edit>Undo.
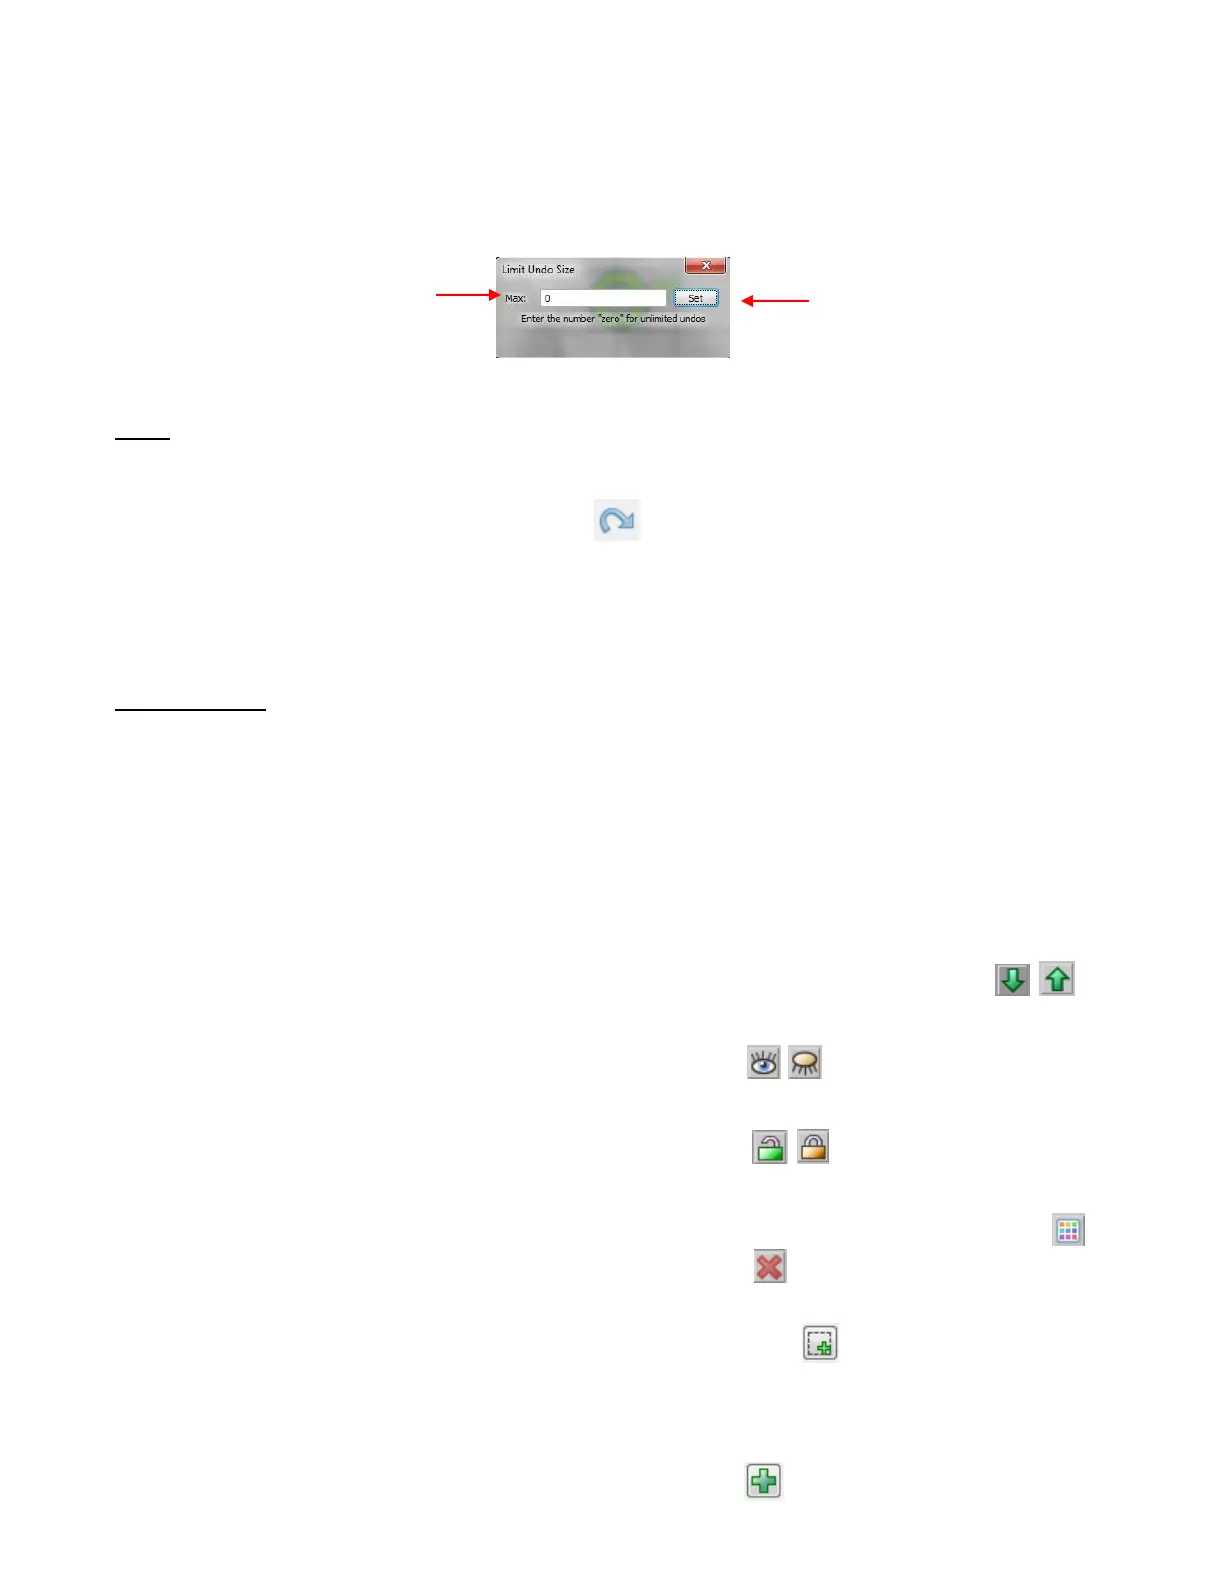
If you are experiencing software crashes due to memory limitations, one solution is to limit the number of
Undo steps stored in memory. To do this, go to Help>Advanced>Limit Undo Size:
Redo
As with most Windows applications, there is also a Redo function in case you Undo too many steps or
simply change your mind. You can use any of the following to invoke the Redo function:
Click on the Redo icon on the File Toolbar
Press Ctrl-Y
Go to Edit>Redo.
3.12 Layer Bar
The Layer Bar (or Layer Properties Bar) is used to organize and group shapes into layers for visual
display and for cutting by color. It can be turned on and off under View on the Menu Bar.
Each layer has a preview or thumbnail showing the shapes assigned to that layer. Click on that thumbnail
and all shapes on that layer will be selected.
There is a small “+” sign to the left of a layer name. Click on it and the “+” will turn to a “-“ and that layer will
open to reveal the sub-layers where every individual shape is assigned to its own sub-layer within that layer
(refer to the screenshot on the following page).
The Layer Bar also offers the following features:
Ability to control shape order: Move layers up or down the list using the green arrow icons.
Shapes present in a higher layer will appear to be on top of the shapes in lower layers. This is a useful
feature for displaying how your project will look when completed.
Ability to Hide and Unhide layers by clicking on the Hide icon. A Hidden layer will display the
shapes in pale versions of their actual colors and will also prevent any movement or resizing, etc of
those shapes.
Ability to Lock and Unlock layers by clicking on the Lock icon. A locked layer prevents the
shapes in that layer from inadvertently being moved or resized. It also allows the shape to be displayed
without an outer bounding box.
Ability to change the Color, Texture, and Line Style for all shapes assigned to a particular layer.
Ability to Delete all of the shapes assigned to a particular layer.
When starting a new project, shapes will automatically be assigned to a Default layer. To move a shape to
a new layer, select it and then click on the Selection to New Layer icon.
Any new shapes that are created will automatically be assigned to the currently selected layer.
Double click a layer name and you can change the name of that layer. Rest your mouse cursor over a layer
name and the number of shapes in that layer will appear.
To create a new empty layer, click on the Create New Layer icon.
Enter the maximum number
of Undo steps stored (or 0
for unlimited)