126 007-4486-001
Chapter 5: Ordering, Removing, Upgrading, Installing Replacement Parts
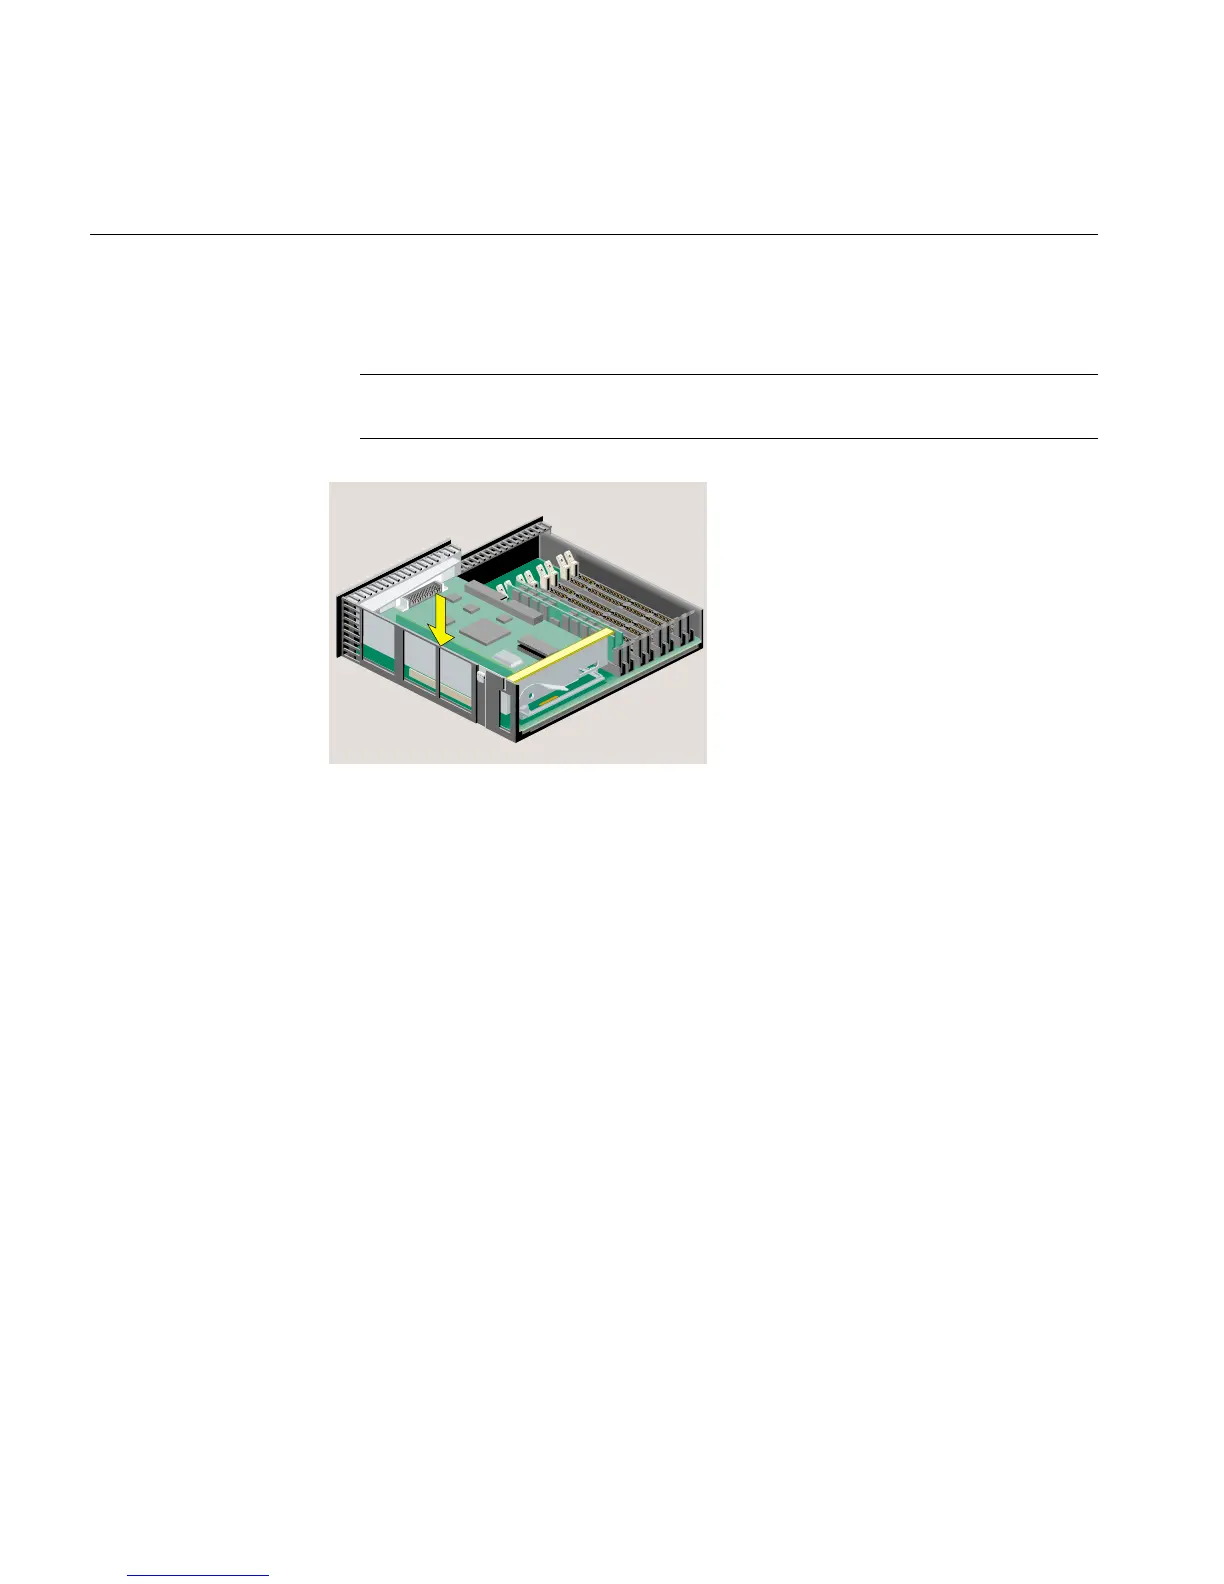
10. Push the tray down firmly until it is completely seated. Check that the lever returns
to its starting position (Figure 5-8).
Note: If the PCI tray is not completely seated, the system module will not slide back
into the chassis.
Figure 5-8 PCI Tray Seated Correctly
11. Reinstall the system module, and reconnect the cables. See “Reinstalling the System
Module” in Chapter 2.
12. Ship the old CPU module to SGI in the container that held the replacement CPU
module.
Replacing the R12000class CPU Module
If you are instructed by your service provider to replace the R12000class CPU module,
you must follow these steps:
1. If you have not already done so, turn off the workstation, remove the power cable,
and remove the system module from the chassis. See “Removing the System
Module” in Chapter 2
2. Remove the plastic faceplate from the system module by using a Phillips
screwdriver to remove five screws on the rear and two screws on the underside, in
the locations shown (Figure 5-9). Keep the two screws from the underside separate.
When reinstalling the faceplate, you must use the same screws.