168 007-4486-001
Chapter 5: Ordering, Removing, Upgrading, Installing Replacement Parts
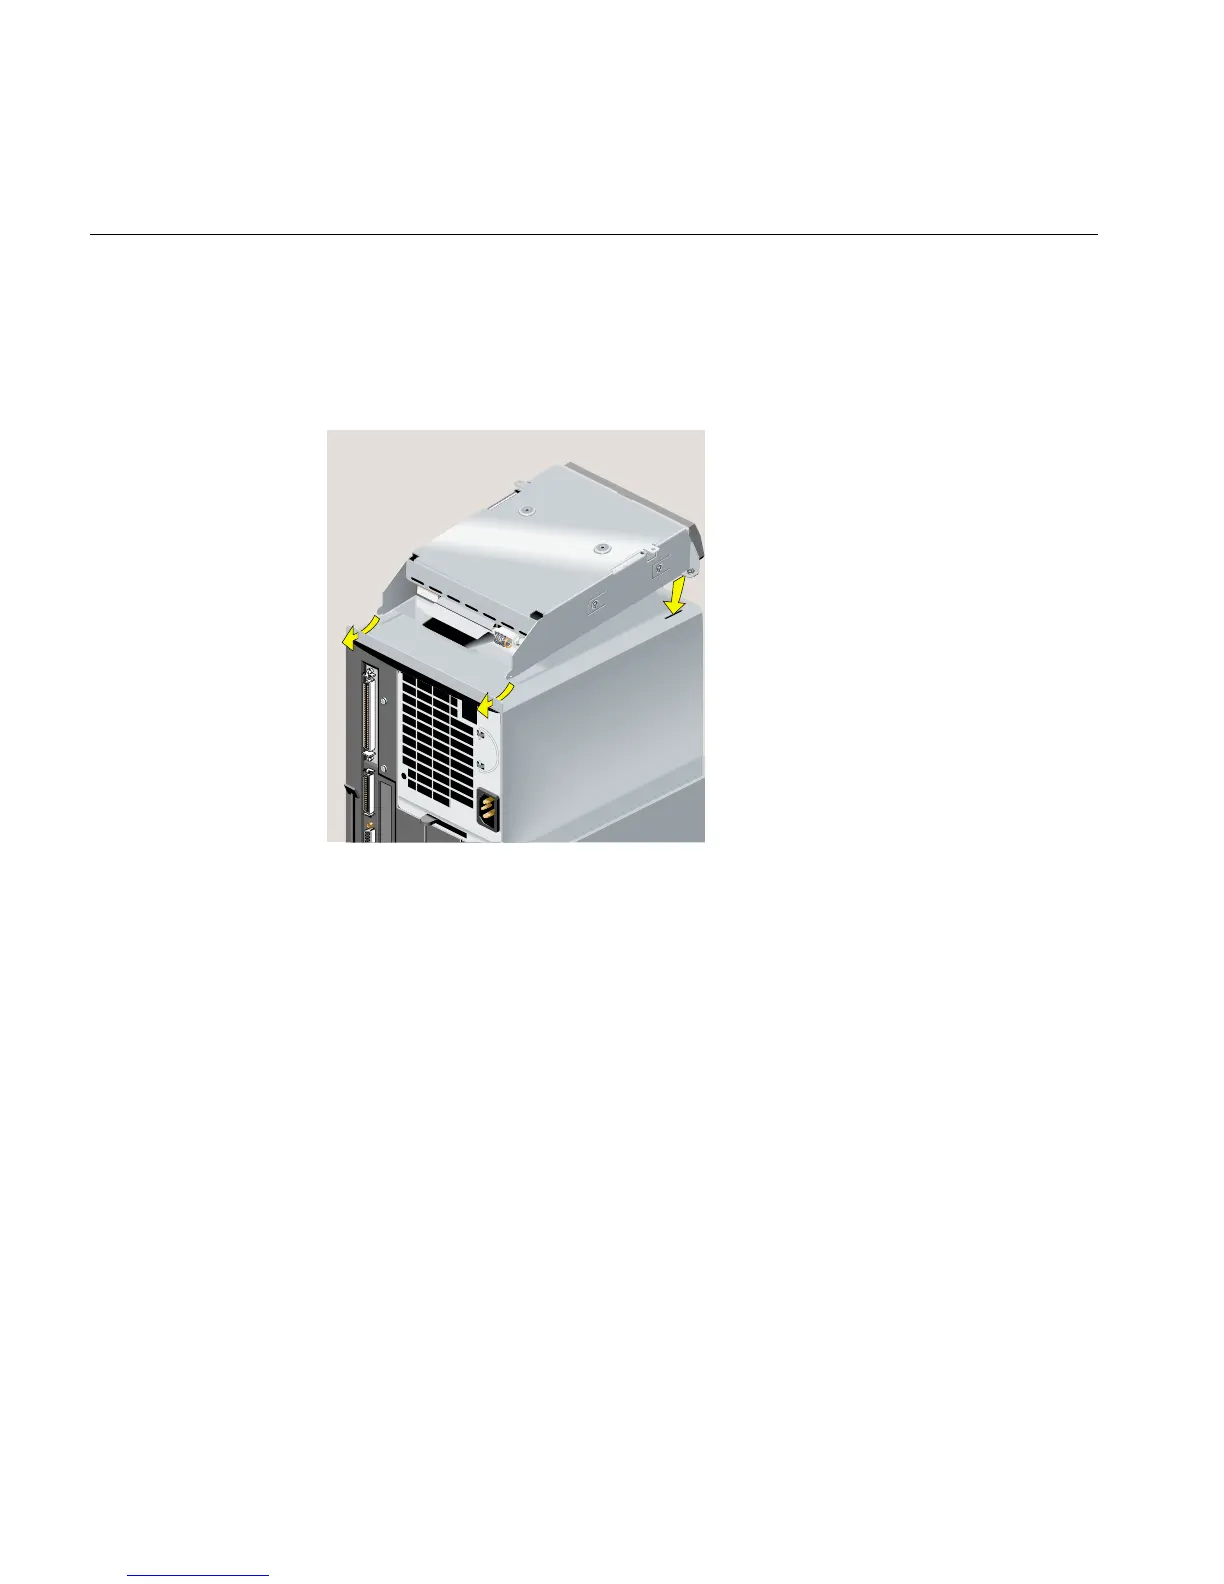
14. Install the replacement CD-ROM drive by sliding the two hinges on the drive’s
bezel into the slots on the chassis and lowering the drive until it is fully seated
(Figure 5-54). Make sure that you do not pinch the SCSI and power cables as you
lower the drive.
Figure 5-54 Installing the Replacement CD-ROM Drive