134 007-4486-001
Chapter 5: Ordering, Removing, Upgrading, Installing Replacement Parts
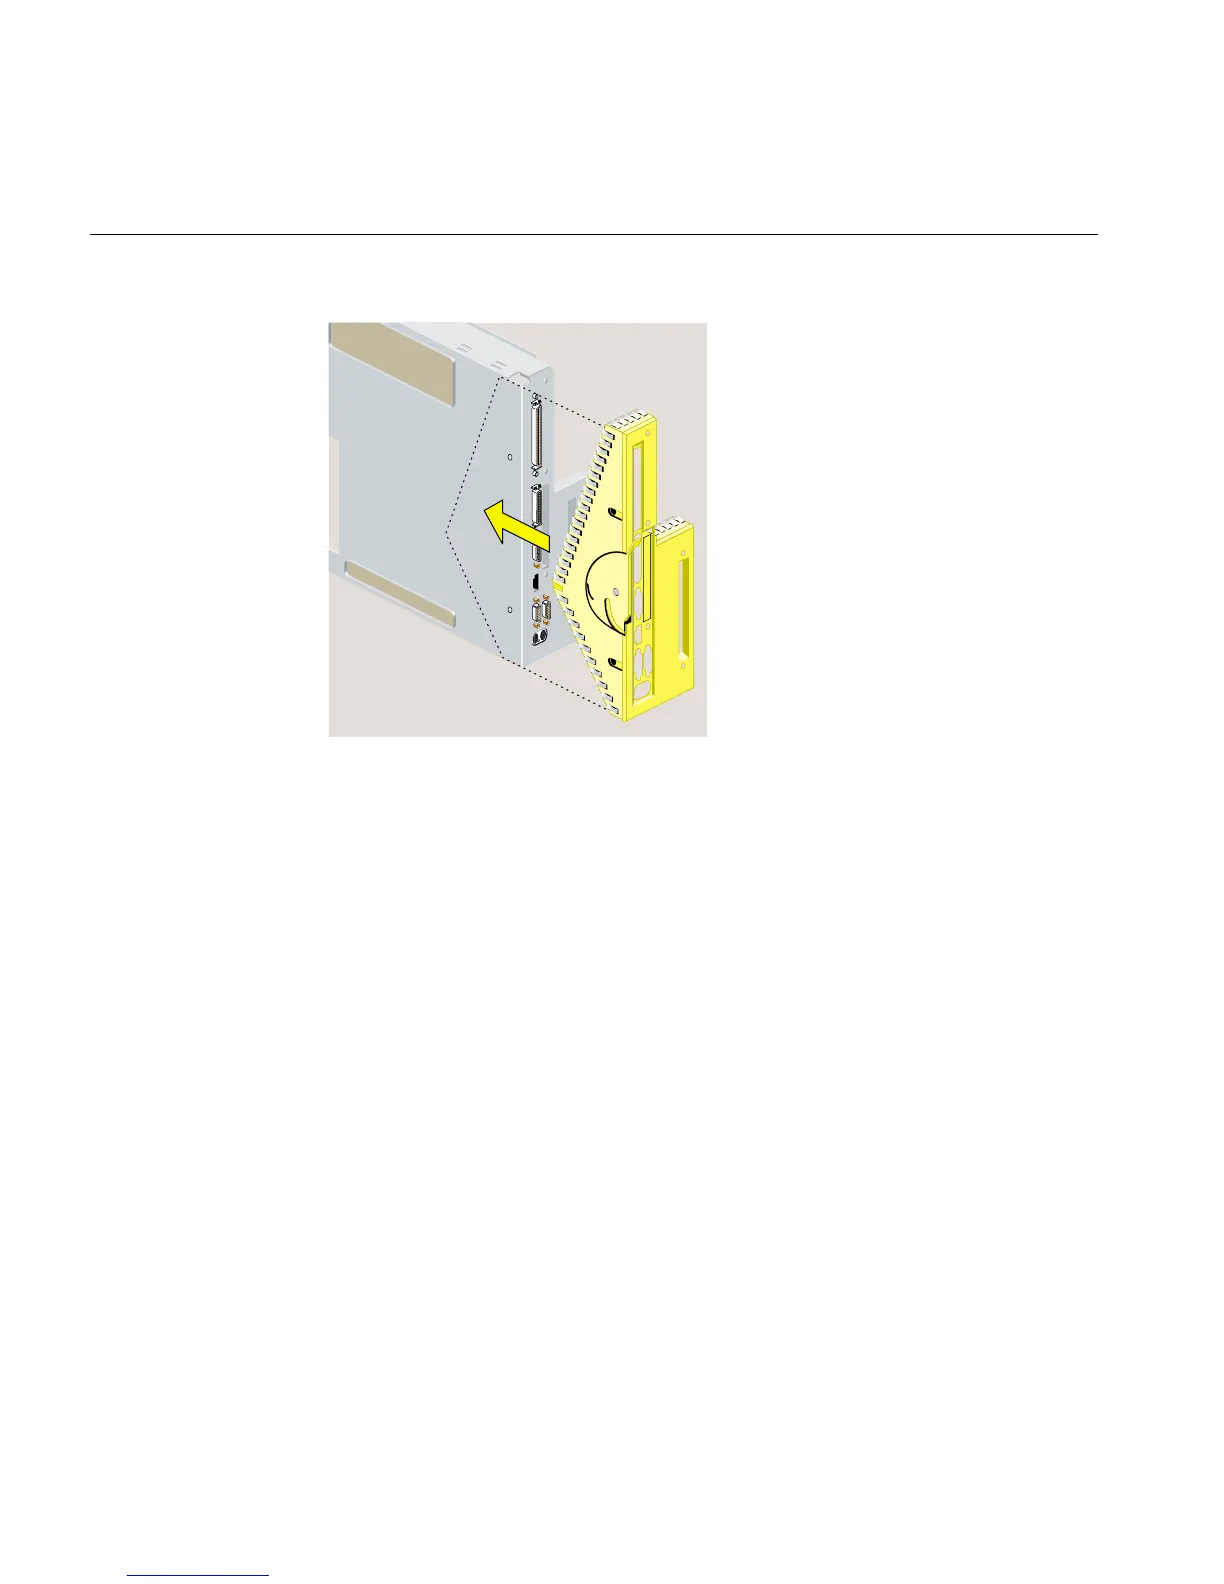
Figure 5-17 Replacing the Faceplate
13. Align the screw holes on the faceplate with the screw holes on the system module.
Use a Phillips screwdriver to insert and tighten two screws on the underside in the
locations shown (Figure 5-18).
14. Replace the filler panel over the I/O opening on the inside of the module. It snaps
into place. If it does not seem to fit, turn it 180 degrees and try again.