58 007-4486-001
Chapter 2: Installing or Removing Memory and Option Boards
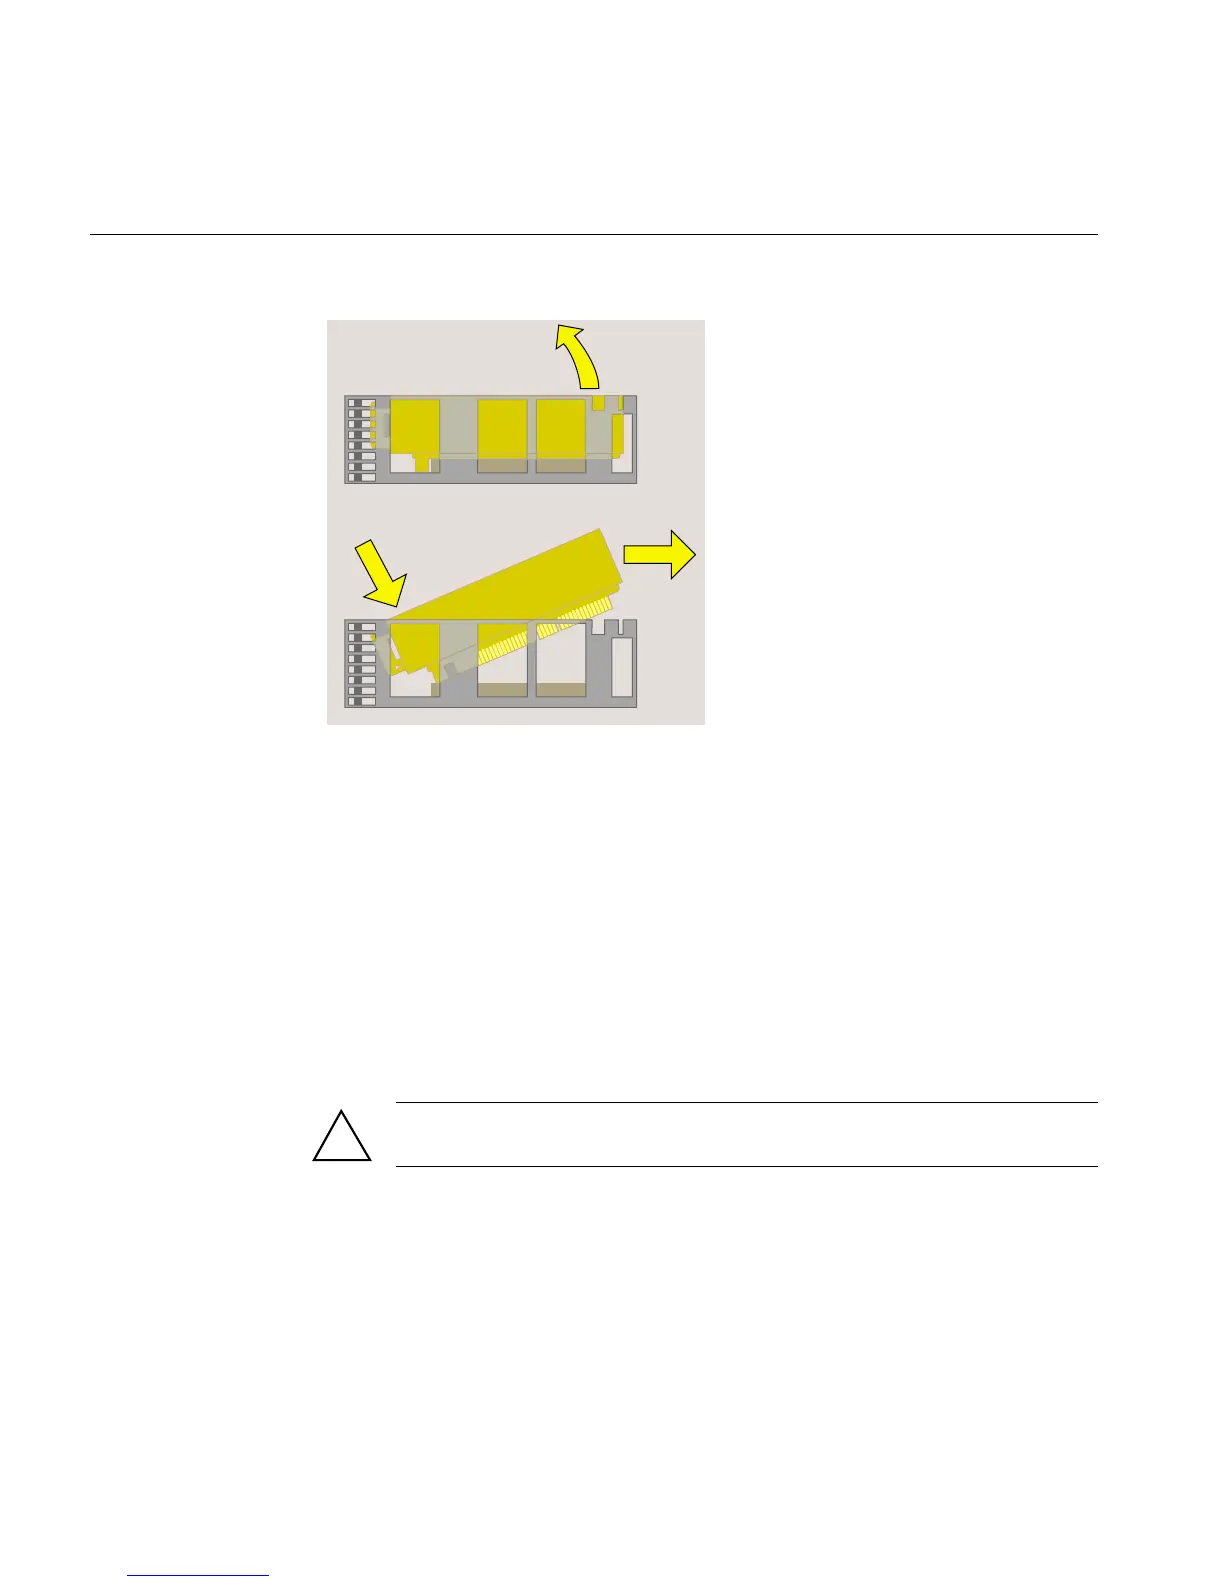
Figure 2-37 Removing the PCI Tray
3. Follow the steps in “Installing an Option Board.”
Removing the PCI Tray in an R12000class Workstation
To remove the PCI tray in an R12000class workstation, follow these steps:
1. You must remove the plastic faceplate of the system module as follows:
• Use a Phillips screwdriver to remove five screws in the rear and two screws on
the underside, in the locations shown (Figure 2-38). Keep the two screws from
the underside separate. When reinstalling the faceplate you must use the same
screws.
Caution: On the underside, remove only two screws. Do not remove the third
screw that attaches the lever to the faceplate.
!