Installing an Option Board
007-4486-001 65
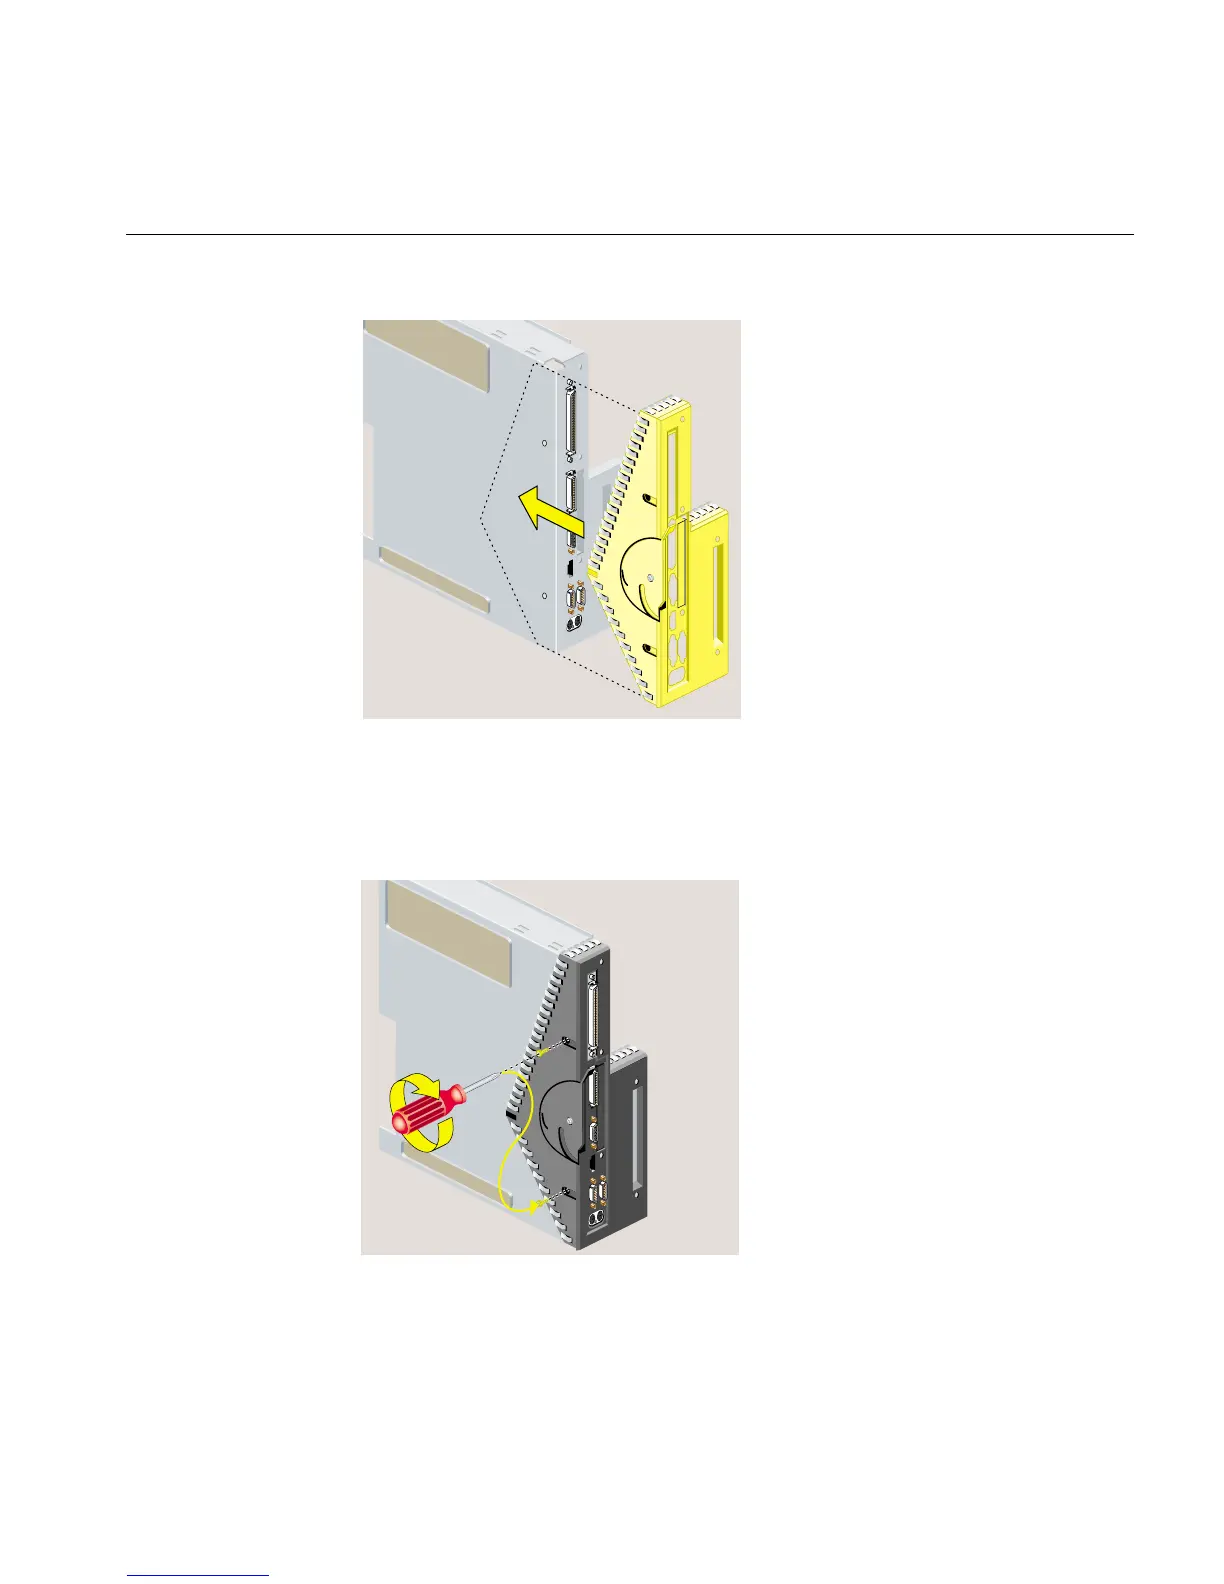
Figure 2-45 Replacing the Faceplate
3. Align the screw holes on the faceplate with the screw holes on the system module.
Use a Phillips screwdriver to insert and tighten two screws on the underside in the
locations shown (Figure 2-46).
Figure 2-46 Replacing Two Screws on the Faceplate