50 007-4486-001
Chapter 2: Installing or Removing Memory and Option Boards
Removing a PCI Board in an R12000class Workstation
To remove a PCI board in an R12000class workstation, follow these steps:
1. If you have not already done so, remove the power cable and remove the system
module from the chassis. (See “Removing the System Module.”)
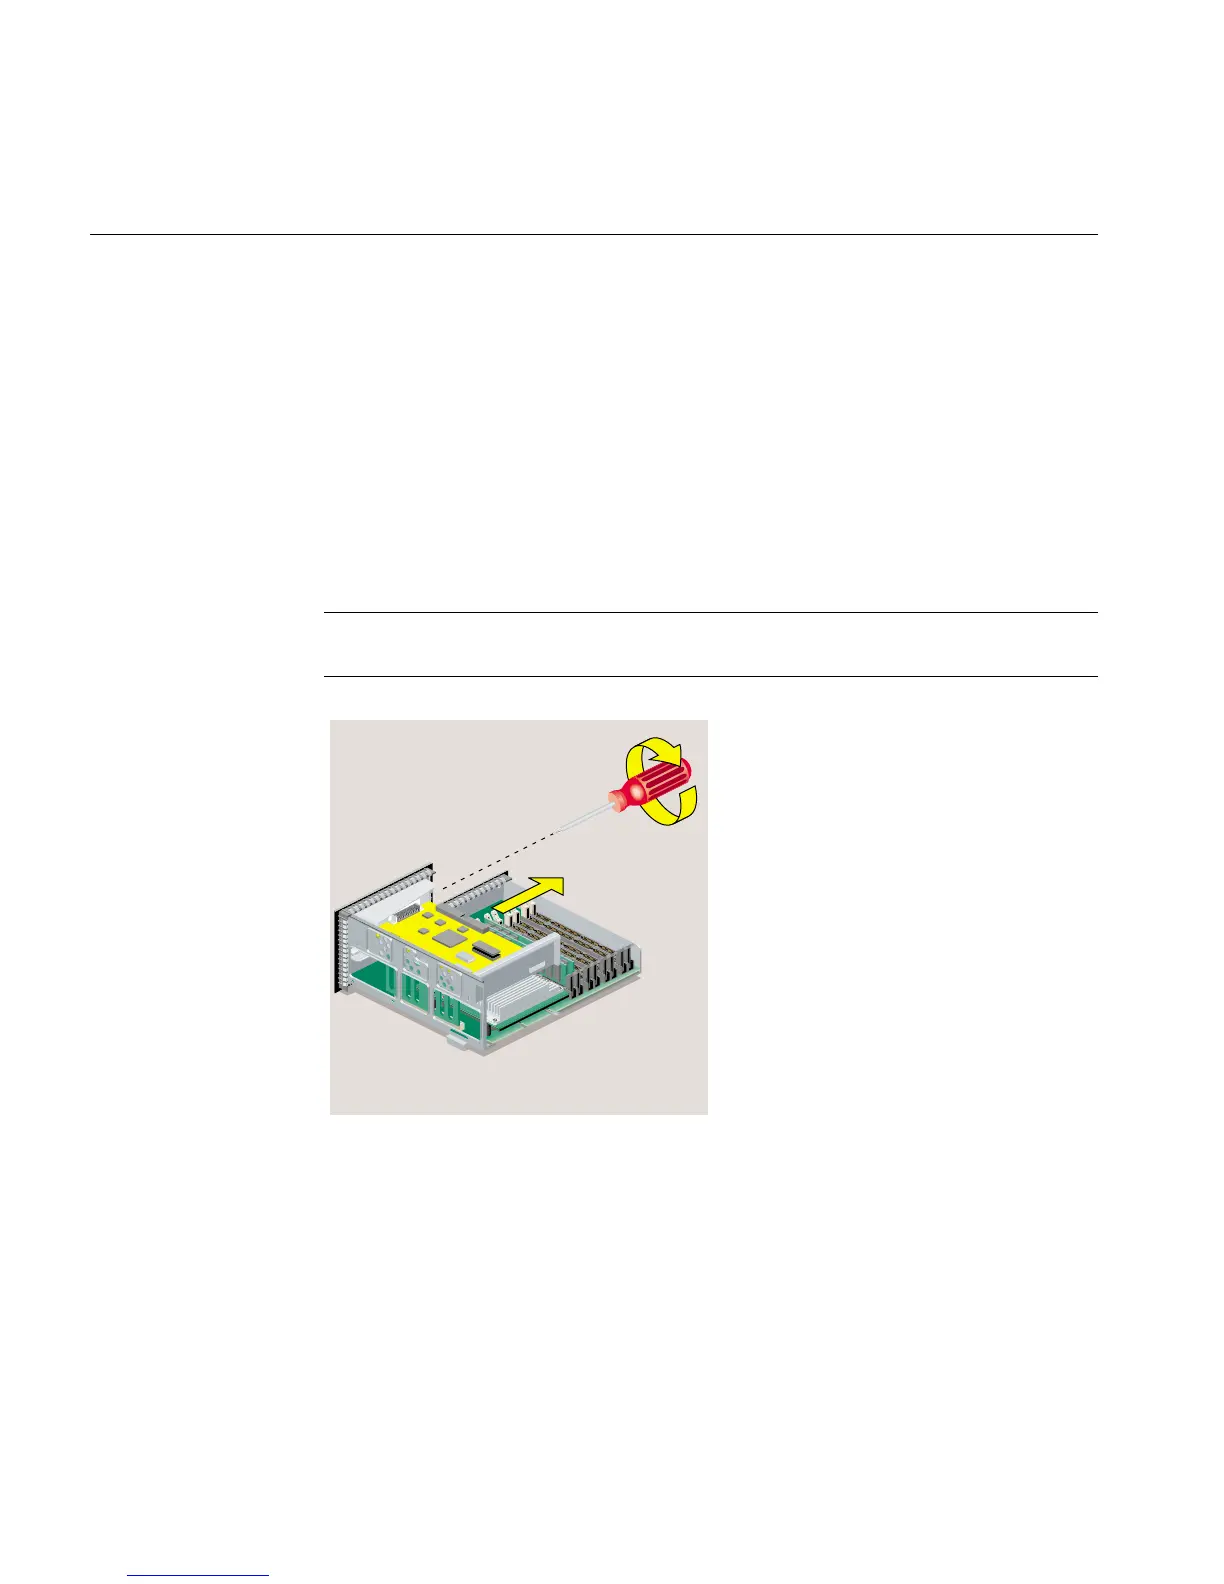
2. Remove the screw that secures the PCI board (Figure 2-27).
3. Remove any external cables connected to the PCI board.
4. Disconnect the PCI board from the connector and slide it out of the tray. (It may be a
little difficult to remove.)
Note: If the PCI board has an extra long I/O connector, slide out the side opposite the
long I/O connector first. Then remove the side with the I/O connector.
Figure 2-27 Removing the Screw That Secures the PCI Board
5. If you want to install another PCI board, see “Installing a PCI Board in an
R12000class Workstation.” If not, replace the screw and filler panel (Figure 2-28).
(You removed the screw and panel when you first installed the board.)