Phaser 6000/6010 and WC 6015 MFP Xerox Internal Use Only A-15
Reference
CRU Y
CRU M
CRU C
CRU K
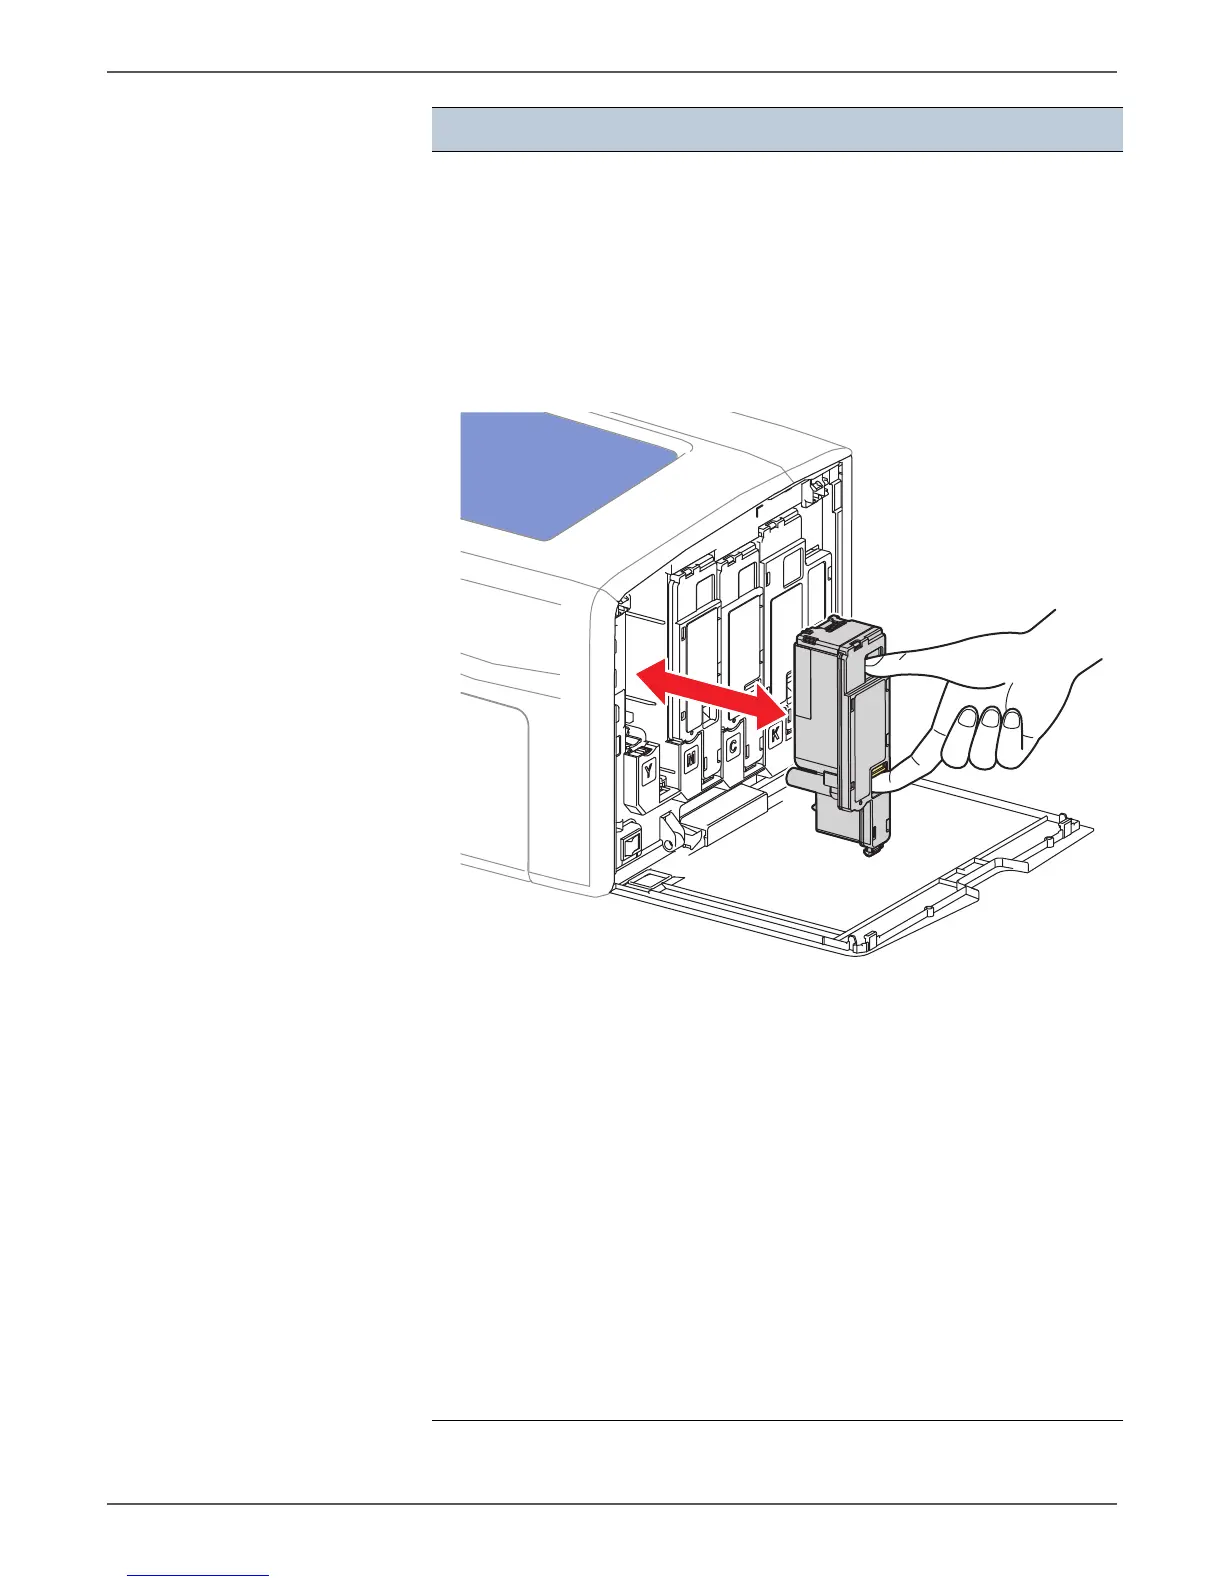
Example of CRU Y test.
1. Power on the printer, and start the CE Diag Tool.
2. Open the Toner Door.
3. Click the CE Diag tab, and then select Digital Input.
4. Select the CRU Y test, and click the OK button.
5. Check whether the sensor functions properly by removing and
replacing the Y Toner Cartridge.
6. Click the Stop button to stop the test.
7. Close the Toner Door.
NOTE The procedure for CRU M, CRU C, CRU K, and CRU Y are all the same.
Test example:
[09:15]
Digital Input Mode = ENTRY
[09:15]
CRU Y = LOW
STARTED = CRU Y
[09:15]
CRU Y = HIGH
STARTED = CRU Y
[09:15]
CRU Y = LOW
STARTED = IL OPEN
[09:15]
Digital Input Mode = EXIT
Test Procedure
 Loading...


