4.
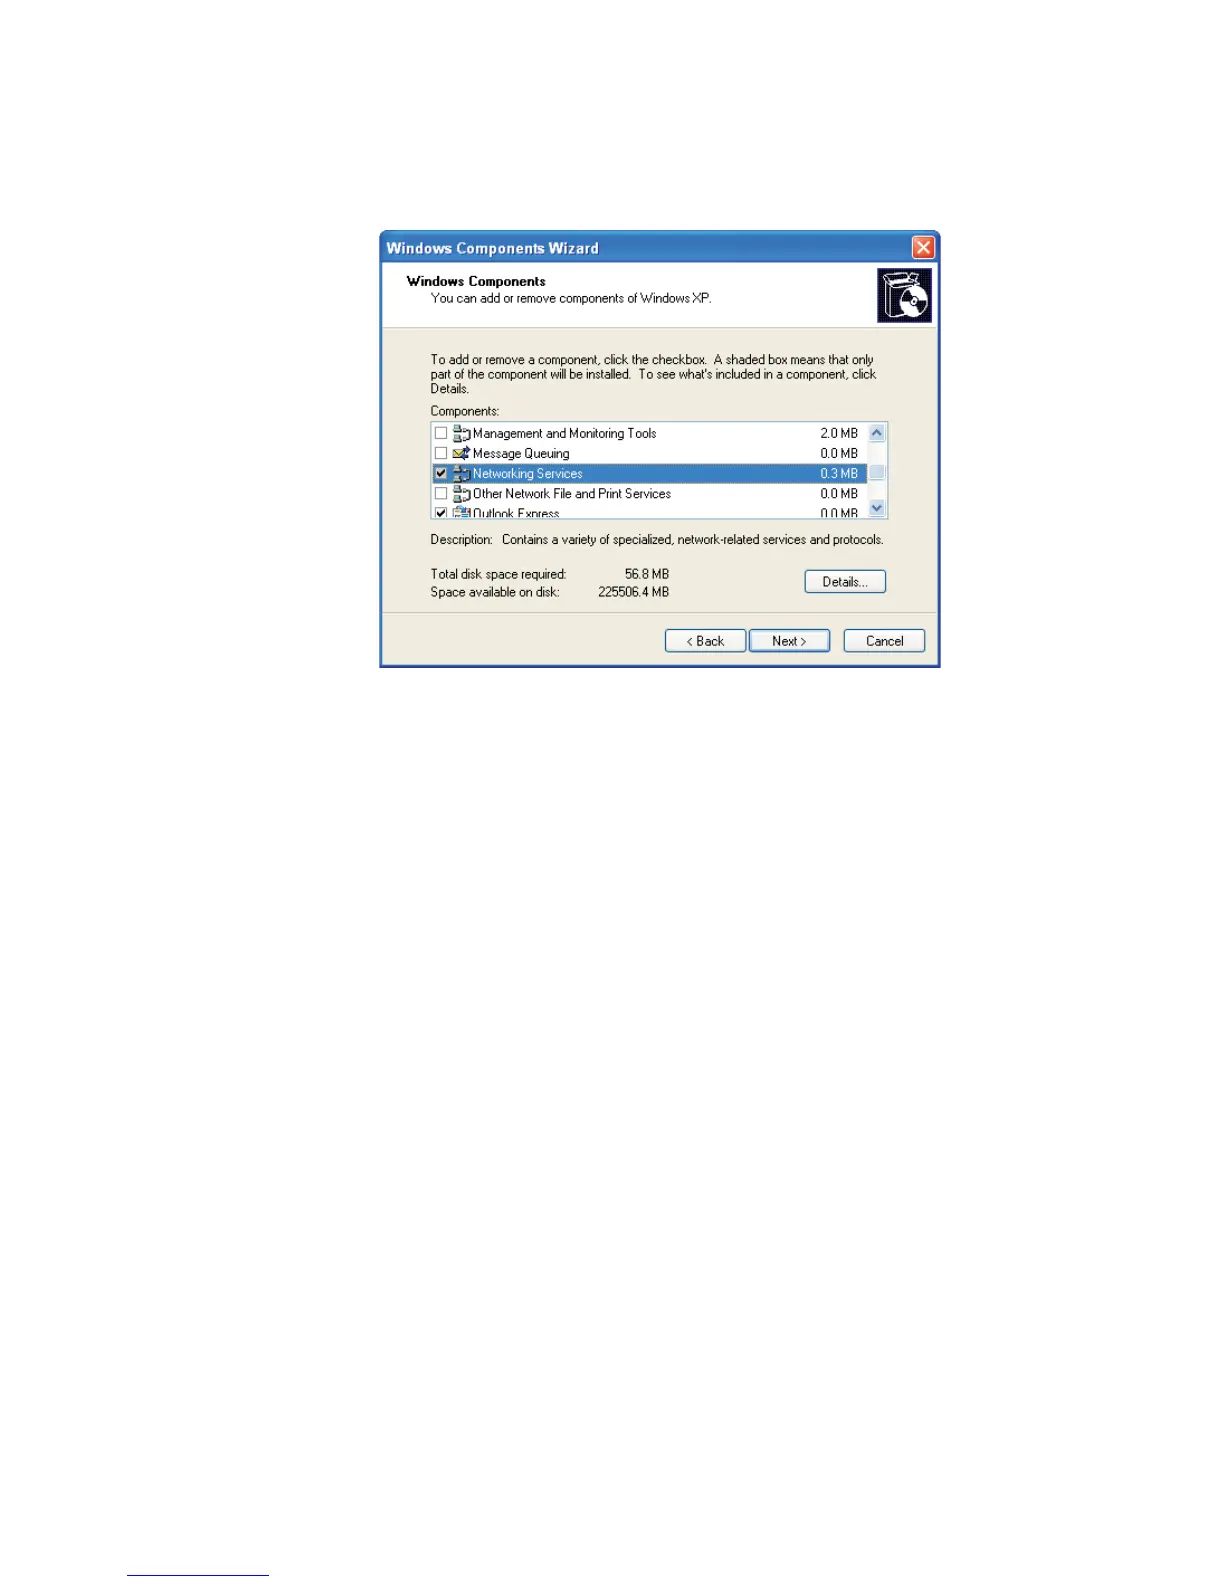
Select the Networking Services item, then select the Details button
(Figure 109).
Note Do not double-click on this icon to open it. If you double click the icon,
you'll launch two instances of the Add/Remove dialog.
5.
Check the UPnP User Interface checkbox.
6.
Click OK.
7.
Click Next to start the installation.
8.
Click Finish to complete the installation.
After the UPnP feature has been installed and the Lynx's Web-based control applica
-
tion is started, the UPnP icon will appear in the Windows computer's system tray.
9.
Double click on the icon to access “My Network Places”.
10.
Double click on the Lynx icon to launch your browser and run the
Web-based control application (as described throughout Chapter 4).
Appendix B - Communications Setup
164 Lynx™ Digital Signal Analyzer
Figure 109 - Windows Components Wizard