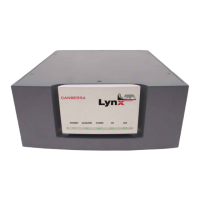
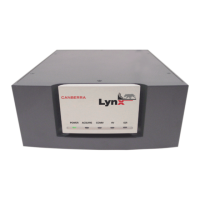
Lynx System Power
Each Lynx unit receives power through an input power connector on the back panel. A
universal AC-to-DC power adapter is provided with each Lynx unit for this purpose.
Do NOT modify the power adapter or cable, and use ONLY the provided unit.
12 V 1.0 A
Supplies DC power to the Lynx unit, using the provided AC-to-DC adapter. This po
-
larized barrel-type jack is mechanically locking to prevent accidental disconnection.
When power is connected to the Lynx, you should see some indication (see Indica
-
tors) on the Power indicator on the front panel of the unit. Applying power to the sys
-
tem is discussed starting in Chapter 3.
Note Do not apply power to the Lynx until you are ready to set it up.
Communications Ports
The Lynx system is accessed through communication with another device (computer
or terminal). Several communications formats are supported; the connectors are listed
below. Communication setup commands and options are described in Appendix B.
10/100 T
Connects the Lynx to an Ethernet (IP) network or directly to a host computer; uses the
industry-standard RJ45-type network jack and pin layout for a networked device.
Note A 'factory default' communication path is a DHCP network connection to the
10/100 T connector. See the Quick Start in Appendix B for details.
Ant
Future use. This reverse-SMA connector is for an antenna.
RS-232
For serial data transmission using RS-232C commands; uses the common 9-pin male
D-connector of an RS-232C device. This connector provides two screw posts to
which your serial cable may be secured.
USB D
Full speed USB Device connection of the Lynx to a host PC; this is a regular USB
B-type receptacle. Use a USB A-to-B cable to connect Lynx to your PC. One such ca
-
ble is provided with the Lynx unit.
USB H
Full speed USB Host connection. This consists of two stacked USB A-type recepta
-
cles. Used with USB 'memory stick' devices for transferring of certain saved data.
Chapter 2 - Controls and Connectors
20 Lynx™ Digital Signal Analyzer