Product Manual — Doc. 9045M DM NAX® • 602
l
Click the Paired Device Options button to open a Paired Device Options window. Select a
command from the drop-down menu, then click the Send button to issue the command to the
DMNAX device.
o
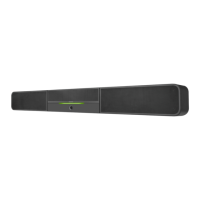
Release All Paired Devices will disconnect all currently paired devices from the
DM-NAX-BTIO-1G.
o
Release Inactive Paired Devices will disconnect any paired device that is not actively playing
any media.
o
Forget All Paired Devices will delete all currently paired devices from the Paired Devices
table of the DM-NAX-BTIO-1G.
o
Forget Inactive Paired Devices will disconnect and forget any paired device that is not
actively playing any media.
o
Forget Connected Devices will disconnect and forget only the current Connected device.
l
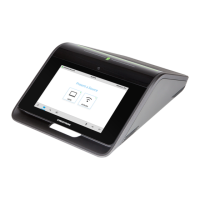
Set the Pairing Code Enabled toggle to the right to enable the pairing code. When this is enabled,
a pairing code string will populate on both the casting device and the OLED display of the
DM-NAX-BTIO-1G during pairing. Confirm that the code matches on each device to complete the
pairing process. Set the toggle to the left to disable the pairing code.
l
Set the Connect Chime Enable toggle to the right to hear a short chime whenever a device
successfully pairs to the DM-NAX-BTIO-1G. This chime is played back on the Bluetooth audio input
path. Any outputs that receive the Bluetooth audio input signal will receive the chime audio. Set
the Connect Chime Enable toggle to the left to disable the connect chime.
l
Set the Disconnect Chime Enable toggle to the right to hear a short chime whenever a device is
disconnected from the DM-NAX-BTIO-1G. This chime is played back on the Bluetooth audio input
path. Any outputs that receive the Bluetooth audio input signal will receive the chime audio. Set
the Disconnect Chime Enable toggle to the left to disable the disconnect chime.
Display
The Display section contains settings that affect the front panel OLED display of the DM-NAX-BTIO-1G.
l
To adjust the display brightness:
o
Click the % arrows to increase or decrease the brightness. Values range from 0 to 100%,
adjustable in increments of 1%.
o
Manually enter a percentage value in the Brightness text field.
l
To adjust the display standby timeout:
o
Click the Minutes arrows to increase or decrease the brightness. The default timeout value
is one minute.
o
Manually enter a value in the Standby Timeout text field.

 Loading...