3.5 Selecting the Paper to Use for Copying - Paper Supply
320
3
User Friendly Features
Basic Copying Added Features Image Quality Others
■When the More... button is selected
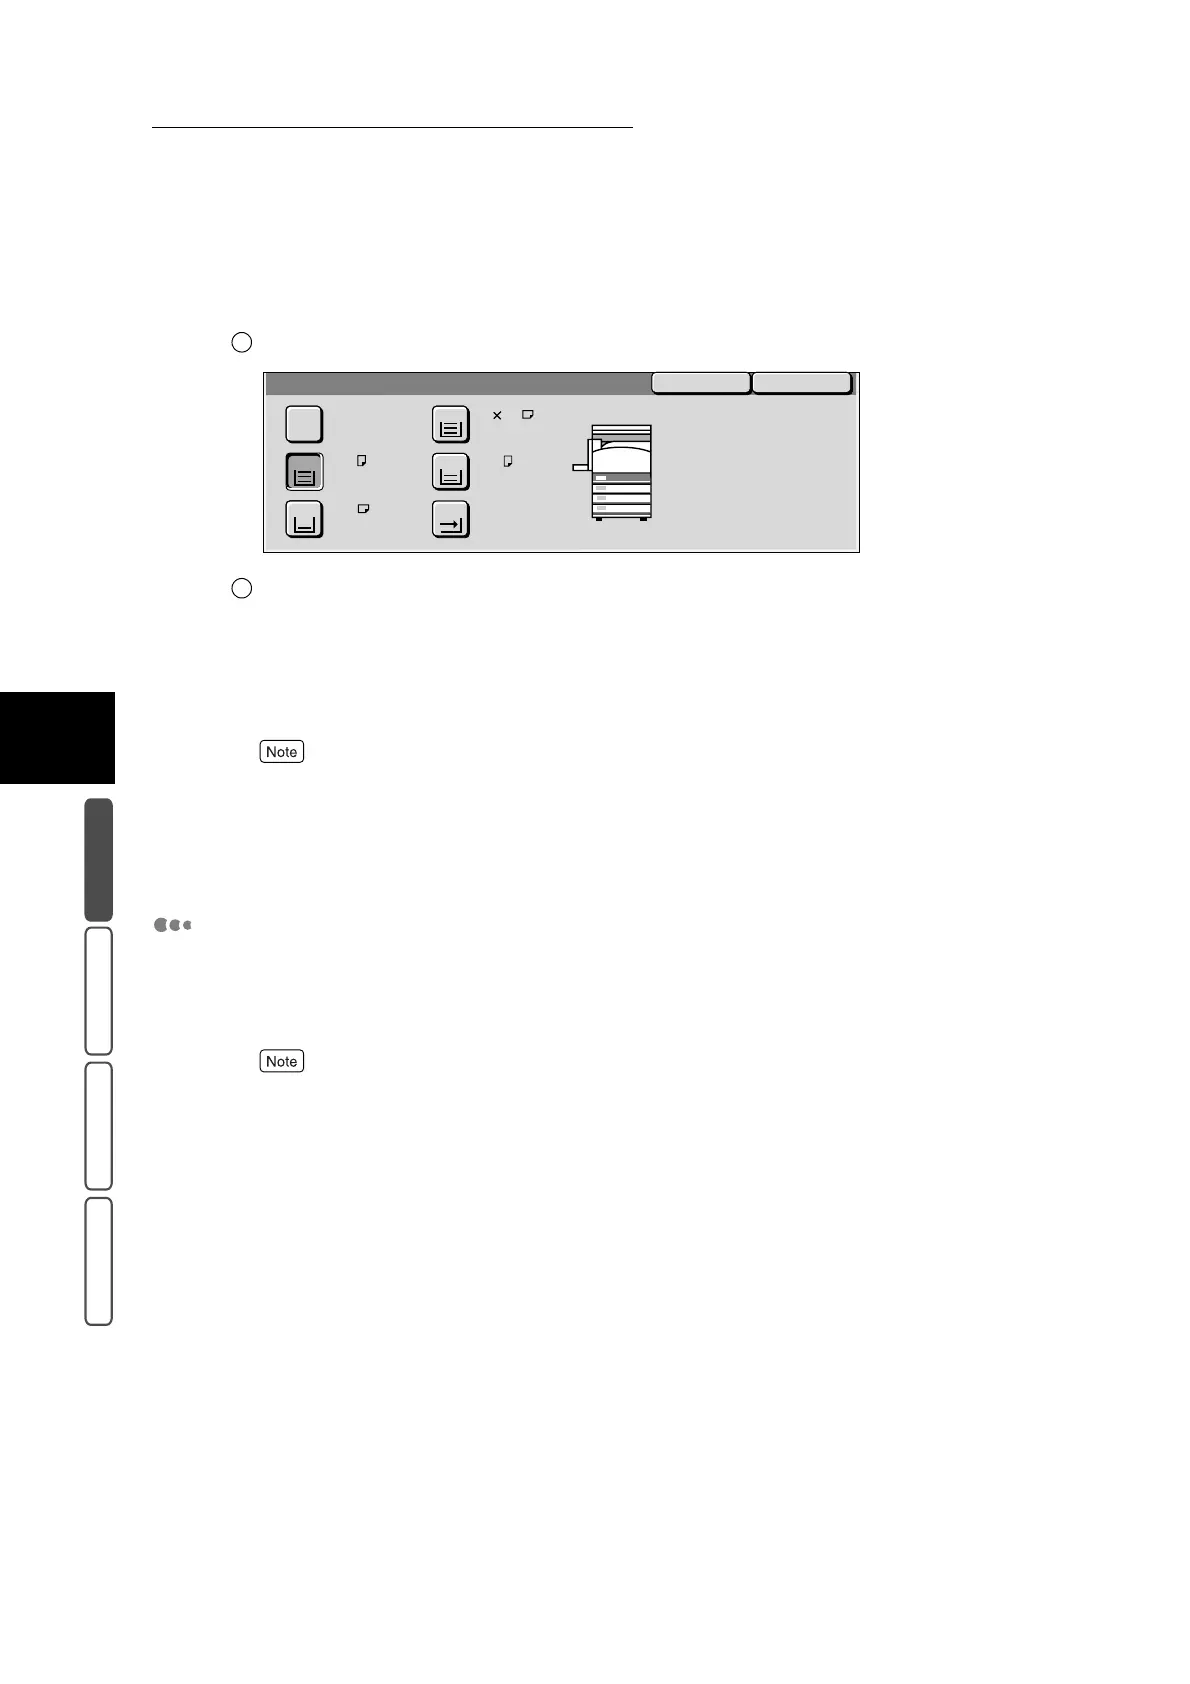
Select the tray containing the desired paper from trays 1 to 4.
Confirm the settings, and select Save.
The screen returns to the Basic Copying screen.
3
Select Output Color in the Basic Copying screen. Select other features
if necessary.
To cancel setting, select the Cancel button.
4
Enter the number of copies using the numeric keypad, and press Start.
The copies will be made on paper from the selected tray.
Selecting Tray 5 (Bypass Tray)
If you want to make copies on paper that cannot be loaded on trays 1 to 4, use
Tray 5 (Bypass Tray). When selecting Tray 5 (Bypass Tray), be sure to specify
the type of paper you are going to load.
●
For details on paper that can be loaded in Tray 5 (Bypass Tray), see “2.1 Loading Paper” (P. 28)
in “Part 1 Hardware”.
●
This feature cannot be combined with the Poster and Stapler features when the stapler tray is
selected as the output tray.
●
Two sided copies cannot be made on Tray 5 (Bypass Tray).
●
This feature cannot be combined with the 2 Sided Copy, Auto % under Reduce/Enlarge, Auto under
Independent X-Y%, Auto Center under Copy Position, Corner Shift, Negative Image, Mirror Image,
Book Duplex, Booklet Creation, Multi-Up (N Up), Repeat Image, Bound Originals, Poster, and sta-
pling features when Automatic Size Detect is selected.
1
Paper Supply
Plain
Plain
Auto
SaveCancel
A 3
A 4
1
Plain
3
Bypass...
Size Detect
Plain
4
5
2
Plain
A 4
8.5 11’’
2
 Loading...