Loading Paper
33
2
2.2
Changing the Size of
Paper in Trays
Following describes how to change the paper size on trays 1 to 4.
Trays 1 to 4 accept only standard-size paper. To make copies or print on non-standard size
paper, use tray 5 (Bypass Tray).
●
Paper quality is already set to trays 1 to 4. Eight paper types, plain paper, bond paper, recycled paper, and cus-
tom paper 1 to 5, can be set as the paper quality. Normally plain paper is set. When changing the setting to a dif-
ferent paper quality, change the paper quality settings to match the type of paper to be loaded to maintain high
print quality. For details about how to set the paper quality, see “ Paper Type” (P. 128) in “5.4.4 Setting
Paper Tray Attributes”.
●
For details on how to copy on non-standard size paper, see “2.4 Making Copies on Non-standard Size Paper”
(P. 288) in “Part 2 Copier”. For details about printing on non-standard size paper, see “4.2 Printing Non-Stan-
dard Paper Size” in “Part 1 Printer” of the User Guide (Printer/Scanner).
Procedure
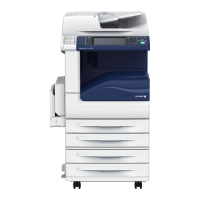
1
Pull out the tray towards you until it
stops.
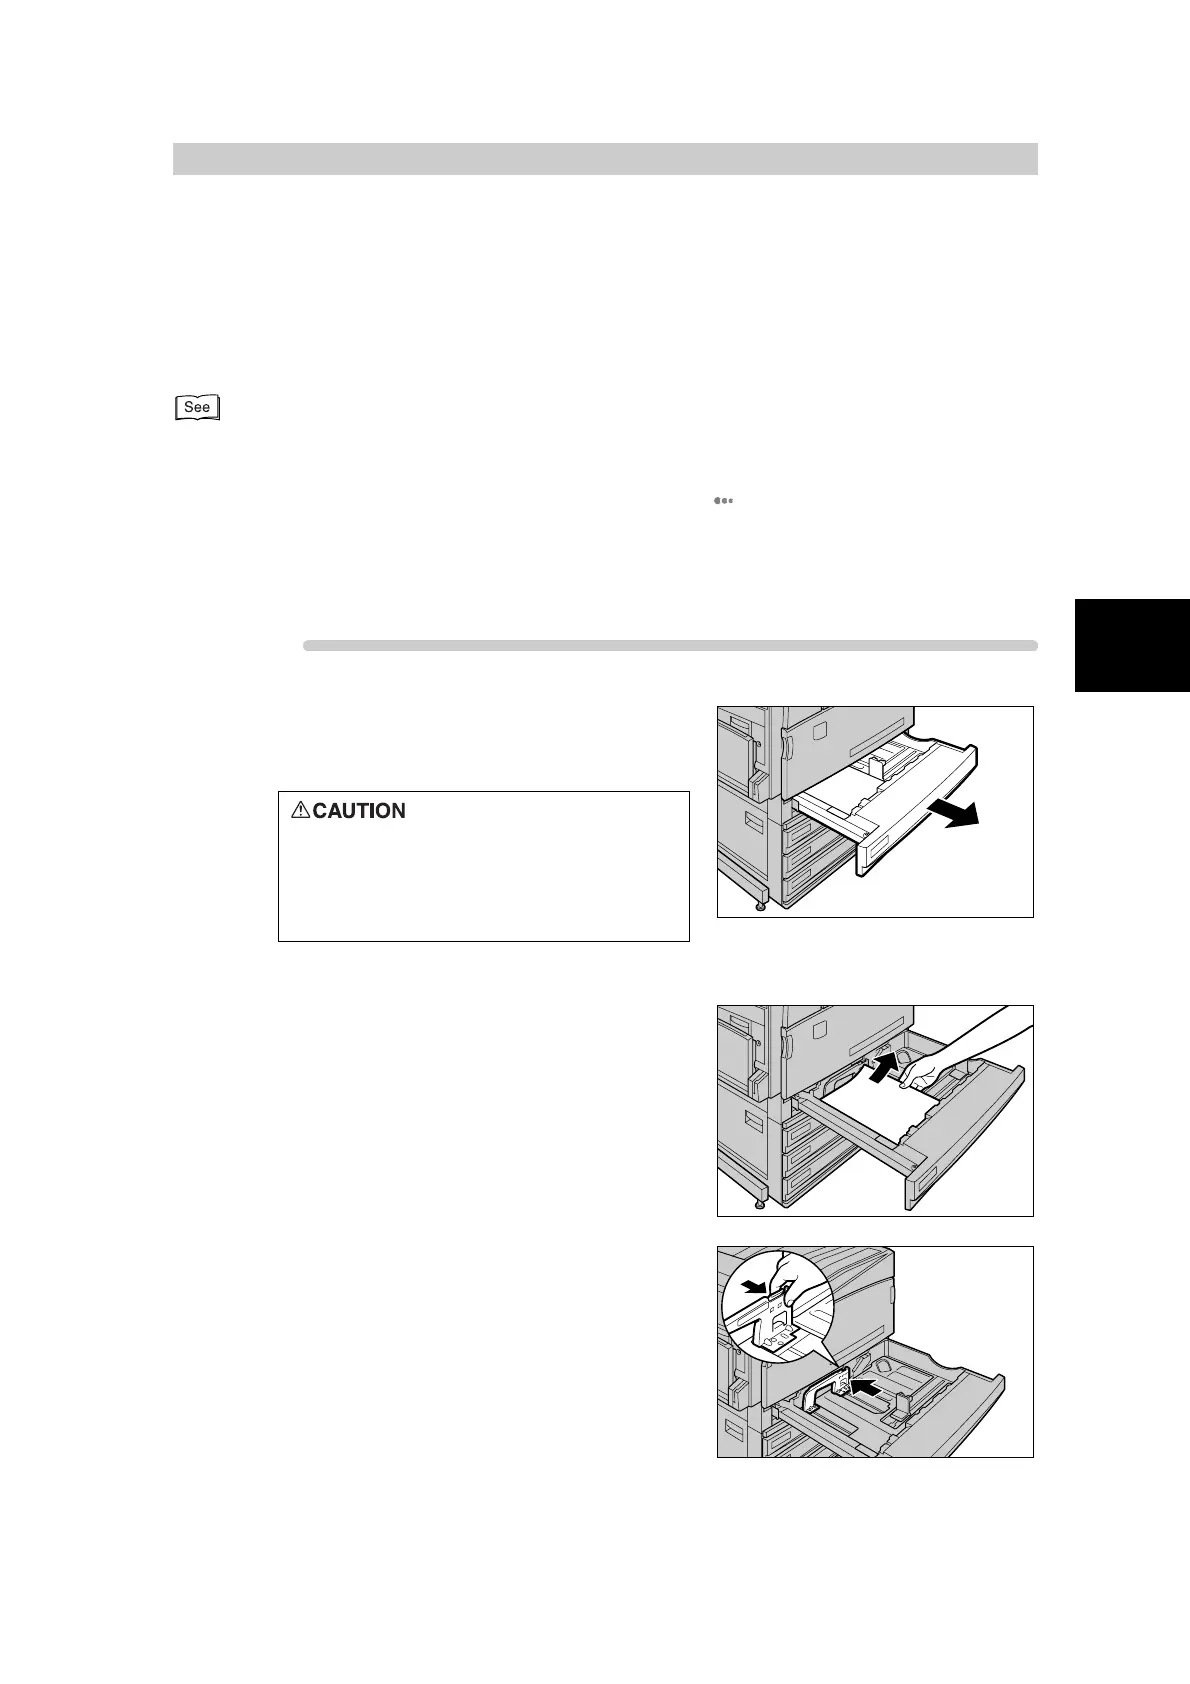
2
Remove any paper if loaded on the tray.
3
Move the paper guide in as far as possi-
ble while holding the grip on the paper
guide lever on the inner side of the tray.
When pulling out the paper tray, do it
slowly. If pulled out with too much
force, the tray can hit and injure your
knees.
 Loading...