2.2 Changing the Size of Paper in Trays
34
Loading Paper
2
4
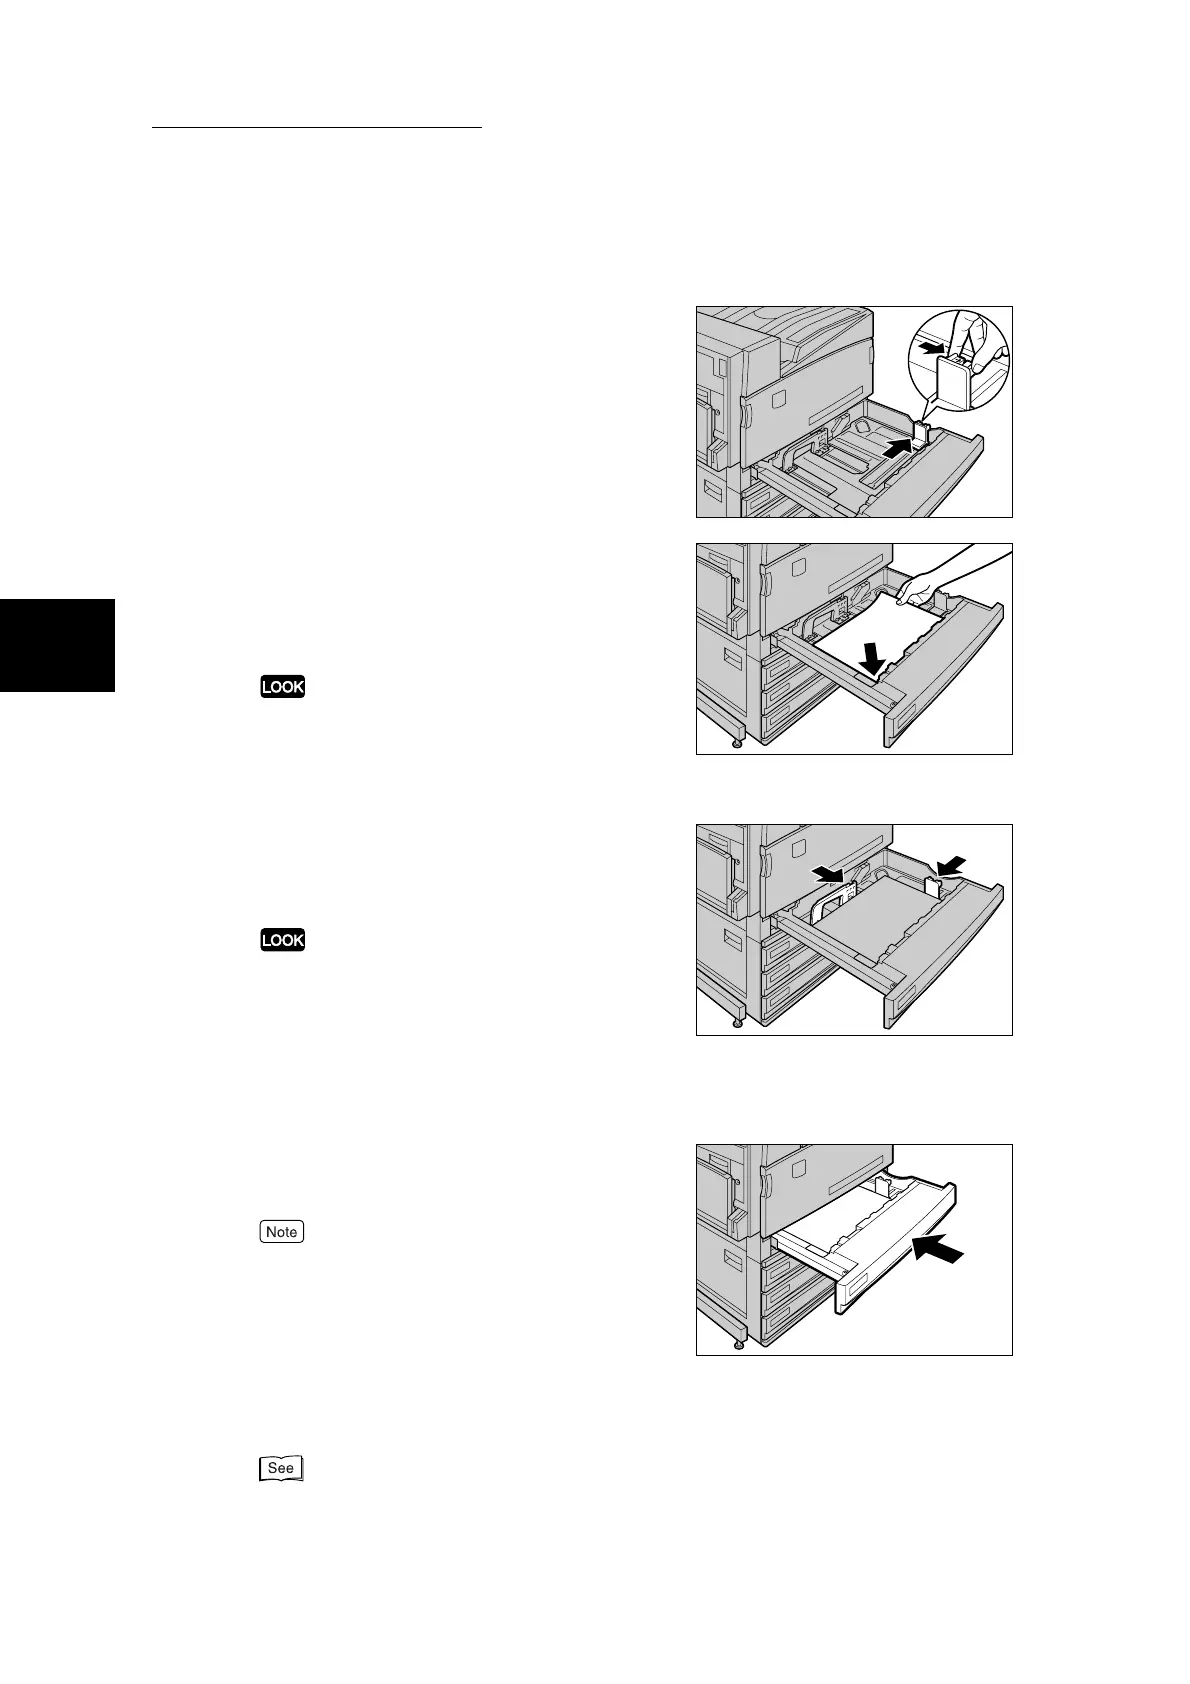
Move the paper guide to the right while
holding the grip on the paper guide
lever on the right inside the tray.
5
Load and align the edge of the paper
against the left front edge of the tray
with the side to be copied or printed on
facing up.
●
Do not load mixed size paper into the tray. This may
cause a paper jam.
●
Do not load paper exceeding the maximum fill line.
Doing so might cause paper jams or machine trouble.
6
Move the two paper guide levers while
holding their grips so that they lightly
contact the edges of the paper.
●
Exerting excessive pressure when aligning the paper
levers against the edges of the paper might cause
paper jams.
●
Make sure that the paper guides fit flush into the holes
on the scale. Otherwise, the paper size might not be
automatically detected. In this case, slide the paper
guides back and then re-align them with the scale.
7
Push the tray in gently until it comes to
a stop.
Affix the paper size label to the front of the paper tray.
8
After changing the paper size, set the paper type (plain paper, bond
paper, recycled paper, custom paper 1 to 5) for the paper tray.
For details about how to set the paper type, see “2.3 Changing Paper Settings” (P. 35).
 Loading...