3.7 Outputting to the Finisher Tray - Output/Stapling
329
3
User Friendly Features
Basic Copying Added Features Image Quality Others
2
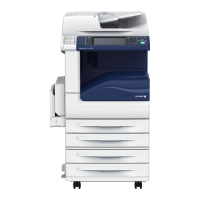
Select Output/Stapling in the Added Features screen.
The Output screen is displayed.
3
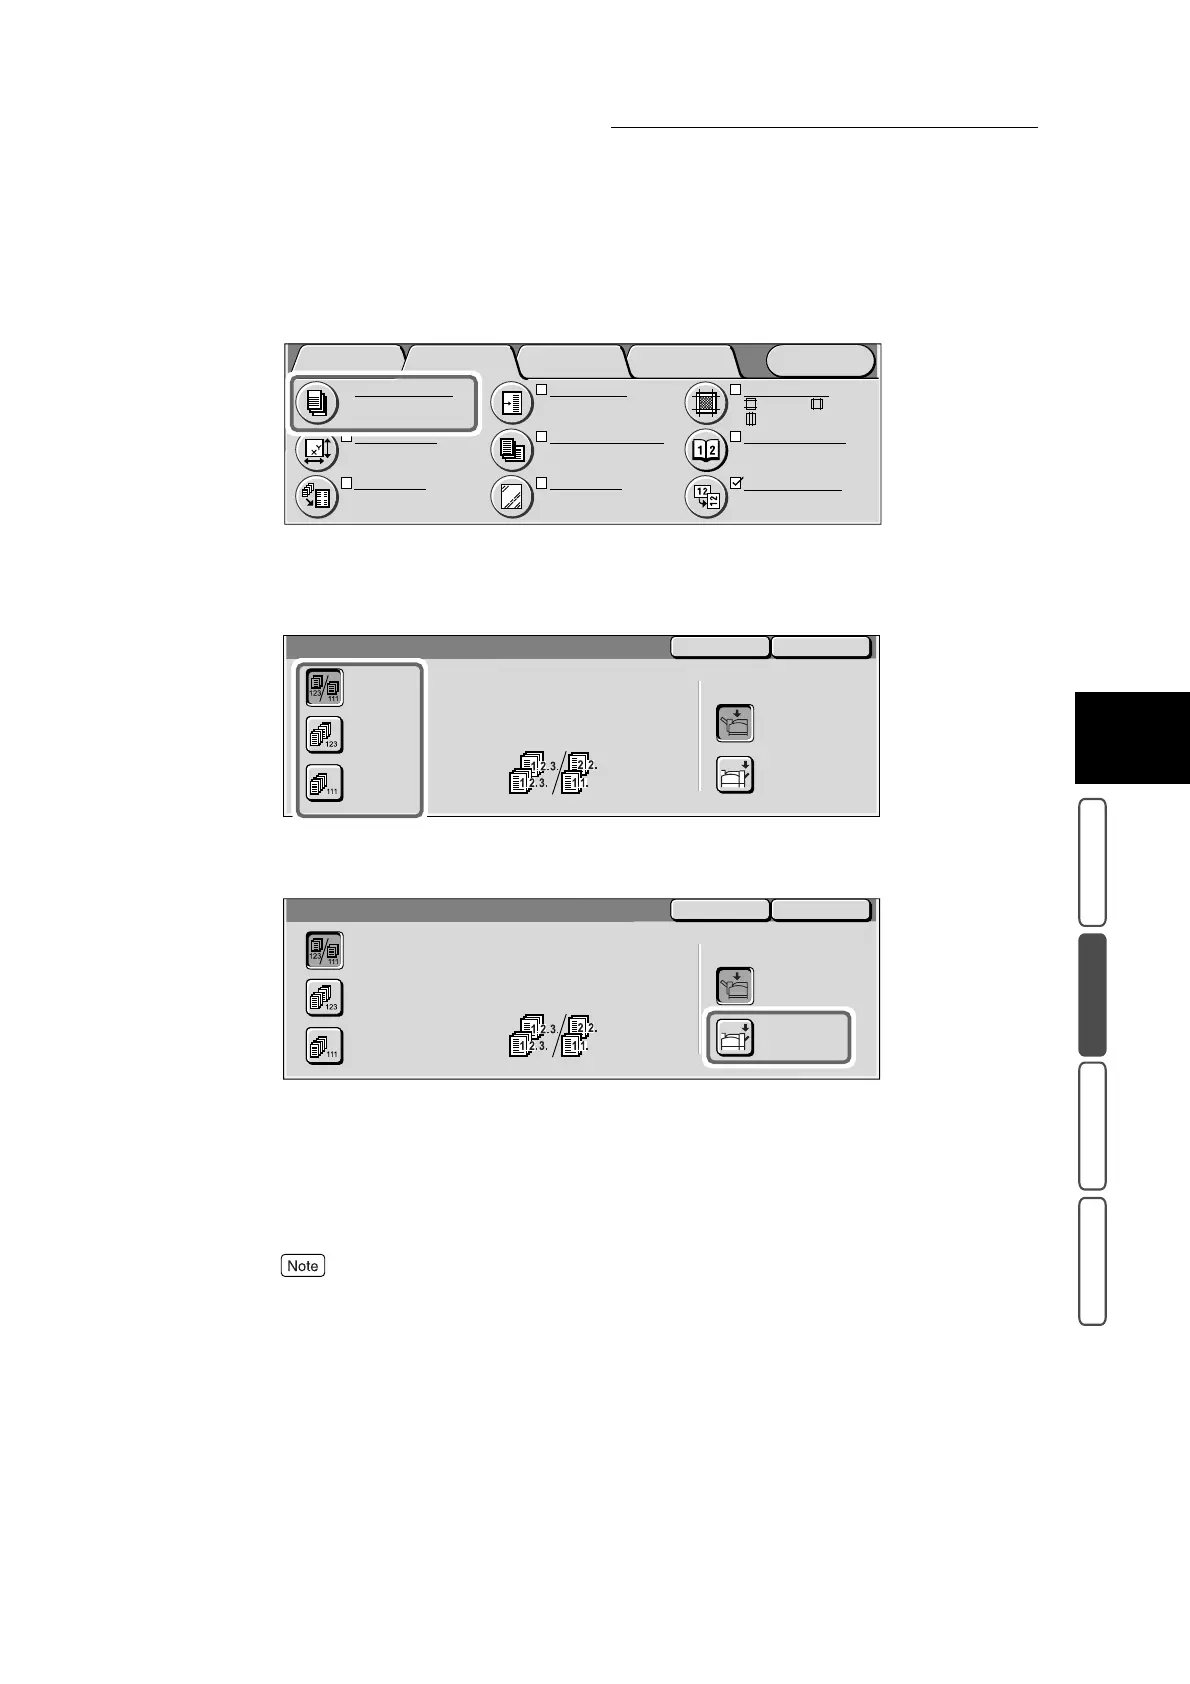
Select how copies are to be output.
4
Select Finisher Tray at Output Destination.
5
Select Save.
The screen returns to the Added Features screen.
6
Select other features if necessary.
To cancel setting, select the Cancel button.
7
Enter the number of copies using the numeric keypad, and press Start.
The document starts to be scanned, and copies are output to the Fnisher Tray.
Image Quality OthersBasic Copying
Menu
Added
Features
Output/Stapling
Auto
Center Output Tray
Original Size
Auto Size Detect
Multiple Up
1 Up
:
:
:2
mm
0
mm
2
mm
S1: No Shift
S2: No Shift
Margin Shift
Mixed Size Originals
Off
Separators
Off
Border Erase
Bound Originals
Off
Image Rotation
On during Auto
Staple Position
SaveCancel
Output
Collated or Uncollated will be
selected automatically according
to settings.
Collated will be selected when
Document Feeder is used.
Output Destination
Center Output
Tray
Finisher Tray
Uncollated
Auto
Collated/
Stapling
SaveCancel
Output
Collated or Uncollated will be
selected automatically according
to settings.
Collated will be selected when
Document Feeder is used.
Output Destination
Center Output
Tray
Finisher Tray
Uncollated
Auto
Collated/
Stapling
 Loading...