3.22 Selecting Image Quality - Image Quality Presets
381
3
User Friendly Features
Basic Copying Added Features Image Quality Others
Procedure
1
Load the document.
For details about loading documents, see “1.2 Loading Documents” (P. 270).
2
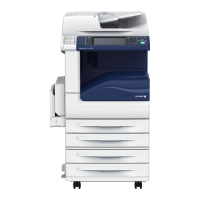
Select Image Quality Presets in the Image Quality screen.
The Image Quality Presets screen is displayed.
3
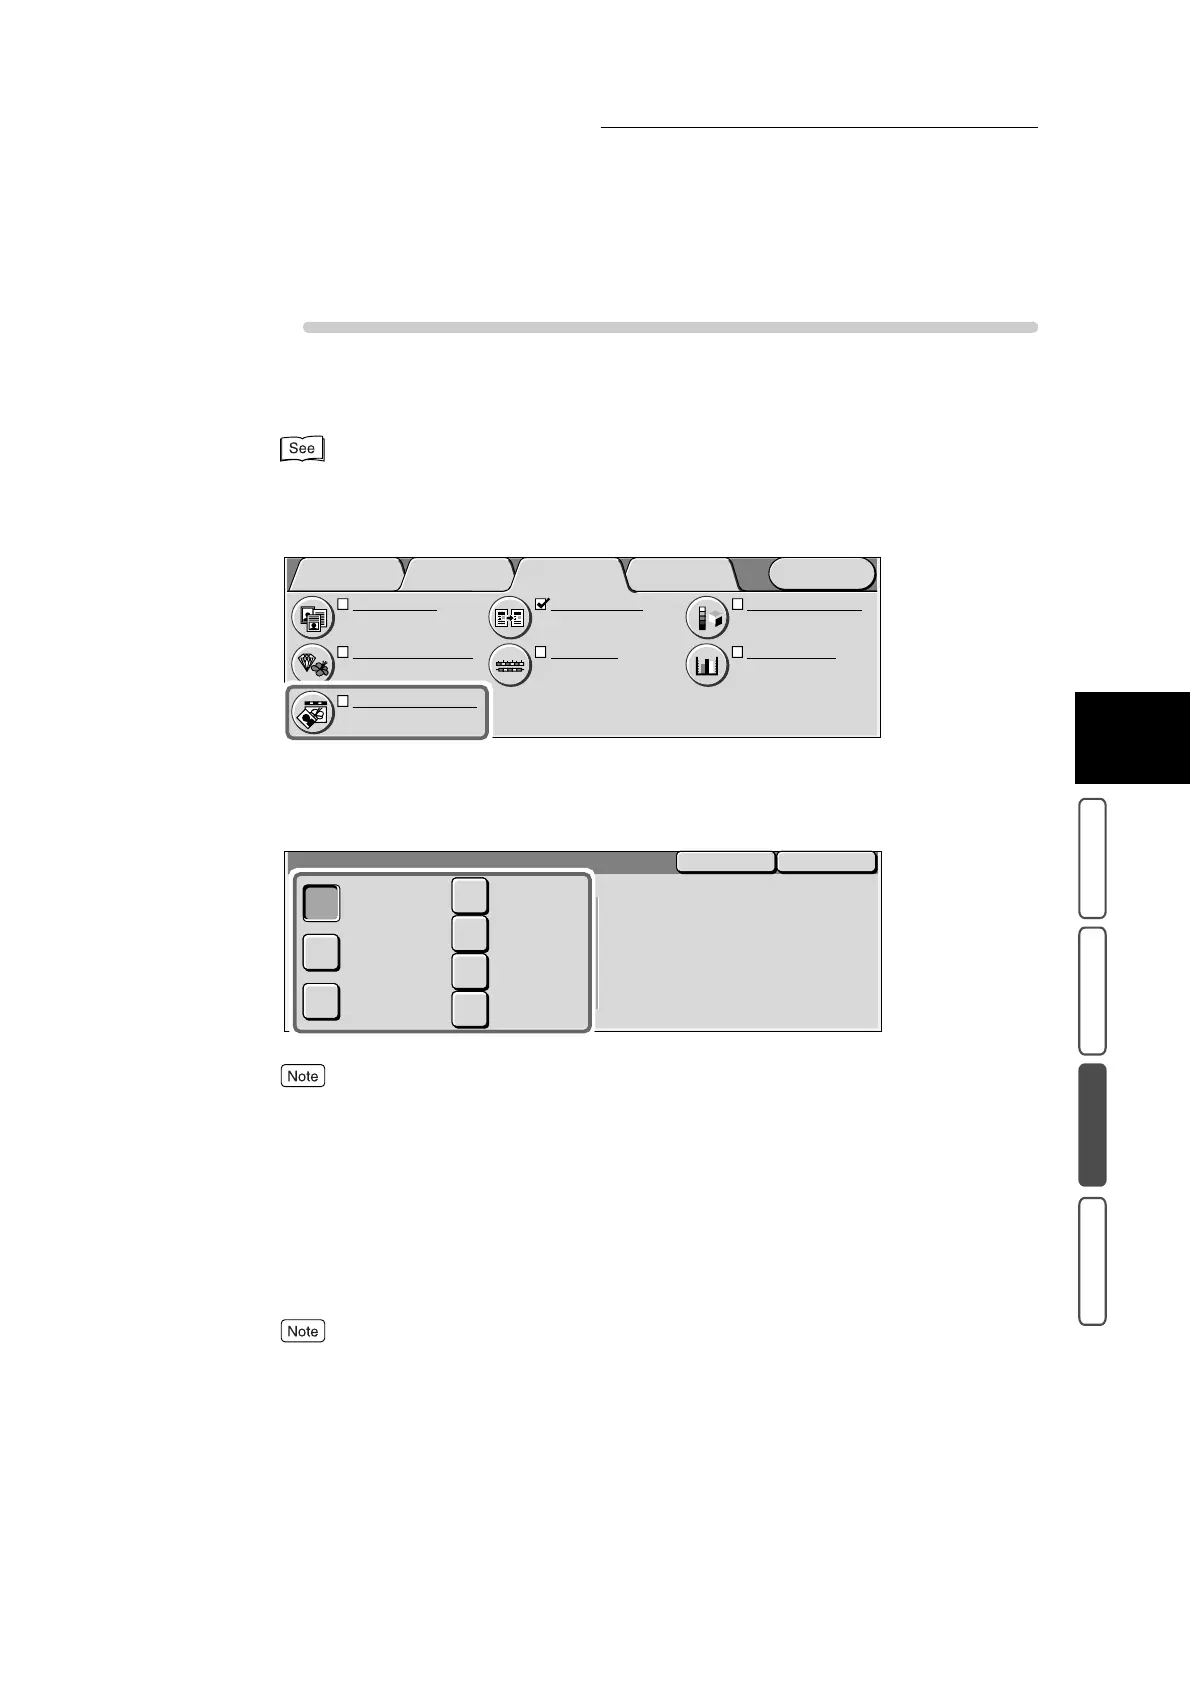
Select the desired image quality in Image Quality Presets.
If the settings of other image quality preset features are changed after selecting the desired image
quality in the Image Quality Presets screen, the Image Quality Presets setting will return to its default
(Normal).
4
Confirm the settings, and select Save.
The screen returns to the Image Quality screen.
5
Select other features if necessary.
To cancel setting, select the Cancel button.
6
Enter the number of copies using the numeric keypad, and press Start.
Copies will be made at the desired image quality you set.
Color Shift
Normal
Color Balance
Y: 0 0 0
M
: 0 0 0
C
: 0 0 0 K: 0 0 0
Original Type
Text & Photo
(Halftone)
Image Quality Presets
Normal
Auto Exposure
On
Sharpness/Saturation
Sharpness: Normal
Saturation: Normal
Light/Dark/Contrast
L/D : Normal
Contrast: Normal
Menu
Image Quality
Others
Basic Copying
Added
Features
SaveCancel
Image Quality Presets
Background
Suppression
Warm
Auto Contrast
Cool
Normal
Lively
Bright
The following settings will be
automatically adjusted:-
- Auto Exposure
- Lighter/Darker/Contrast
- Sharpness/Saturation
- Color Shift
- Color Balance
 Loading...