Chapter 4 Disassembly / Assembly and Adjustment
4.2 Removal / Replacement
4-80
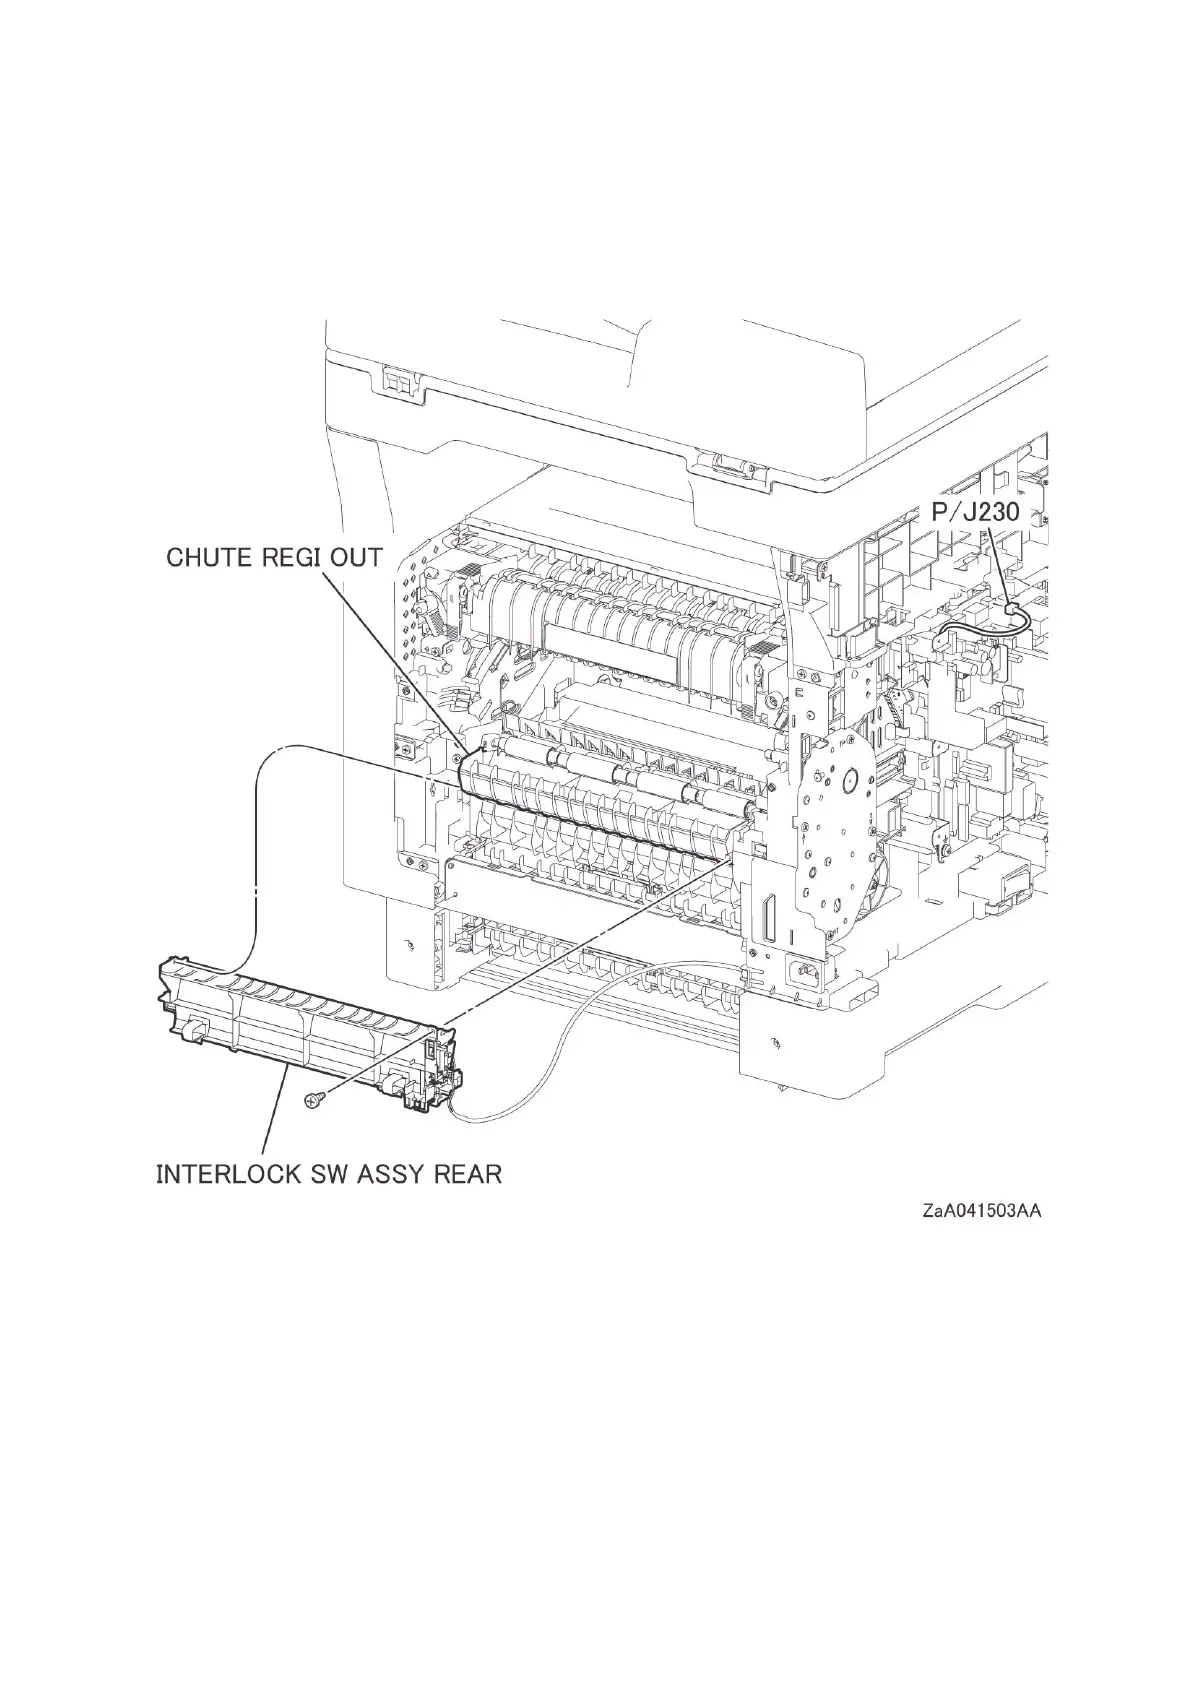
12 Disengage the connector (P/J230) from the PWB LVPS, release the harness from the harness
guide fixed on the printer, and then pull the harness out of the hole on the printer.
13 Remove the one screw (silver, tapping, 8mm) that fixes the INTERLOCK SW ASSY REAR,
release the two hooks, and then remove the INTERLOCK SW ASSY REAR by releasing the
boss on the CHUTE REGI OUT (PL15.1.9) from the hole.

 Loading...


