Chapter 6 General
6.6 IOT Diag
6-44
6.6 IOT Diag
6.6.1 Digital Input
Checks whether the DI (digital input) components such as sensors and switches on the IOT are functioning
properly.
Displays "0" when Digital Input Test is started. This value is increased when the DI components are switched
from OFF to ON, which is used for confirming that the component functions normally. Digital Input Test targets
all DI components.
Digital Input Test Example
This section contains an example of Digital Input Text using [041-300: Inter Lock Front Cover].
1 Enter the CE mode. (See "6.4.2 How to Enter the CE Mode".)
2 Confirm that [Printer Diag] is selected, and then press the [OK] button.
3 Use the [T] button to select [IOT Diag], and then press the [OK] button.
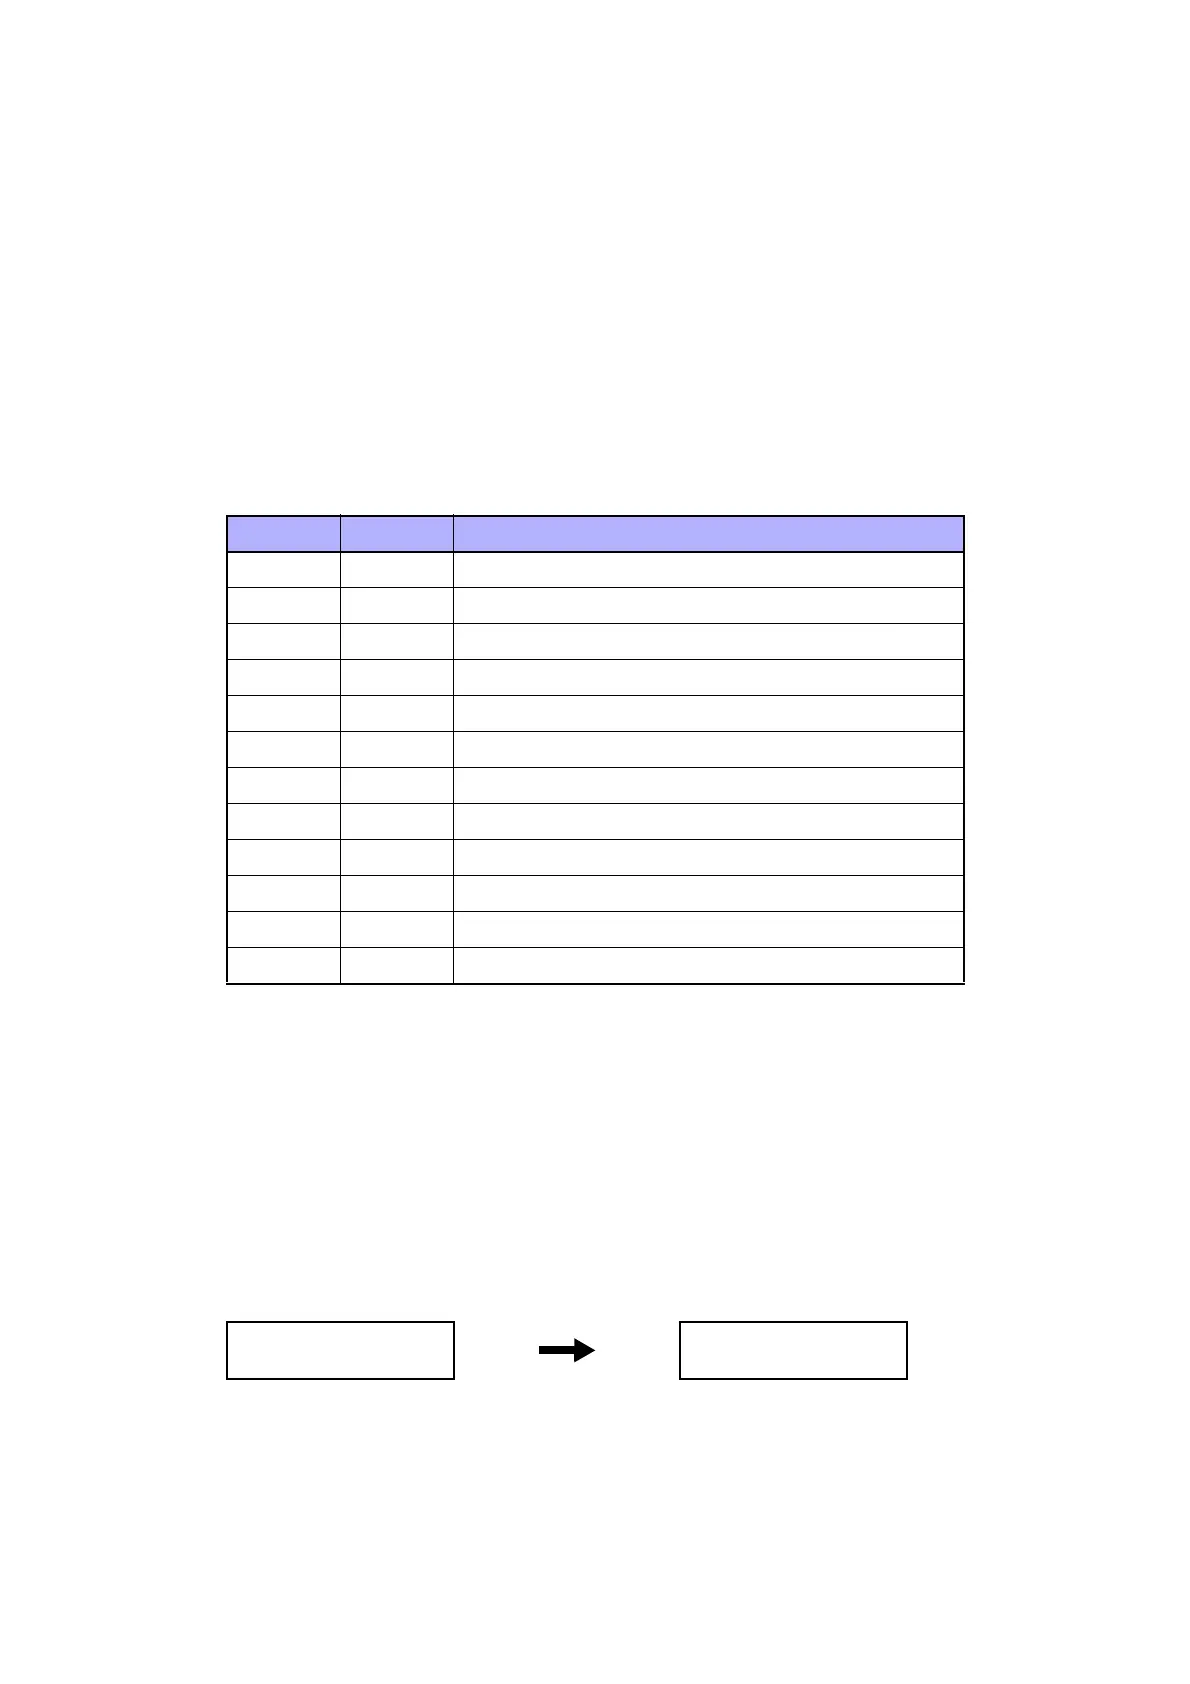
Table 6-39 Digital Input Test Parameter Table
Chain Link Component
010 200 Fusing Relay Enable
010 201 Fusing Fuse Open (invalid code)
041 300 Inter Lock Front Cover
041 301 Inter Lock Rear Cover
042 200 Rear Fan Alarm
042 201 LVPS Fan Alarm
071 100 MSI No Paper Sensor
071 101 Tray 1 No Paper Sensor [CST No Paper Sensor]
071 102 Regi Sensor
071 103 Exit Sensor
071 116 Option Feeder 1 No Paper Sensor
071 200 Option Feeder 1 Motor Alarm
Printer Diag
IOT Diag
IOT Diag
Digital Input

 Loading...


