Chapter 6 General
6.6 IOT Diag
6-50
6.6.3.1 NVM Read and Write (Edit NVM)
Reads and writes the content of the NVM of the IOT for the Chain Link specified.
"NVM Read and Write (Edit NVM)" is for changing settings specific to the device and therefore requires
precise attention. Otherwise you might lose the settings or cause an unrecoverable fault.
Procedure
1 Enter the CE mode. (See "6.4.2 How to Enter the CE Mode".)
2 Confirm that [Printer Diag] is selected, and then press the [OK] button.
3 Use the [T] button to select [IOT Diag], and then press the [OK] button.
4 Use the [T] button to select [NVM Settings], and then press the [OK] button.
5 Confirm that [Edit NVM] is selected, and then press the [OK] button.
6 Enter the Chain-Link No.
• Use the [W] or [X] button to move the cursor to left or right.
• Use the [S] or [T] button to increase or decrease the value of the digit where the cursor is
placed.
7 Press the [OK] button to confirm the Chain-Link number.
• When there is a relevant Chain-Link number, the screen displays the current NVM value and
the cursor.
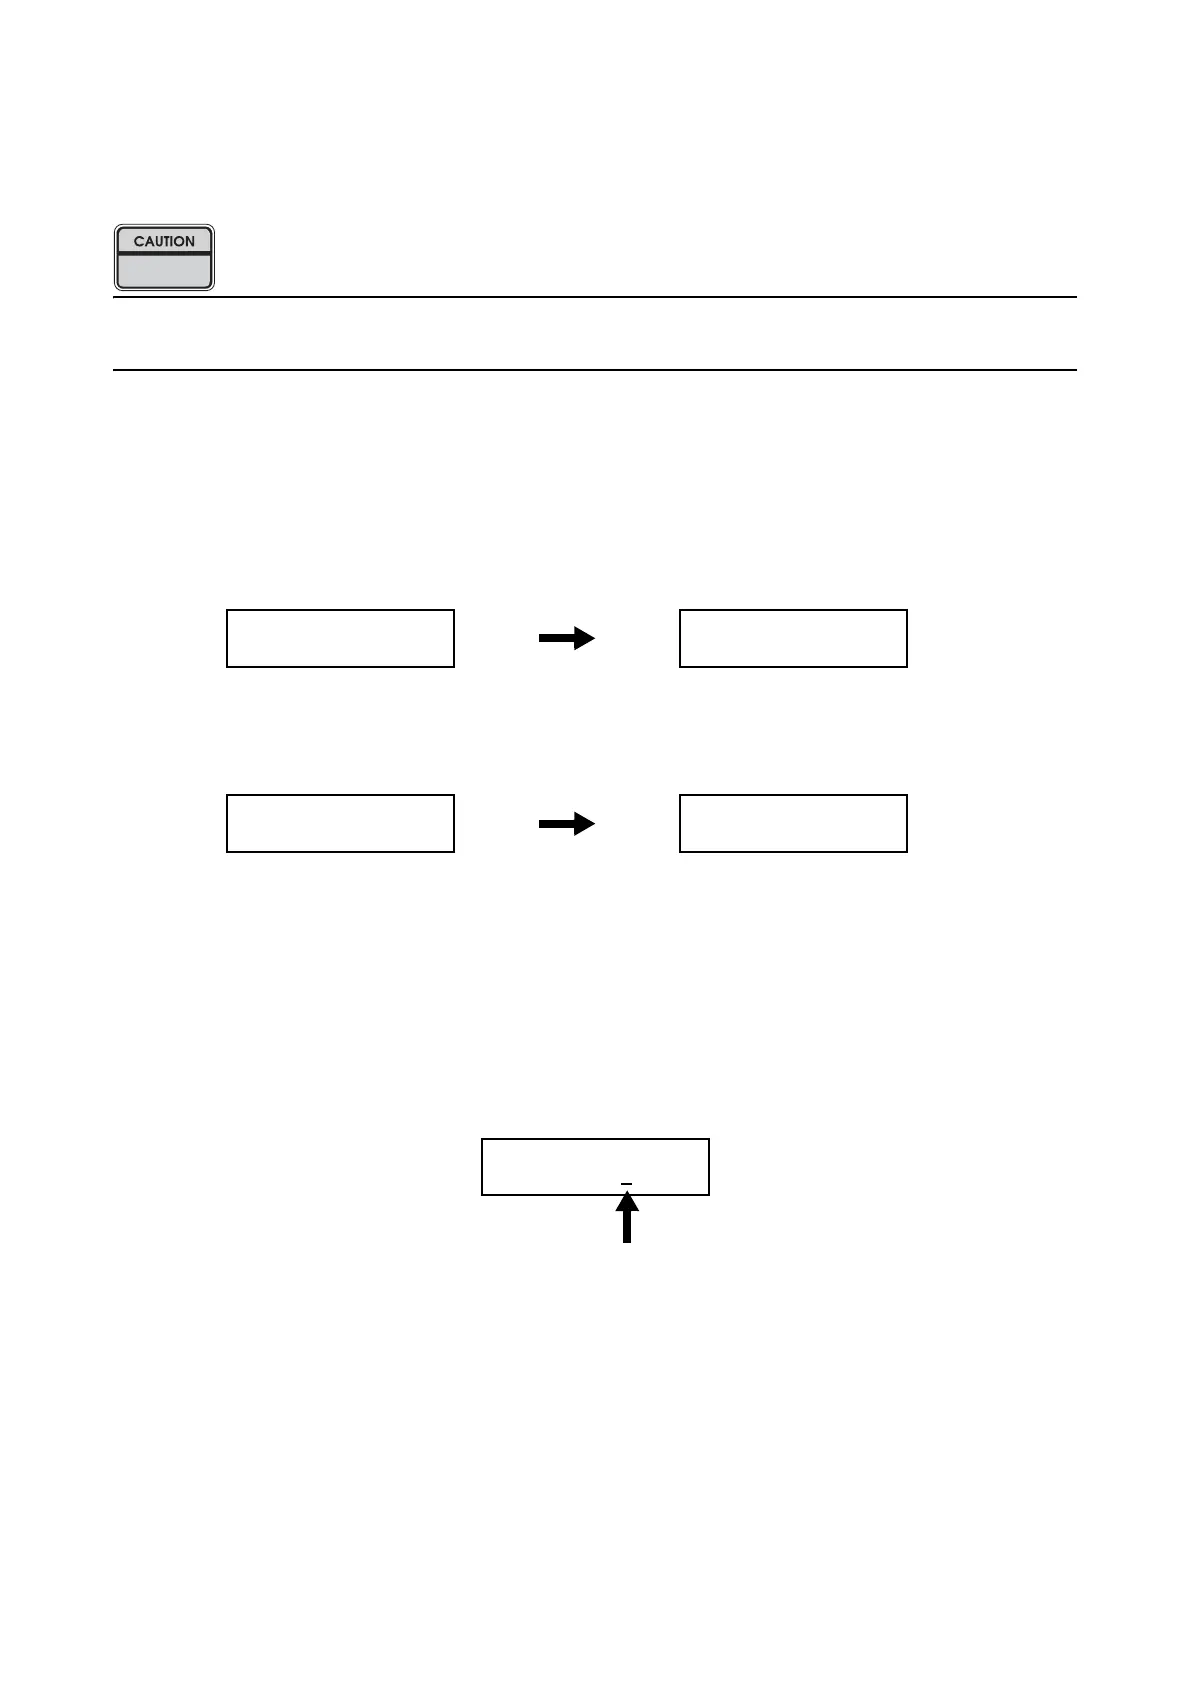
Printer Diag
IOT Diag
IOT Diag
Digital Input
IOT Diag
NVM Settings
NVM Settings
Edit NVM
Cursor
Edit NVM
CL No.000-000

 Loading...


