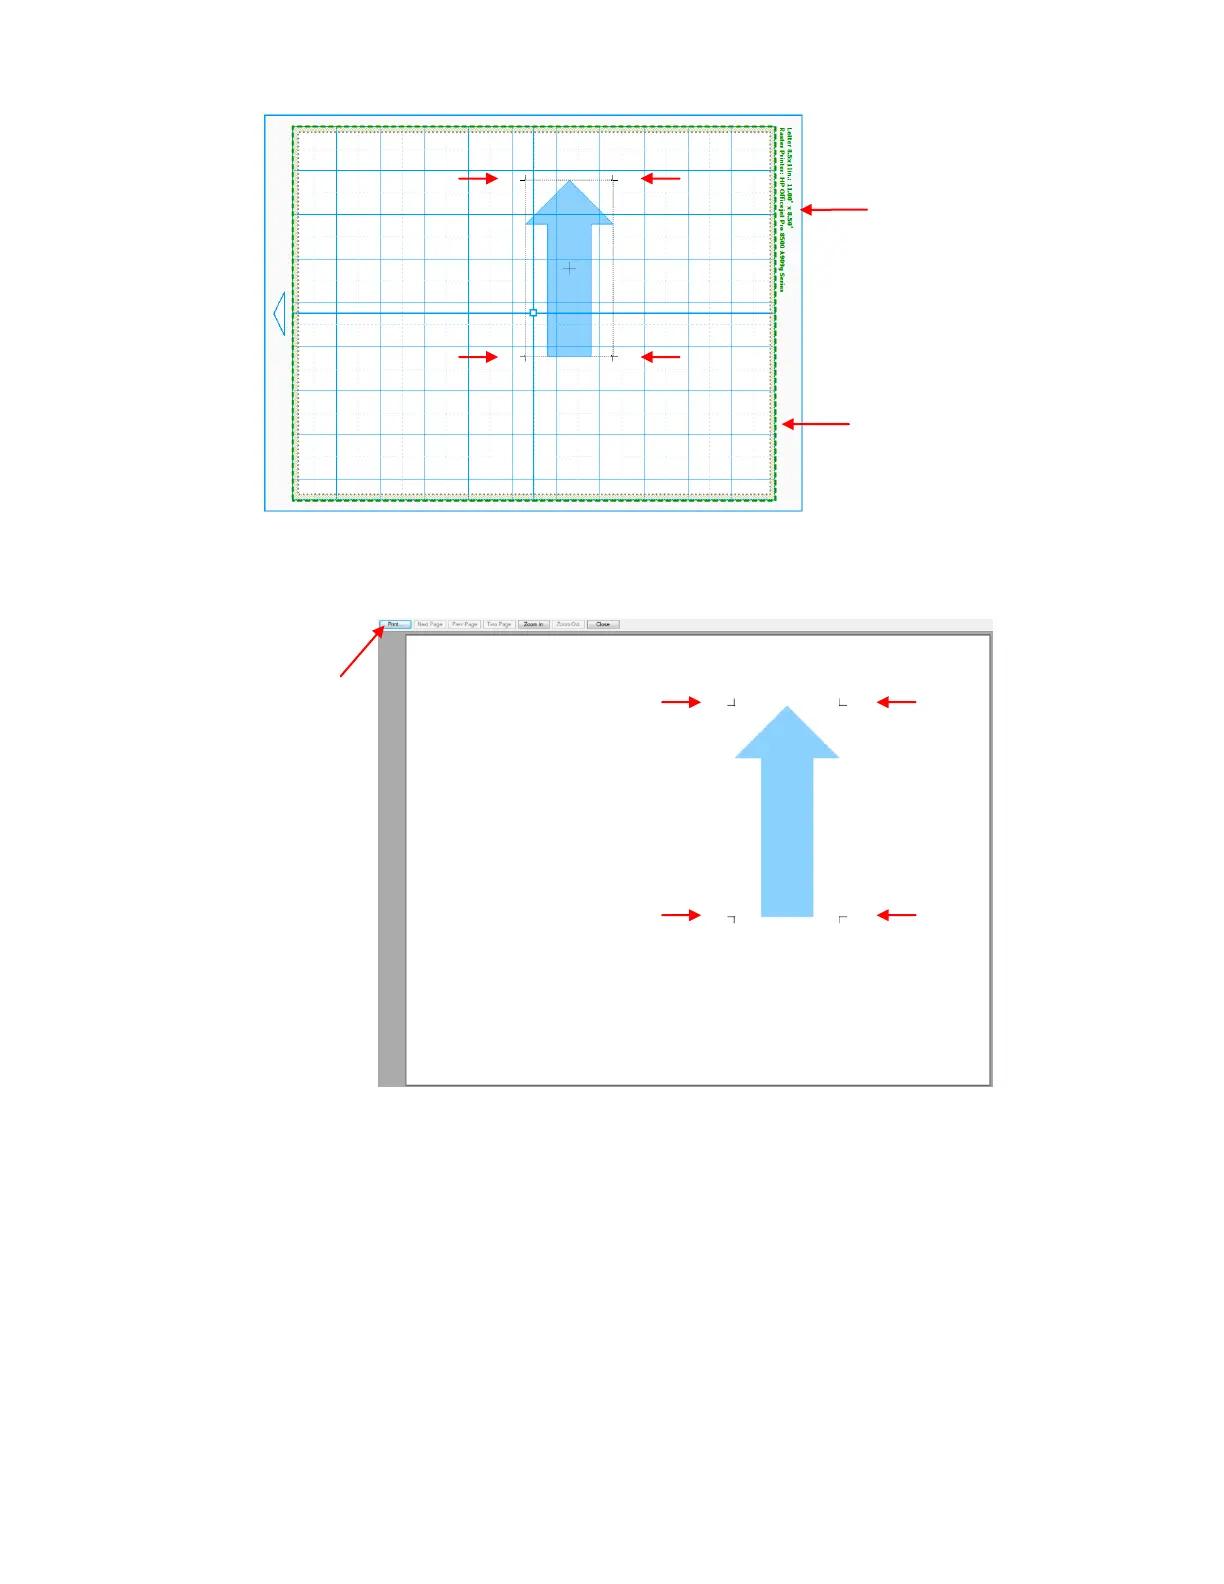
Go to File>Print Preview and you will be able to see the arrow plus the four registration marks which
should be aligned with the boundaries of the arrow:
Always make sure you can see the four registration marks before continuing since they are an integral part
of the PNC process. If your print preview matches the one above and you see the four marks, click on the
Print button. Also verify that what is being printed is what you need. For example, you may have added an
extra shape to be cut, but you do not want it showing up in the printout. This is where you will want to use
the Layers feature to control what will be printed, as well as what will be cut later.
You may want to print several (4 or 5) copies since you will want to repeat this process several times in
order to get your calibration settings perfect.
After printing, place the printout onto the mat. As you are facing the Zing, the printout should be on the mat
in a portrait orientation with the arrow pointing towards the right end cap:
Information about your
current printer settings is
shown here.
Green dashed lines
indicate the part of the
screen that will be printed.
Check this preview carefully.
Do you see all four
registration marks? (red
arrows point out the 4 reg
marks)
Will you be getting what you
need printed?
(Note that the Wireframe
option was turned off for this
screen shot so that the
image could more clearly be
seen in this tutorial).
Four registration
marks should appear
at the corners of the
bounding box.