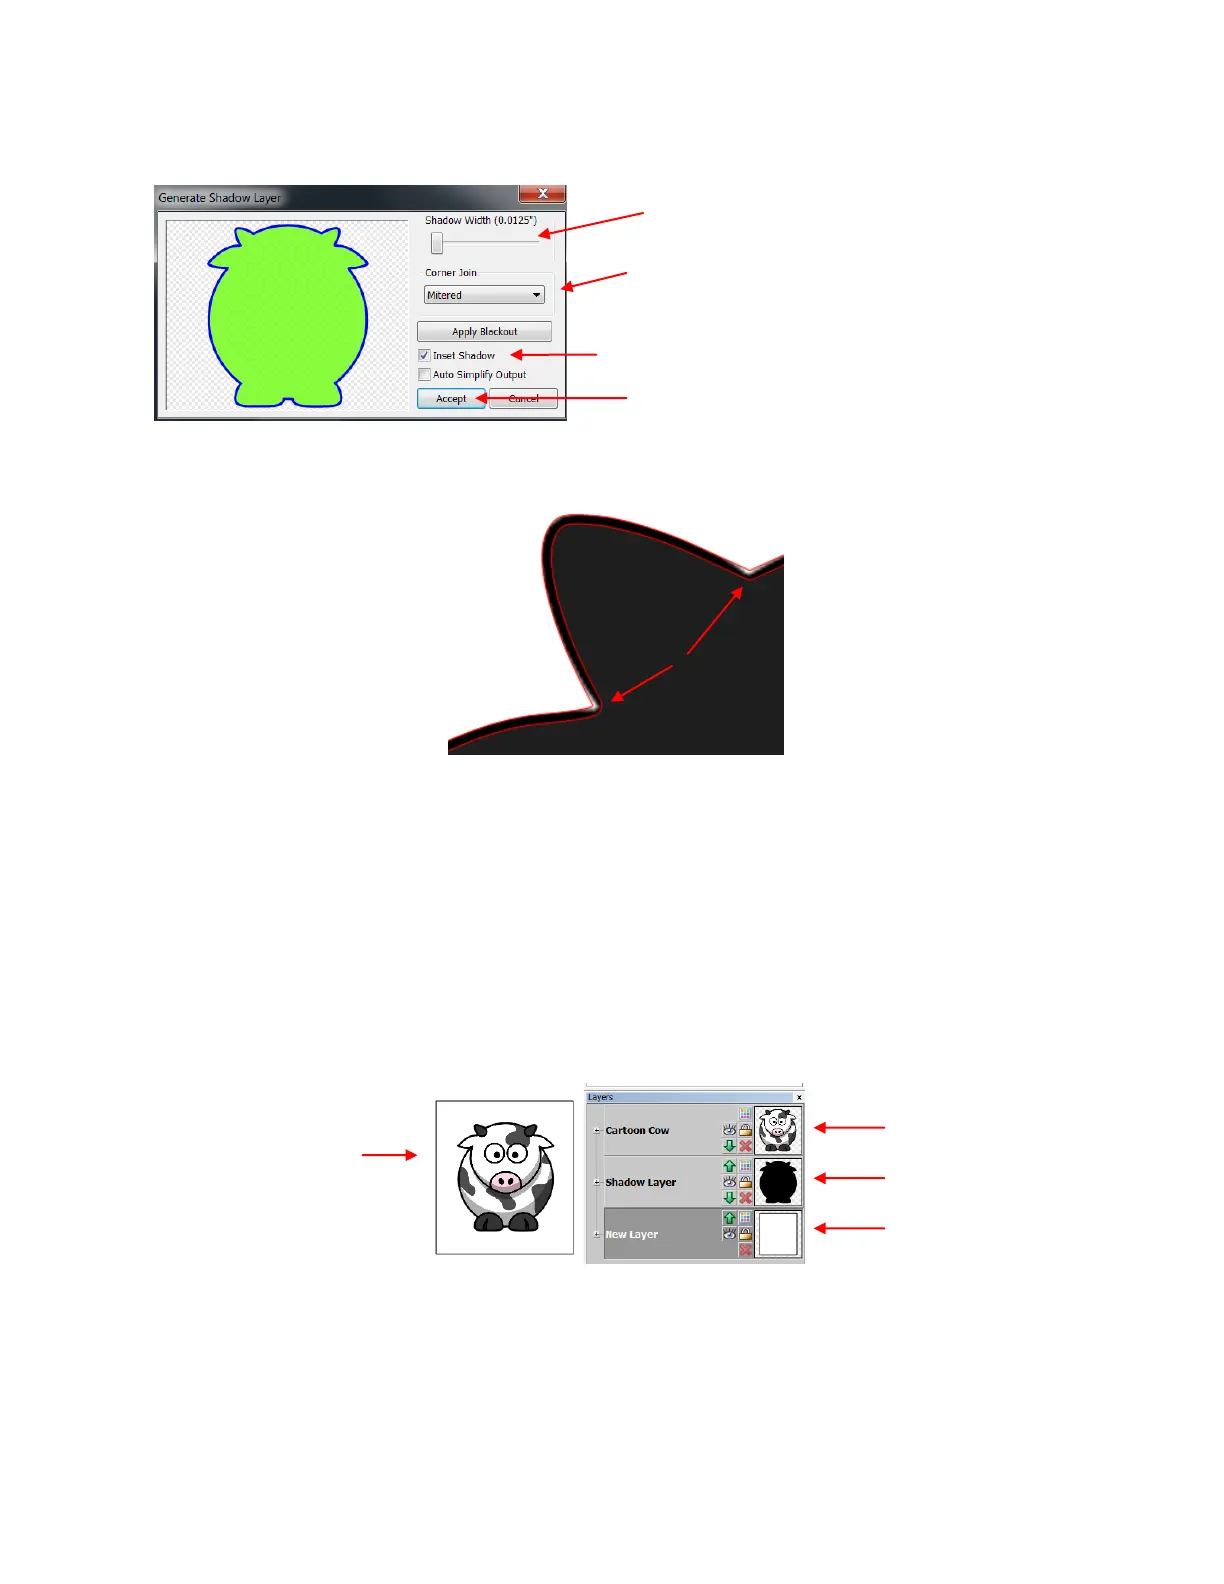
Check the Inset Shadow box, select a Corner Join option and then scroll to the desired Shadow Width.
Note that this is typically less than 0.03”. Click on Accept when done.
Typically these inset lines are very close to the original trace lines and cutting both lines could lead to cutting
issues, such as tearing or fine slivers of paper coming loose. For that reason, you will want to turn off the
original trace lines so that they are not cut. However, the registration marks are tied to these original trace
lines because they are larger than the new inset lines. If you simply turn off the original printed layer when
you start the PNC process the print and cut will not work correctly. But, there is an easy way to make this
work.
Move the new inset cut line layer to the bottom of the Layers Bar so that it is behind the original imported
image.
Add a large white rectangle to the project. If the page will be filled with multiple objects then the rectangle
should surround all of the images. If there is only one image, then the rectangle can be sized to fit just that
image. Place on its own layer and move to the bottom:
Note how the new inset line will clearly
cut inside the printed image so that no
white areas will appear around the
cutout.
One rectangle is
placed around the
original image and its
inset.
Original image should
be top layer
Surrounding white
rectangle
2. Select Corner Join type. Typically this would be
Mitered unless you wish to round off some of
the sharper corners. Choose Rounded instead.
3. Scroll Shadow Width to desired setting. Even
0.0125 may be enough to eliminate white areas.
4. Click on Accept when done.