Software Version C
- 46 -
optek-converter C4101 Version 07.2009_1.2US, 23.07.2009
www.optek.com
9.4.3 System settings - lamp voltage
Also observe the notes in chapter 8.3, page 32.
Lamp voltage depends on sensor and cable length.
1. Select SYSTEM SETTINGS from the main menu and press [ENTER].
2. Select LAMP VOLTAGE and press [ENTER].
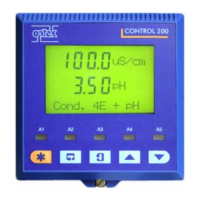
Fig. 36 Menu system settings, choosing lamp voltage
3. Select LAMP E (VDC) and press [ENTER].
4. Type in a direct voltage of 0 to 8.5 via the numerical keyboard next to the
display and press [ENTER]. The cursor automatically moves to the next
menu item.
5. For converters C4202, C4222, C4322, C4422, C4252, C4352 and C4452,
enter a direct voltage for LAMP F (VDC). Set to 0.00 if no sensor is
connected.
Caution!
The output E is always assigned to sensor 1, which is always assigned to the
detector input A or A and C. One sensor can be connected to each output. The
probes AS56 are the only ones of which two can be parallelly connected to one
lamp output.
Outputs E and F must not be mixed up when installing 2 sensors of a different
lamp voltage or cable length.
SYSTEM SETTINGS
DISPLAY
DATE / TIME
DATA LOGGER
DAMPING
LAMP VOLTAGE
SYSTEM ZERO POINT
PRODUCT CHANGE
SENSOR TF
20:05:2006 P01 11:26:55