Software Version C
- 48 -
optek-converter C4101 Version 07.2009_1.2US, 23.07.2009
www.optek.com
9.4.4 System settings - optek inputs
Here, you can select the optek detector inputs which you want to use for
measurement.
With the settings described in the following section, the converter can perform
corresponding tests and reliably create or ignore error messages. A faulty
sensor can stay connected to the system physically until repaired without
disturbing the entire system's operation.
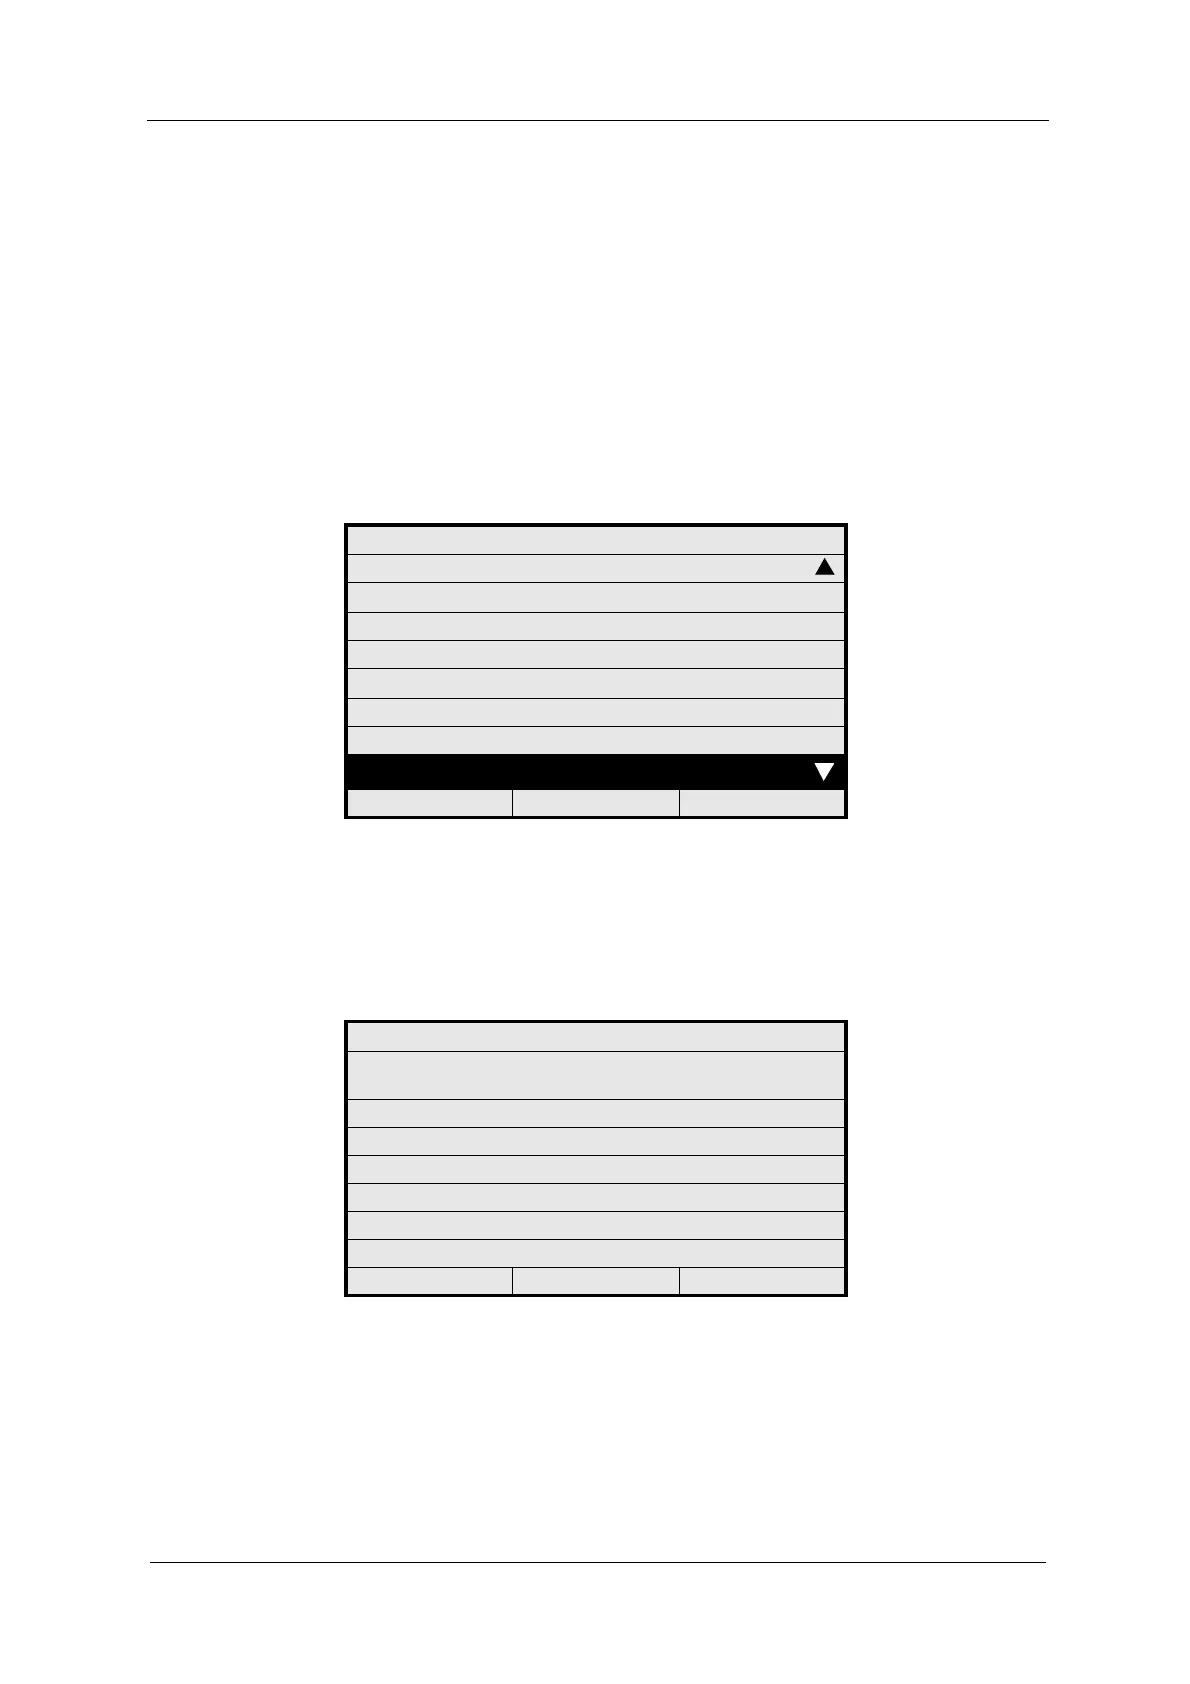
1. Select SYSTEM SETTINGS from the main menu and press [ENTER].
2. Select OPTEK INPUTS and press [ENTER].
Fig. 38 Menu system settings, choosing optek inputs
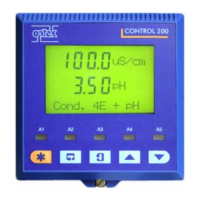
3. The cursor is located in the CHANNEL A menu item. Press [ENTER] and
select YES or NO. When connecting one single channel sensor or one dual
channel sensor, select YES.
4. Press [ENTER] again.
Fig. 39 Choosing optek inputs
SYSTEM SETTINGS
SENSOR TF
mA OUTPUTS
RELAY OUTPUTS
REMOTE IN
HOLD
FAILSAFE
PASSWORD PROTECTION
OPTEK INPUTS
20:05:2006 P01 11:26:55
SYSTEM SETTINGS
THESE DETECTOR INPUTS ARE
CONNECTED:
CHANNEL A: YES
CHANNEL B: NO
CHANNEL C: NO
CHANNEL D: NO
REJECT P01 SAVE