_____________________________________________________________________________
LB9 User’s Guide 1239/1523
11.4.3 Managing Captive Portal
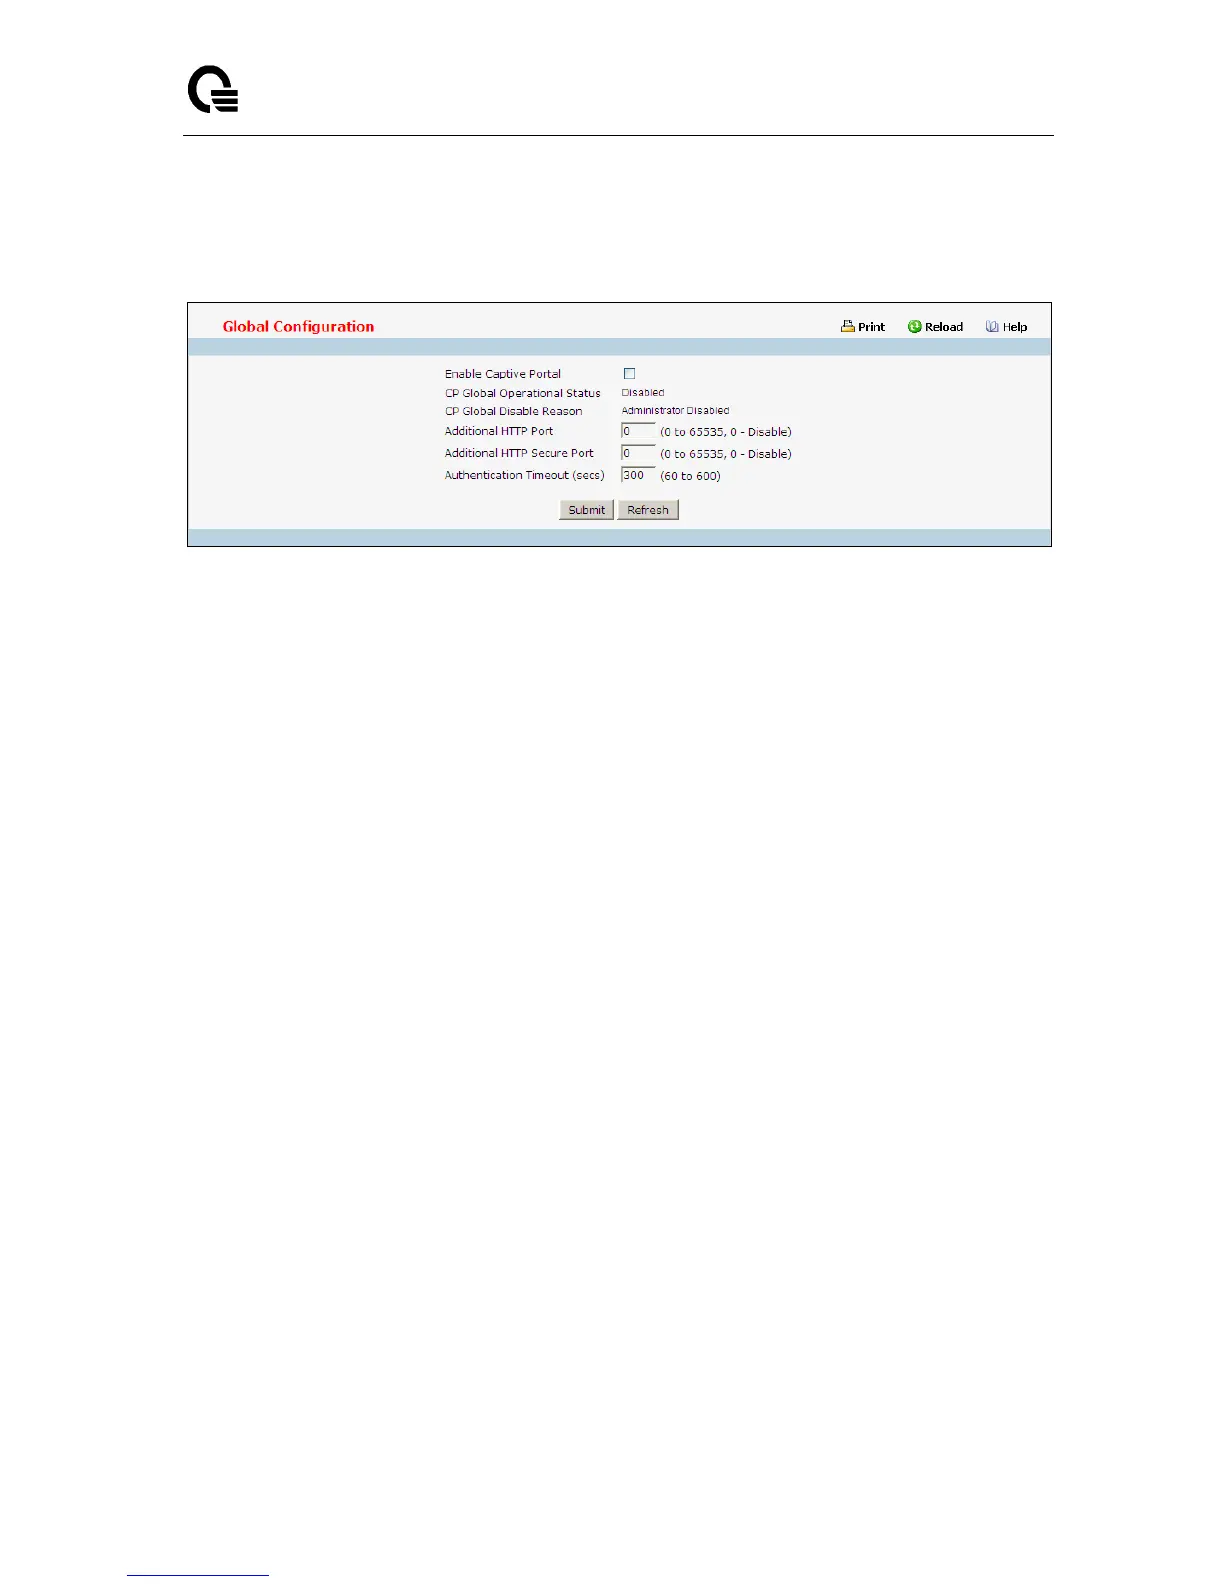
11.4.3.1 Configuring Captive Portal Global Configuration Page
Configurable Data
Enable Captive Portal - Select the check box to enable the CP feature on the switch. Clear the
check box to disable the captive portal feature.
Additional HTTP Port - HTTP traffic uses port 80, but you can configure an additional port for HTTP
traffic. Enter a port number between 0-65535 (excluding ports 80, 443, and the configured switch
management port).
Additional HTTP Secure Port - HTTP traffic over SSL (HTTPS) uses port 443, but you can
configure an additional port for HTTPS traffic. Enter a port number between 0-65535 (excluding ports
80, 443, and the configured switch management port).
Authentication Timeout - To access the network through a portal, the client must first enter
authentication information on an authentication Web page. Enter the number of seconds to keep the
authentication session open with the client. When the timeout expires, the switch disconnects any
active TCP or SSL connection with the client.
Non-Configurable Data
CP Global Operational Status - Shows whether the CP feature is enabled.
CP Global Disable Reason - If CP is disabled, this field displays the reason, which can be one of
the following:
‧ None
‧ Administratively Disabled
‧ No IPv4 Address
‧ Routing Enabled, but no IPv4 routing interface
Command Buttons
Submit - Sends the updated screen to the switch and causes the changes to take effect on the
switch but these changes will not be retained across a power cycle unless a save is performed.
Refresh - Update the information on the page.