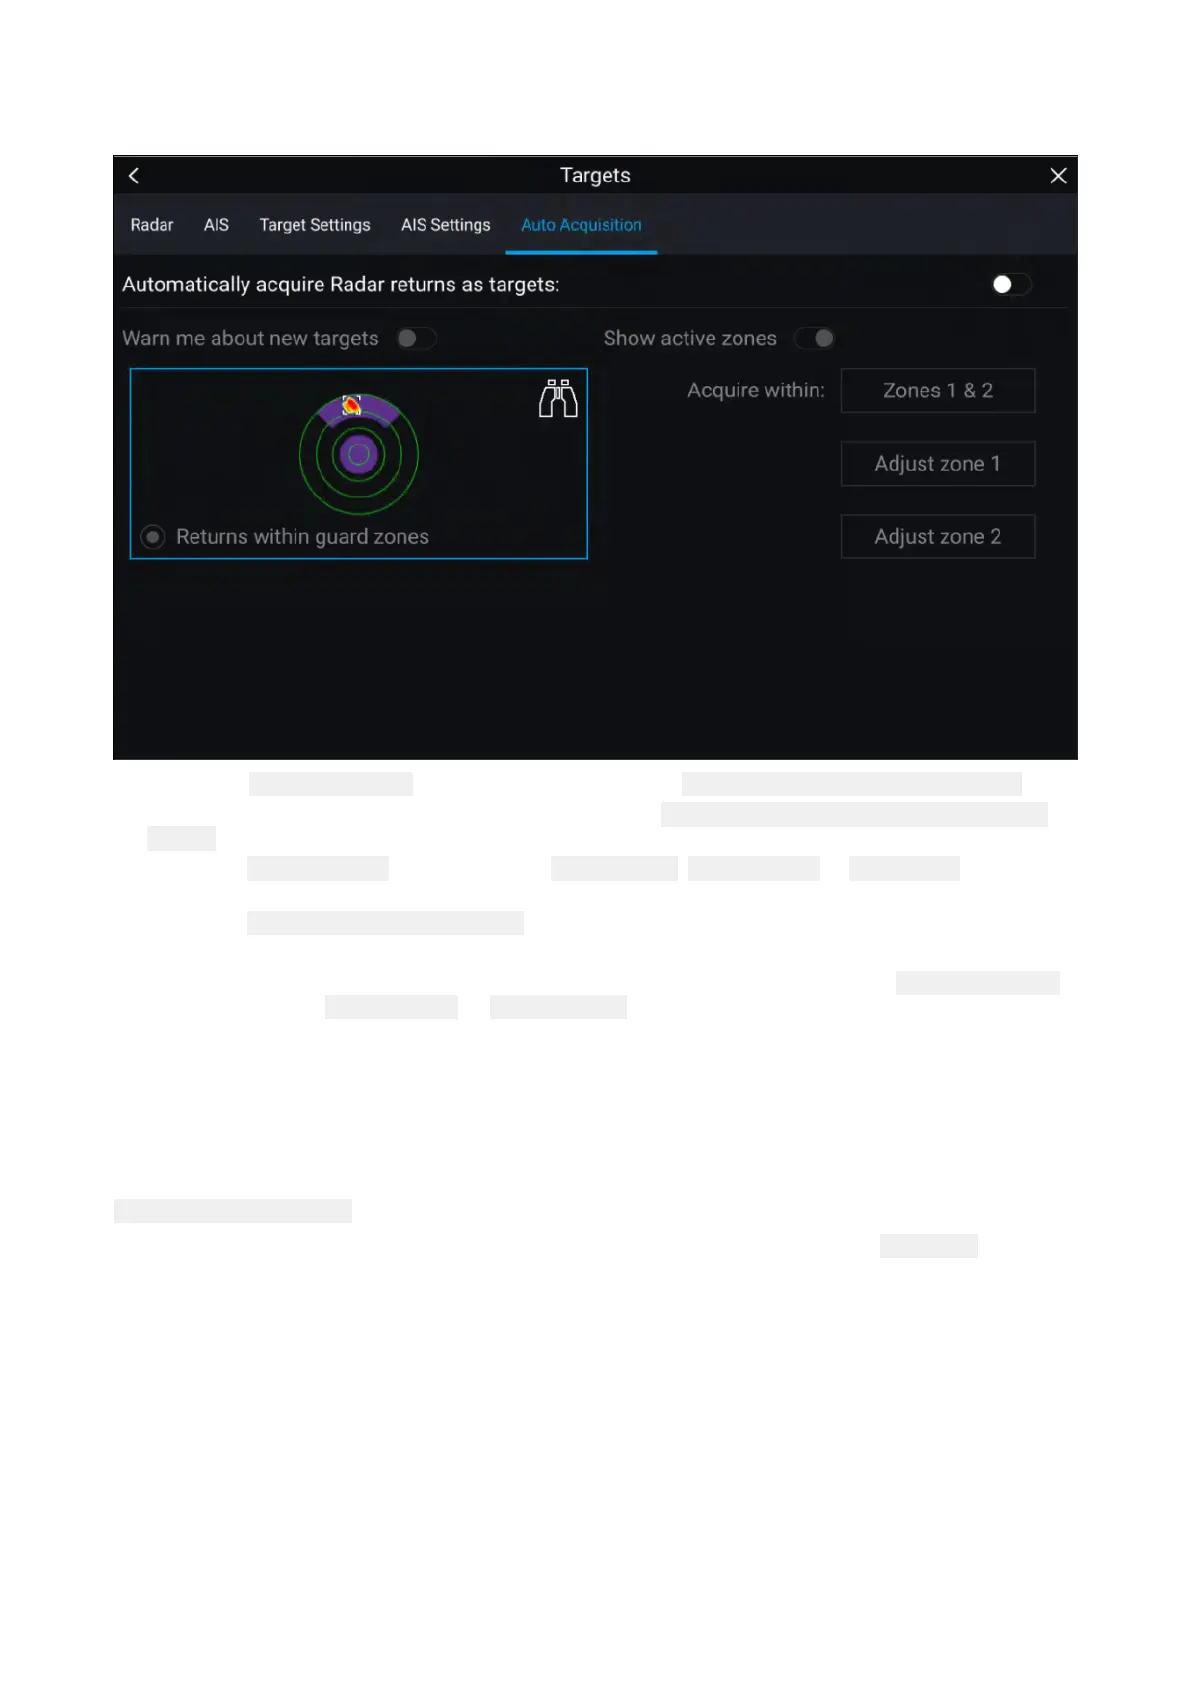
Settingupautomatictargetacquisition
Followthestepsbelowtoconfigureautomatictargetacquisition.
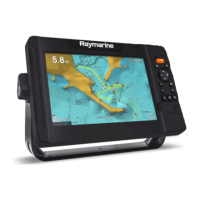
1.Selectthe AutoAcquisitiontabfromtheTargetmenu:( Menu>Targets>AutoAcquisition).
2.EnableAutomaticTargetAcquisitionbyselectingthe
AutomaticallyacquireRadarreturnsas
targetstoggleswitch.
3.Selectthe Acquirewithinboxandchoose Guardzone1, Guardzone2or Zones1&2asrequired.
4.T
oenableonscreenpop-upnotificationsofnewtargetswhichhavebeenacquiredautomatically,
selectthe Warnmeaboutnewtargetstoggleswitch.
Whenmultipletargetsareacquiredsimultaneously,anInfodialogisdisplayed.
5.Y oucanalsoadjustthesizeandpositionoftheGuardzonesdirectlyfromthe
AutoAcquisition
pagebyselecting Adjustzone1or Adjustzone2.
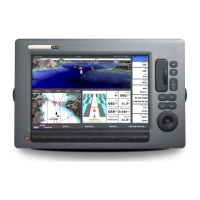
Radartargetlist
Thetargetlistidentifies:Targetnumber,RangeandBearingfromyourvessel.Whererelevant,
CPA(Closestpointofapproach)andTCPA(TimetoClosestPointofApproach)valueswillalsobe
displayed.
TheRadartargetlistcanbeaccessedfromtheTargetsmenuintheRadarappandChartapp:
Menu>T argets>Radar.
TheRadartargetlistcanbesortedbyeitherNumberorRangebyselectingthe SortedByoption
locatedatthebottomoftheLiveViewpane:
•Number—ListsortedbyTargetnumbersothatthefirstdetectedtargetappearsatthetop
ofthelist.
•Range—Listsortedbyproximitytoyourvesselwiththeclosesttargetappearingatthetopofthe
list.Thelistwillautomaticallyupdateastargetsbecomecloserorfartheraway.
SelectingatargetfromthelisthighlightstheselectedtargetintheLiveViewapppaneontherightof
thepageandopensthePop-overmenu.
276

 Loading...