Section 03 ENGINE SYSTEM
Subsection 03 (REMOVAL AND INSTALLATION)
Rubber Mount
Check tightness and condition of rubber mounts.
If they have been removed, apply Loctite 243
(blue) (P/N 293 800 060) on screw threads.
Torque screws to 25 N•m(18lbf•ft).
CAUTION: Strict adherence to this torque is
important to avoid damaging threads of alu-
minum insert in bilge.
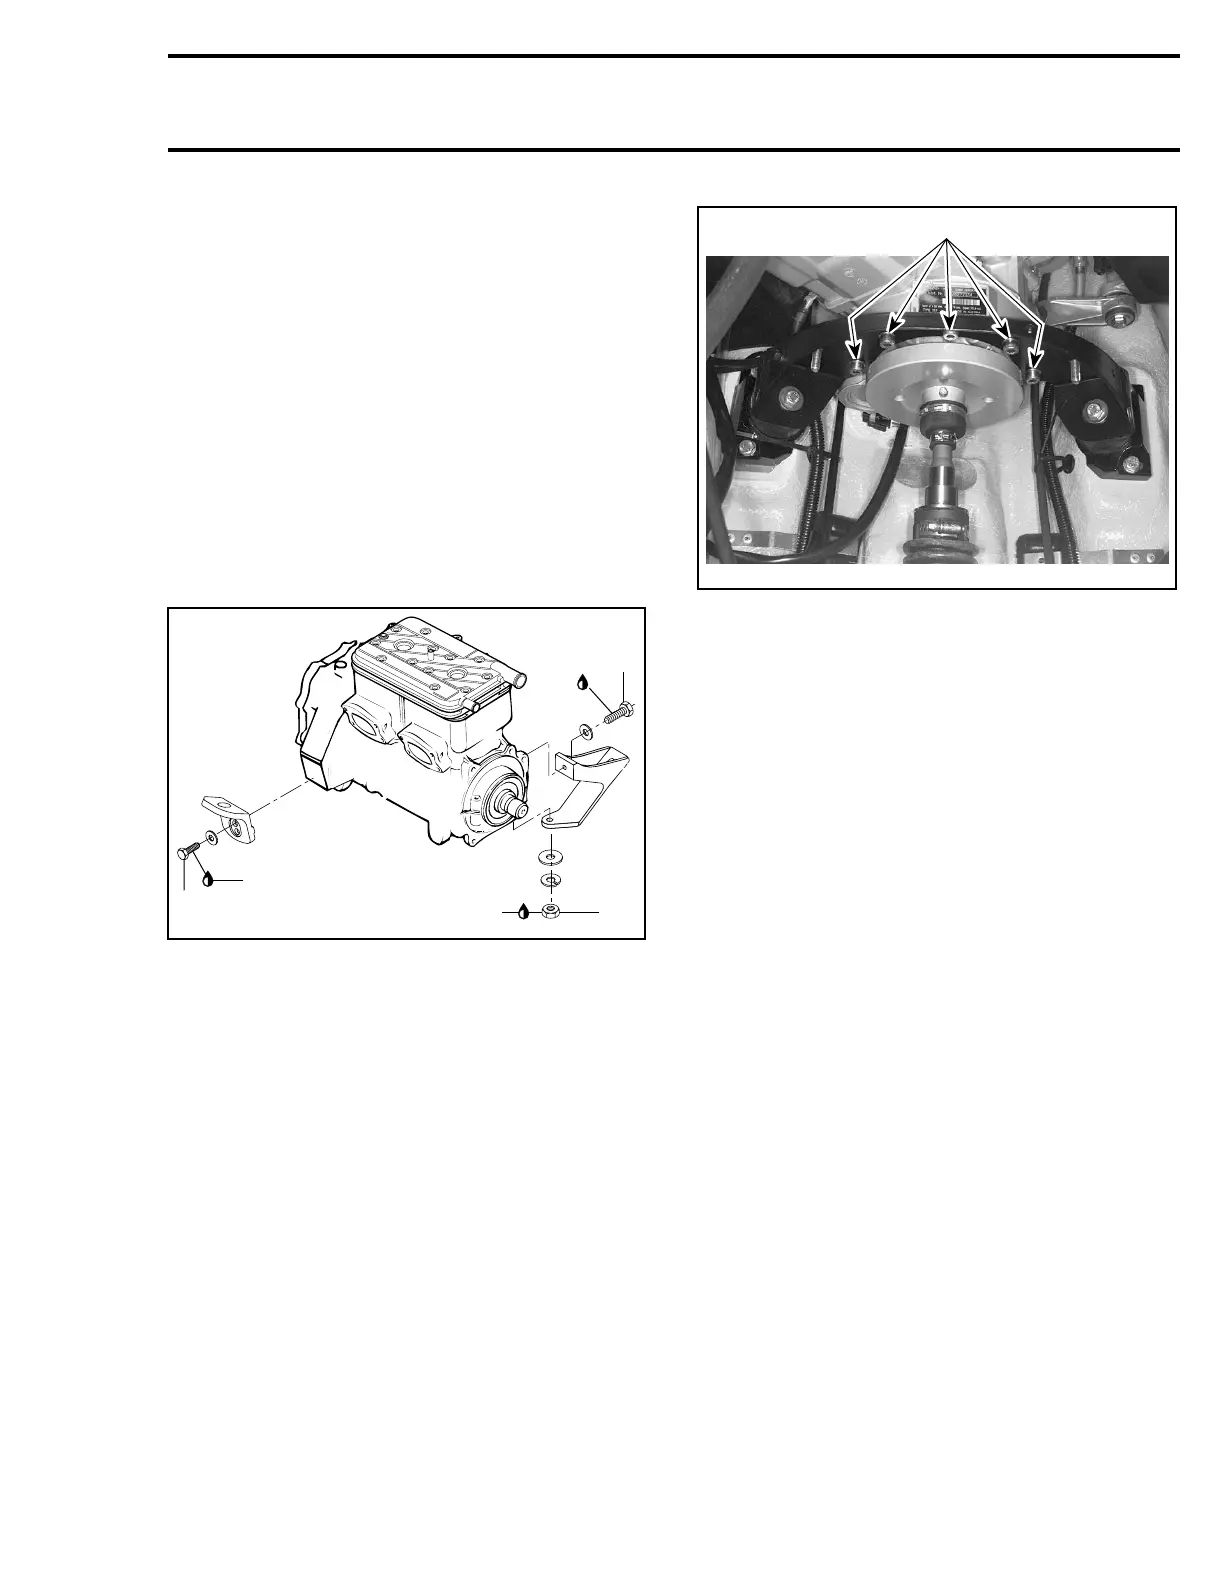
Engine Support
717 Engines
Torque front and rear engine supports as shown in
the following illustration.
Apply Loctite 243 (blue) (P/N 293 800 060) on
threads.
F02D09B
1
2
1
Loctite
243
Loctite
243
Loctite
243
1. Torque screws to 22 N•m (16 lbf•ft)
2. Torque nuts to 39 N•m (29 lbf•ft)
787 RFI Engines
Apply Loctite 243 (blue) (P/N 293 800 060) to rear
engine support screws and install them with flat
washers and torque to 24 N•m(17lbf•ft).
1
F07F12B
TYPICAL
1. Torque engine support screws to 24 N•m (17 lbf•ft)
Oil Injection Hoses
Make sure to reinstall hoses before completely
lowering engine in bilge.
Positive Starter Cable
Torque nut of positive starter cable to 6 N•m
(53 lbf•in). Apply dielectric grease (P/N 293 550
004) on nut.
Engine/Jet Pump Alignment
GTI Series
Alignment is necessary to eliminate possible vi-
bration and/or damage to components. Check
alignment of engine using the following alignment
tools.
Support plate kit (P/N 529 035 506).
Use:
– plate (P/N 529 035 507)
smr2005-049 65