1
WEILER E2850 REMIXING TRANSFER VEHICLE
3-34
Operating Instructions
3
Paving
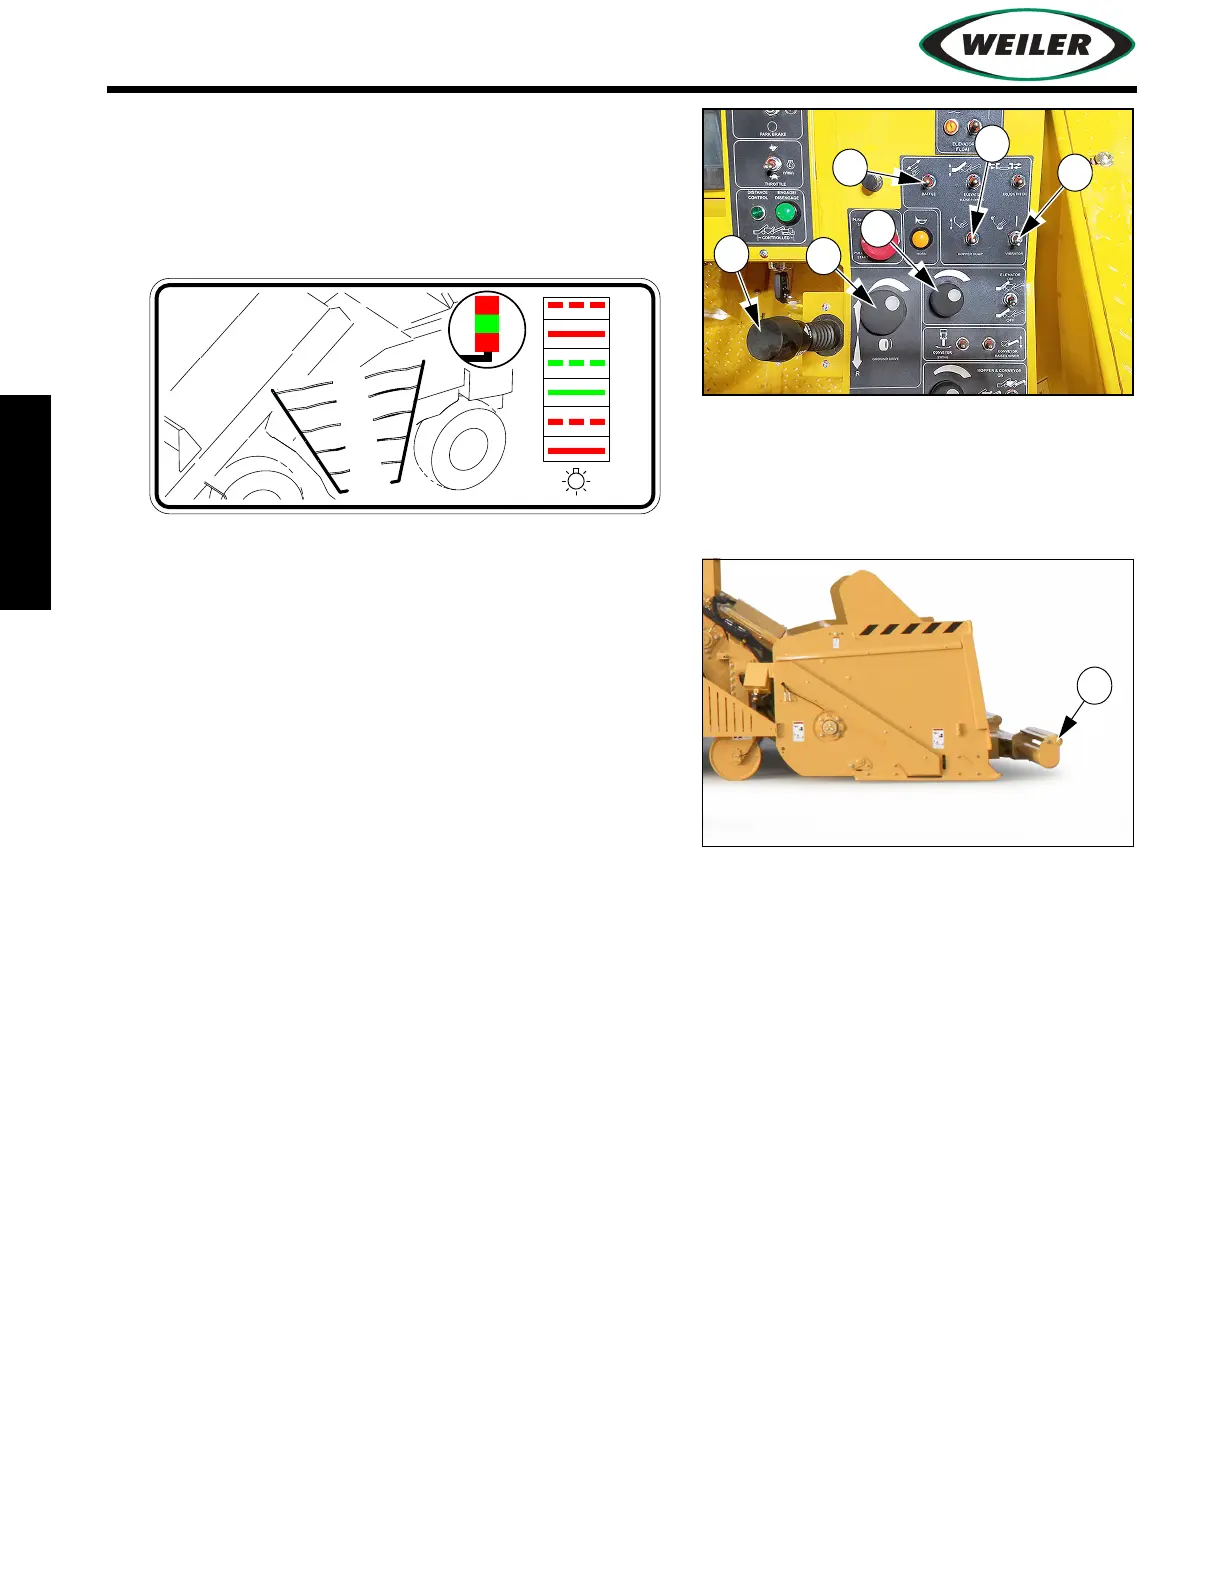
12. Lower dump hopper baffle (12) to prevent material
from overloading elevator drive. For best results
and best use of machine power, position baffle to
keep storage hopper level in the green area, as
shown on decal.
13. Use an additional operator on the ground near
dump hopper to assist in dumping trucks. Hopper
controls are provided on ground stations at each
side of hopper. Optional truck signal lights may be
used to signal truck driver. (Refer to
"Truck Signal
Lights (Optional)", page 3-44.)
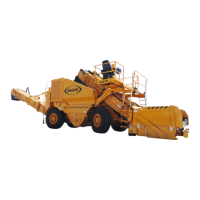
14. Back a haul truck up to the push rollers on the
dump hopper.
NOTICE: Adjust push roller position (13) to prevent
damage to dump hopper and flashing.
15. Slowly raise dump truck box until material begins to slide out. Adjust height of truck dump box
to control flow of asphalt into the dump hopper.
NOTICE: While unloading the first few trucks, meter material very slowly using the hopper baffle
and slow elevator chain speed. This allows steel machine parts to be lubricated and warmed up to
move material more easily through the machine. Material unloaded too quickly may stall elevator
and conveyor. If a stall occurs, refer to
"Cleaning or Removing Material", page 3-47.
16. Slowly open dump hopper baffle to allow material to contact remixing augers and elevator chain.
17. Fill storage hopper and paver hopper or optional hopper insert to near capacity.
18. When storage hopper and paver hopper or optional paver hopper insert are full, release park
brake and begin traveling at the speed of the paver.
Adjust speed with Propel Lever (14) and Propel Speed Dial (15). Set Propel Speed Dial to the
potential paving speed, then use Propel Lever to vary the speed. If equipped, refer to
"Distance
From Paver Control System (Optional)"
, page 3-38 for operating instructions.
19. Adjust material flow to discharge conveyor and paver hopper with Elevator Speed Dial (16).