01/02
4-117
8825/8830 Printer
ADJ 10.2
Repairs and Adjustments
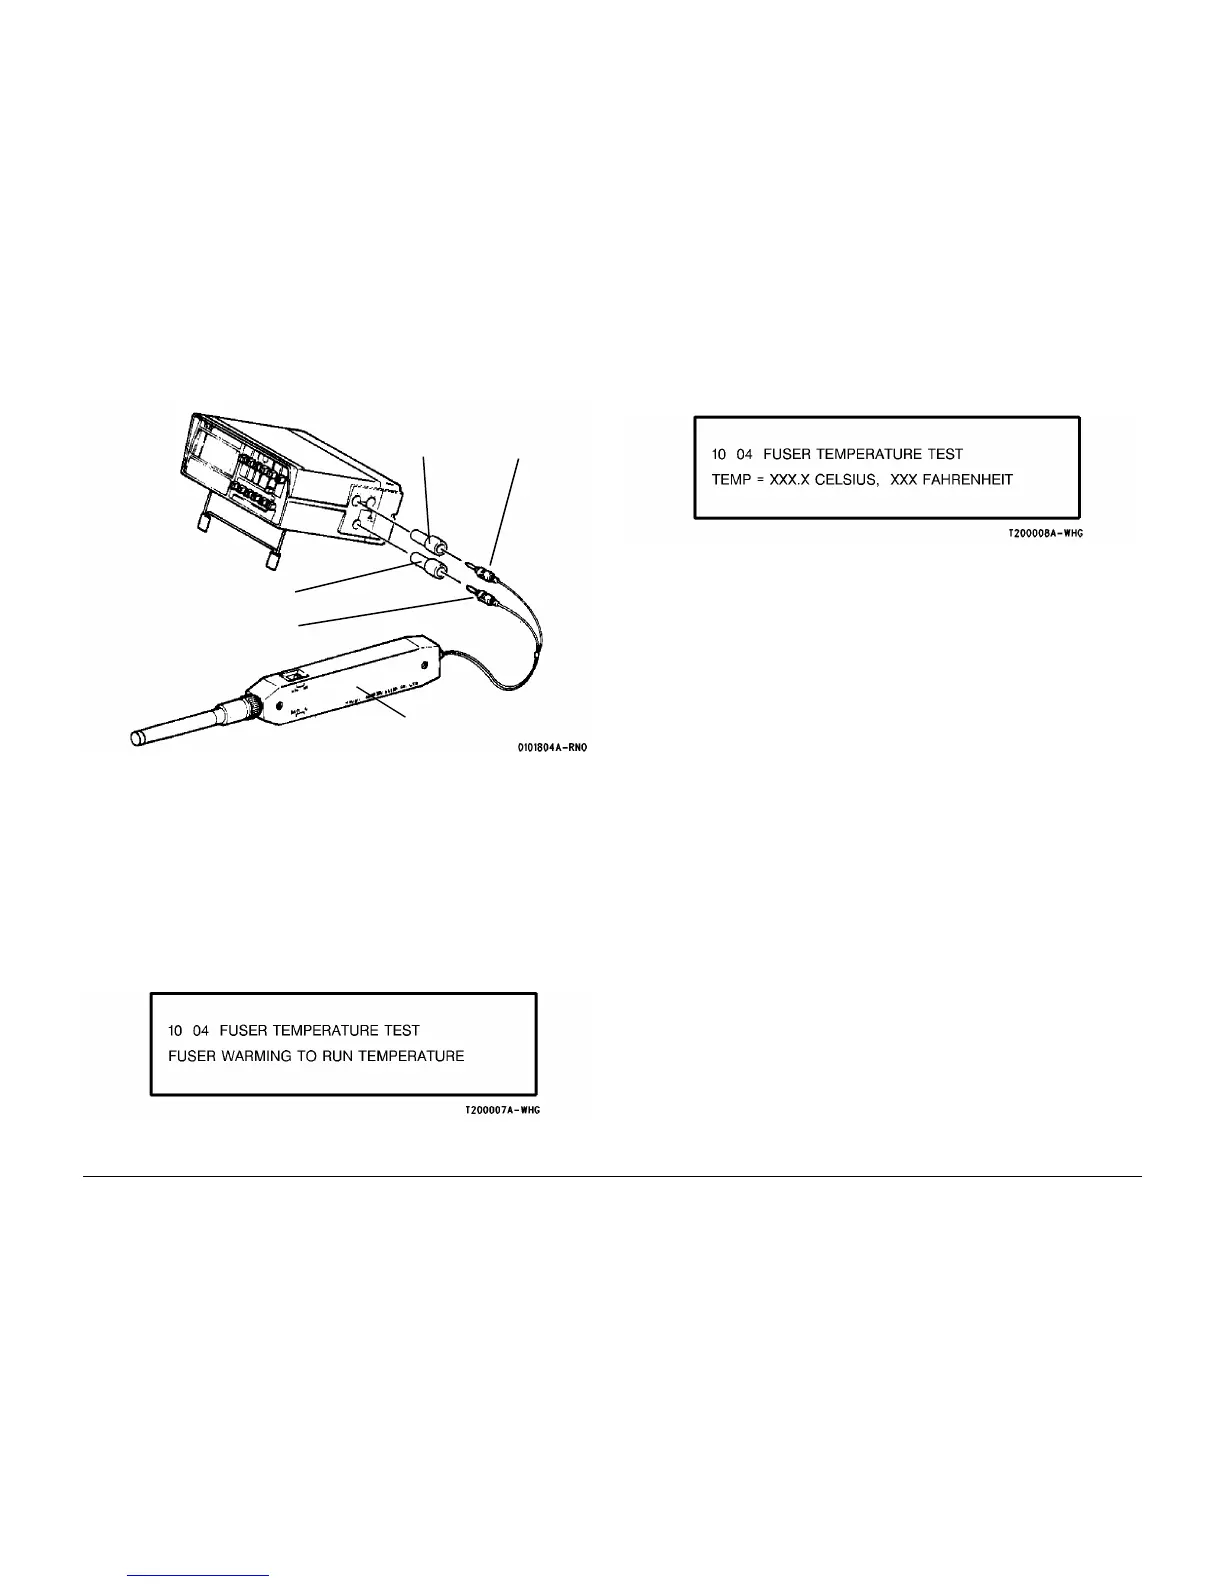
3. ( Figure 2): Connect the Temperature Probe to the DMM.
Figure 2 Connecting the Temperature Probe to the DMM
4. Switch on the DMM and then switch on the Temperature Probe.
5. Set the DMM to measure DC voltage.
6. Press the 20 Volt range switch on the DMM.
7. Rotate the select switch of the Temperature Probe to BATT TEST. If the voltage is lower
than 1.7V, replace the battery of the Temperature Probe.
8. Rotate the select switch of the Temperature Probe to the oº C position and press the
200mV range switch of the DMM.
9. Enter diagnostics.
10. ( Figure 3): Enter code [ 1004 in order to turn on the Heat Rod and bring the Heat Roll to
the run temperature. The following message is displayed.
Figure 3 Fuser Warm Up Screen
11. ( Figure 4): Check the bond paper fusing temperature, using the Temperature Probe,
when the following message is displayed.
Figure 4 Fuser Temperature Test Screen
12. Open the Media Transport Latching Cover and press the tip of the Thermal Sensor firmly
to the surface of the Heat Roll
NOTE: As an example, a reading of 143 on the 200mV scale is 143º C (290º F).
13. Press the Exit button three times.
Red Jack
Red Adaptor
Black Adaptor
Temperature Probe
Black Jack

 Loading...


