01/02
4-68
8825/8830 Printer
REP 9.9
Repairs and Adjustments
REP 9.9 Transfer / Detack Corotron
Parts List on PL 9.4
WARNING
Switch off the Main Power Switch. Disconnect the Power Cord.
NOTE: The art used for this procedure was developed for previous products and may not
match the 8825/8830 configuration exactly.
Removal
1. Loosen the screws and open the Rear Cover.
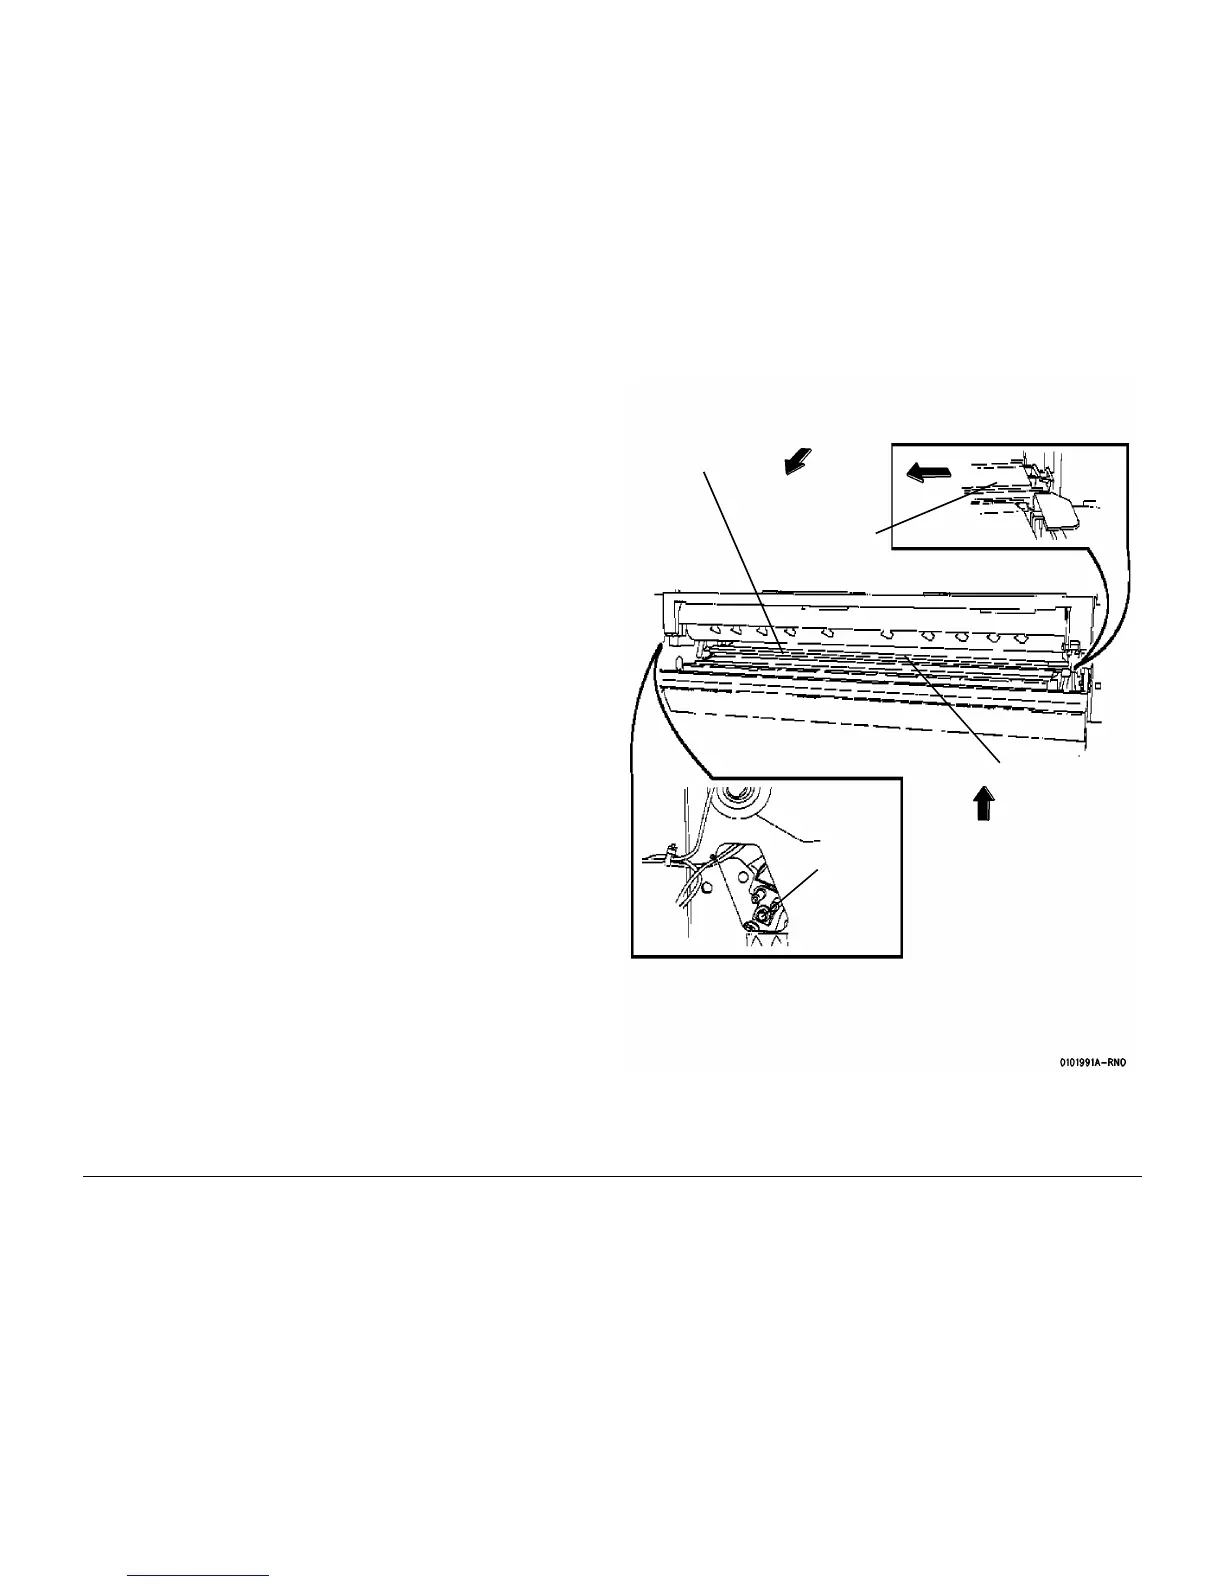
2. (Figure 1): Lower the Media Transport Cover and remove the Transfer / Detack Corotron.
Replacement
1. Reinstall the Transfer / Detack Corotron against the bottom of the channel, away from the
Heat Roll.
Figure 1 Removing the Transfer/Detack Corotron
1
Loosen the
screw
2
Lift the Corotron
3
Move the
Corotron
4
Remove the
Transfer / Detack
Corotron

 Loading...


