01/02
4-50
8825/8830 Printer
REP 9.3, REP 9.4
Repairs and Adjustments
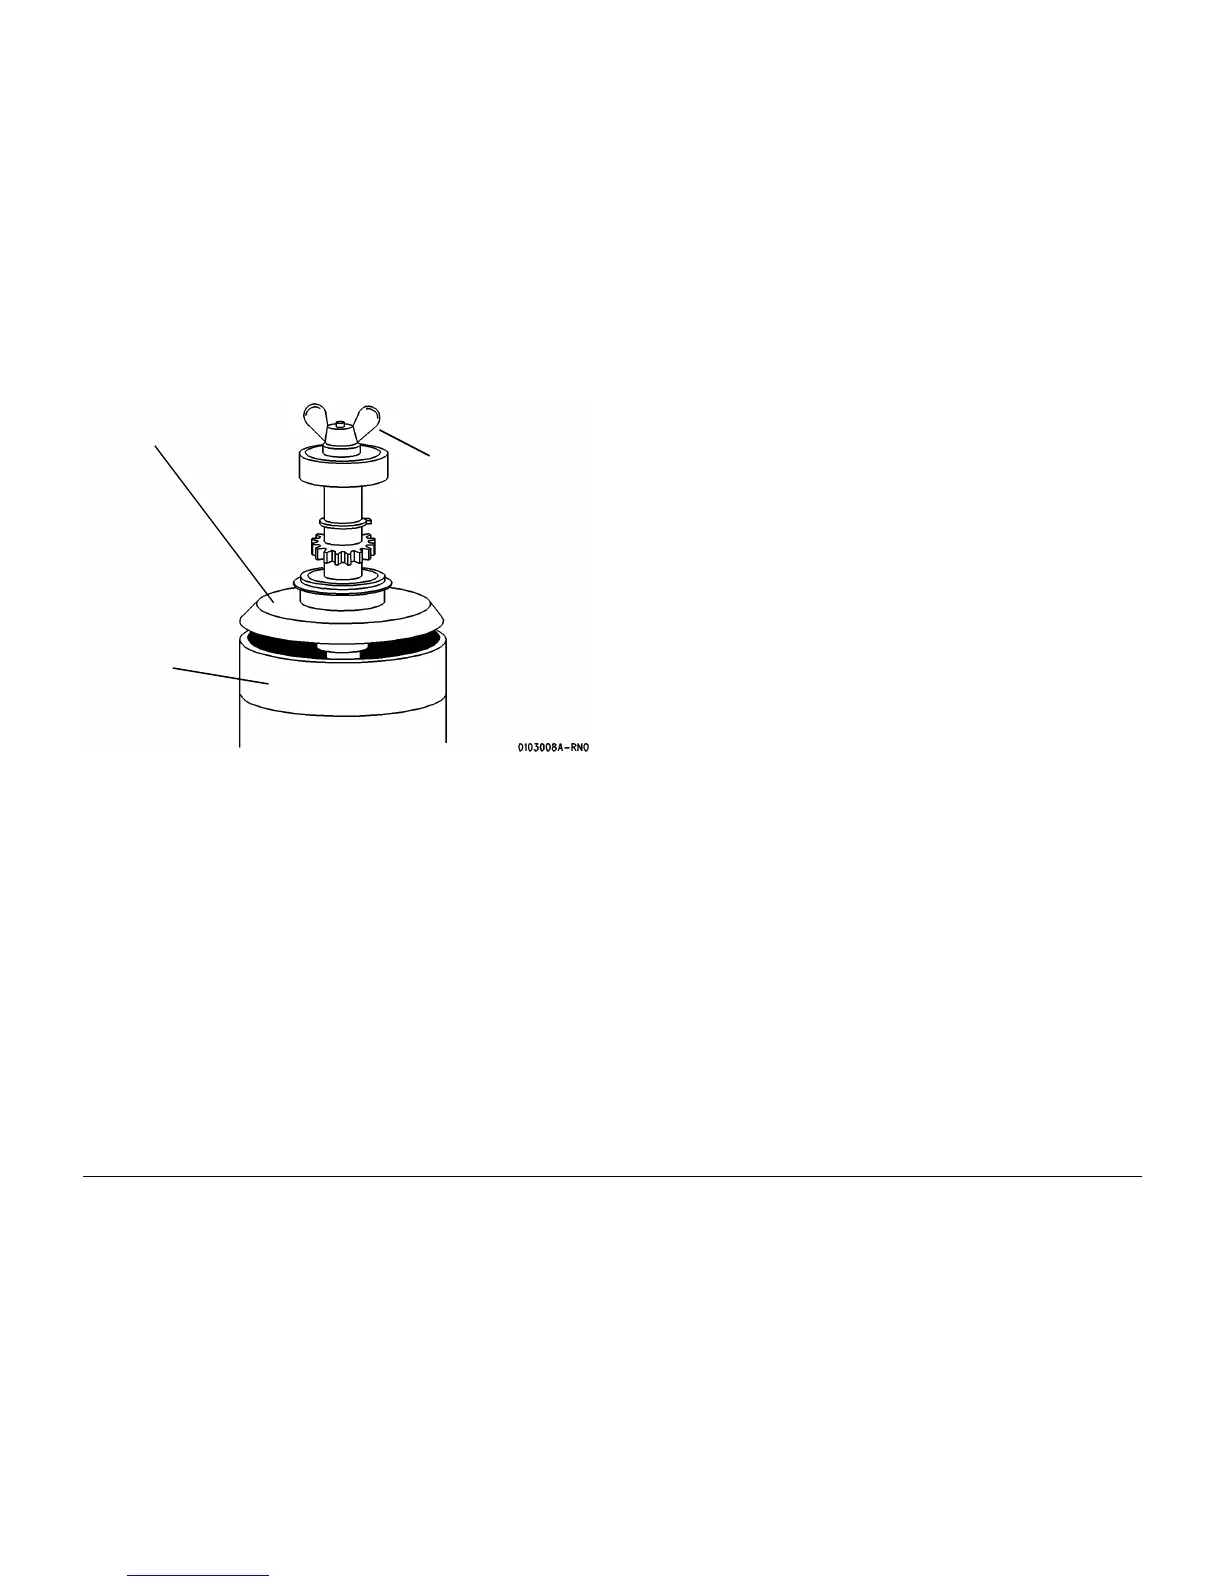
3. (Figure 2): Remove the Drum from the Shaft Assembly.
Figure 2 Removing the drum from the Shaft Assembly
4. If the Drum is being replaced, install a Cleaner Blade Kit (REP 9.4).
5. Reassemble the Drum Assembly.
6. Perform GP 4 Drum Cleaning Enhancement procedure.
7. Reinstall the Drum Assembly.
8. Perform the Electrostatic Series (ADJ 9.2).
REP 9.4 Cleaner Blade Kit
Parts List on PL 9.5A
NOTE: These are the instructions to install the Cleaner Blade Kit. The kit contains the following
items:
• Right-hand Seal (57 mm wide)
• Left-hand Seal (41 mm wide)
• Cleaner Blade
• Photoreceptor Seal
• Blade Retainer (3)
WARNING
Switch off the Main Power Switch. Disconnect the Power Cord.
Removal
NOTE: In this procedure, “Left” and “Right” describe machine locations as observed when you
are facing the Xerographic Module at the left side of the Printer.
1. Remove the Drum Assembly (REP 9.2).
2. (Figure 1): Remove the Photoreceptor Seal, Right-hand Seal, Left-hand Seal, Cleaner
Blade, and the three Blade Retainers from the Xerographic Module.
3. Use a vacuum cleaner to clean the channels and the areas where the new parts will be
installed.
3
Lift the Drum
off the Shaft
Assembly
2
Lift off the Bearing/Plate
Assembly
1
Remove the wing nut

 Loading...


