01/02
6-15
8825/8830 Printer
GP 7
General Procedures
GP 7 NVM Dump of Adjustable Settings
The purpose of this procedure is to enable the service representative to access a listing of cur-
rent NVM (Non-Volatile Memory) settings resident in the 8825/8830 Printer. If desired, this
information can then be transferred to a computer, printed out and saved. This information can
be of great value in recreating the customer’s printer settings in the event of a component fail-
ure. Information can also be recorded in the Service Log.
1. Power on the Printer, but do not power on the Controller.
2. Remove the two screws at either side of the printer Lower Right Side Cover. Tilt the cover
(with Controller attached) backward and gently set the Controller on the floor.
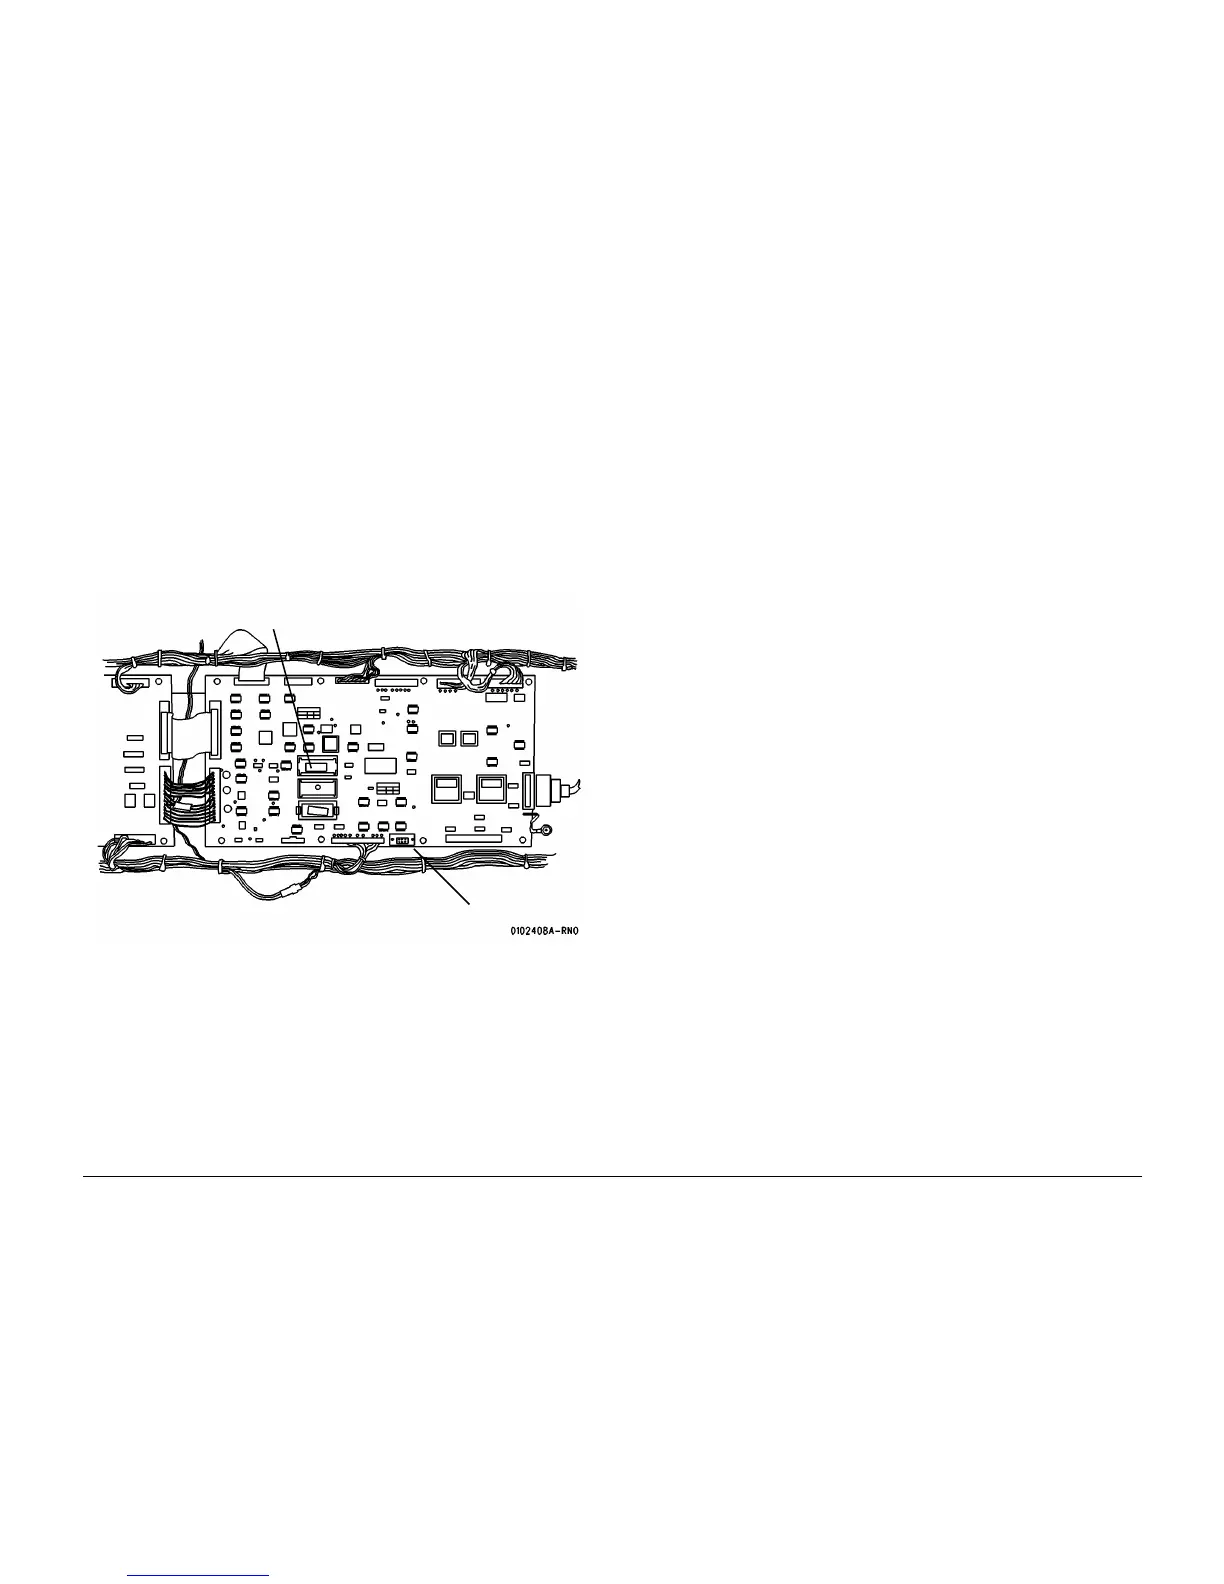
3. (Figure 1): Connect a null-modem cable between the Serial Port of the computer and
either the Diagnostic Remote Port of the printer (if installed) or J-308 on the Printer Main
PWB.
Figure 1 Serial Port Connection - Printer Main PWB
4. Access the terminal emulator software on the computer being used.
5. Using the terminal emulator software on the computer, set the Serial Port up for the fol-
lowing:
• Baud rate: 19, 200
• 1 Stop Bit
• Even parity
• Data bit: 8
6. Hold down the zero button on the 8825/8830 Printer Control Panel, and turn on the con-
troller and the printer.
7. Enter the diagnostic code [0366] and hit the Enter key.
8. The NVM settings are now displayed on the computer screen. This information can be
downloaded to a file in the computer memory and saved for future use.
P-308
U38

 Loading...


