10. Light processor + light pipe assembly
3. Fasten the two captive screws at the right side of the light processor as illustrated. Use a 5 mm flat screw driver.
Caution: Prior to screwing ensure the reference blocks are pushed well up against there respective reference surfaces. Use
your screw driver to tap gently on each block.
Image 10-8
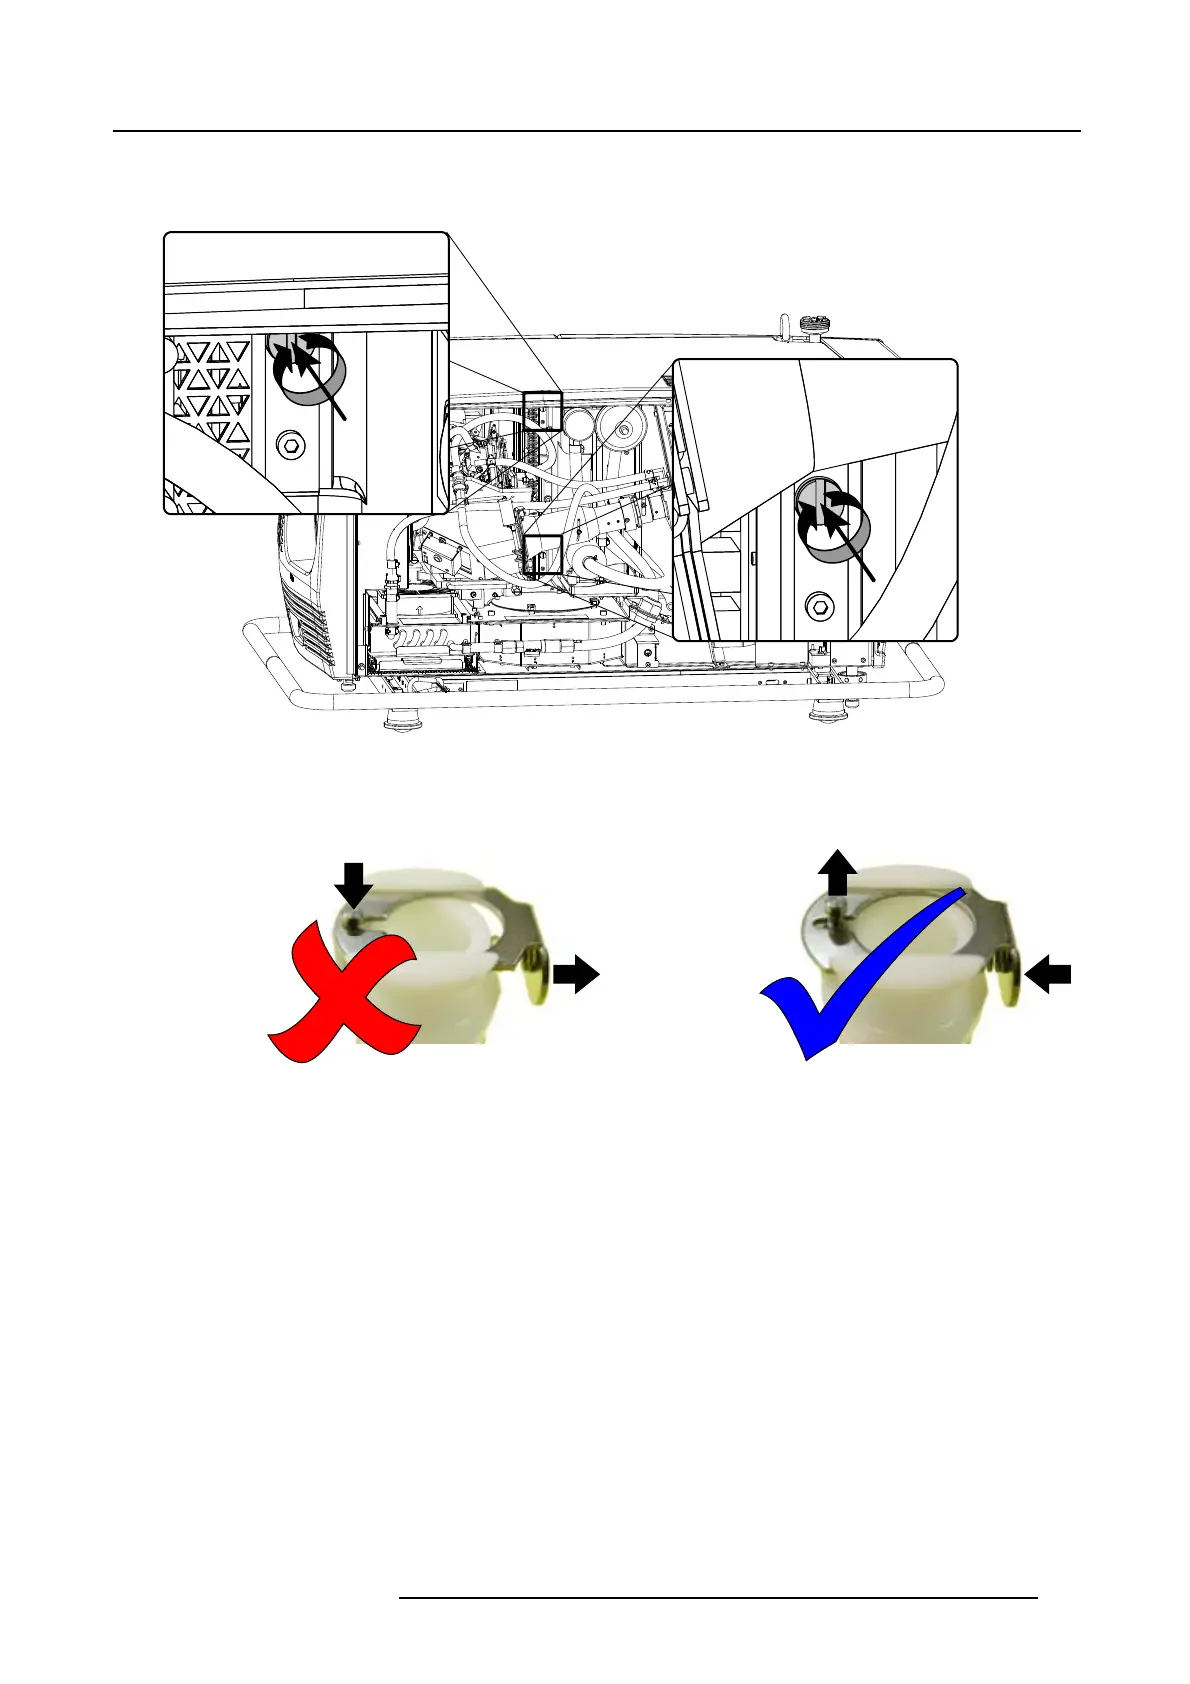
4. Couple up the cooling circuit from the light processor with the cooling circuit of the projector.
Caution: To avoid damage to the connector seal, always depress the connector tab of the female valved fitting prior to inserting
the male valved fitting.
Caution: Makes sure that the tube coming from the pump is leading to the cooling circuit of the DMD’s and that the tube coming
from the light pipe entrance is leading to the heat exchanger.
R59770072 FLM SERIES 19/03/2007
107

 Loading...


