11. Integration rod
A
A
Image 11-10
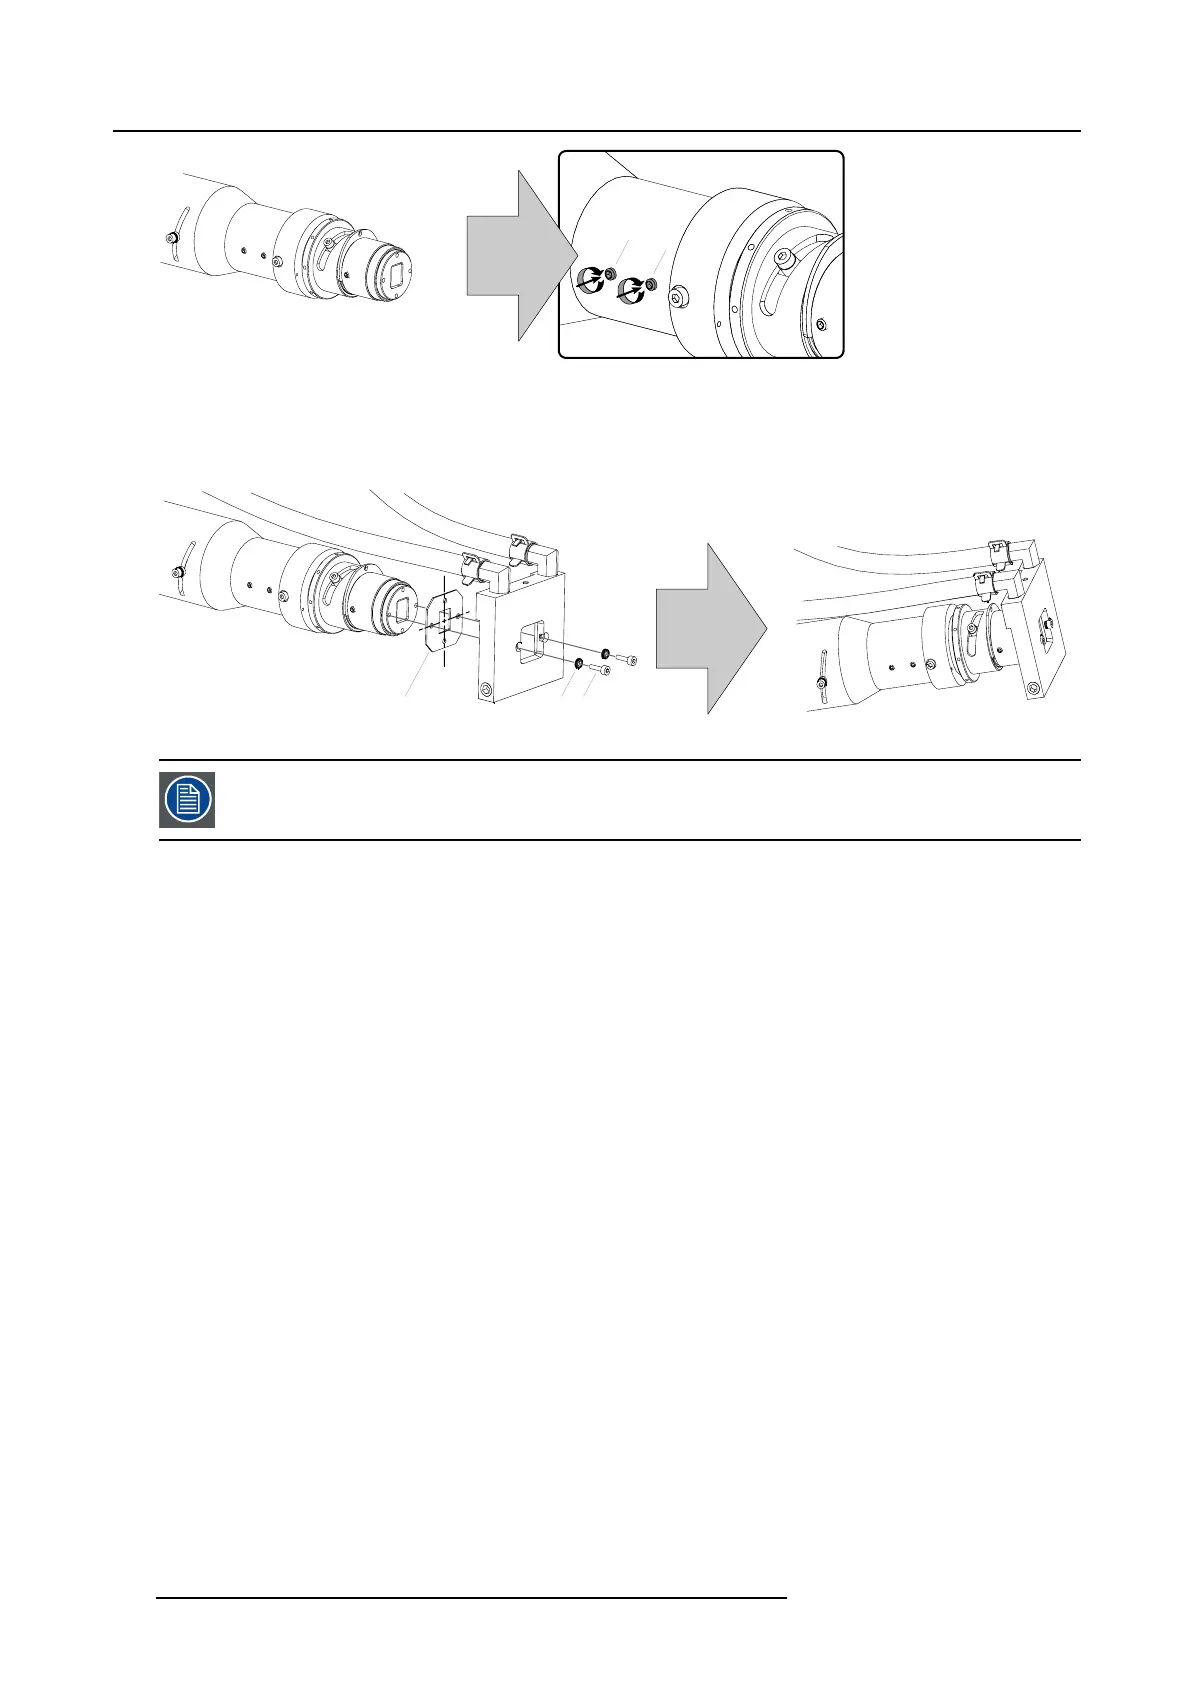
8. Install the mask (M) and cooling block as illustrated. Use for that two washers (W) and two hexagon screws (S) which you
removed in step one. Use a 2,5 mm Allen key.
Caution: Ensure that the mask (M) is placed in portrait like the entrance of the integration rod.
Ensure that the shining side of the mask (M) is facing the lamp.
W SM
Image 11-11
The integration rod must be adjusted after installation. Fol
low the procedure "Adjusting the integration rod",
page 115, after the light processor is reinstalled in the projector.
114 R59770072 FLM SERIES 19/03/2007

 Loading...


